
Build a Picture with Pixels
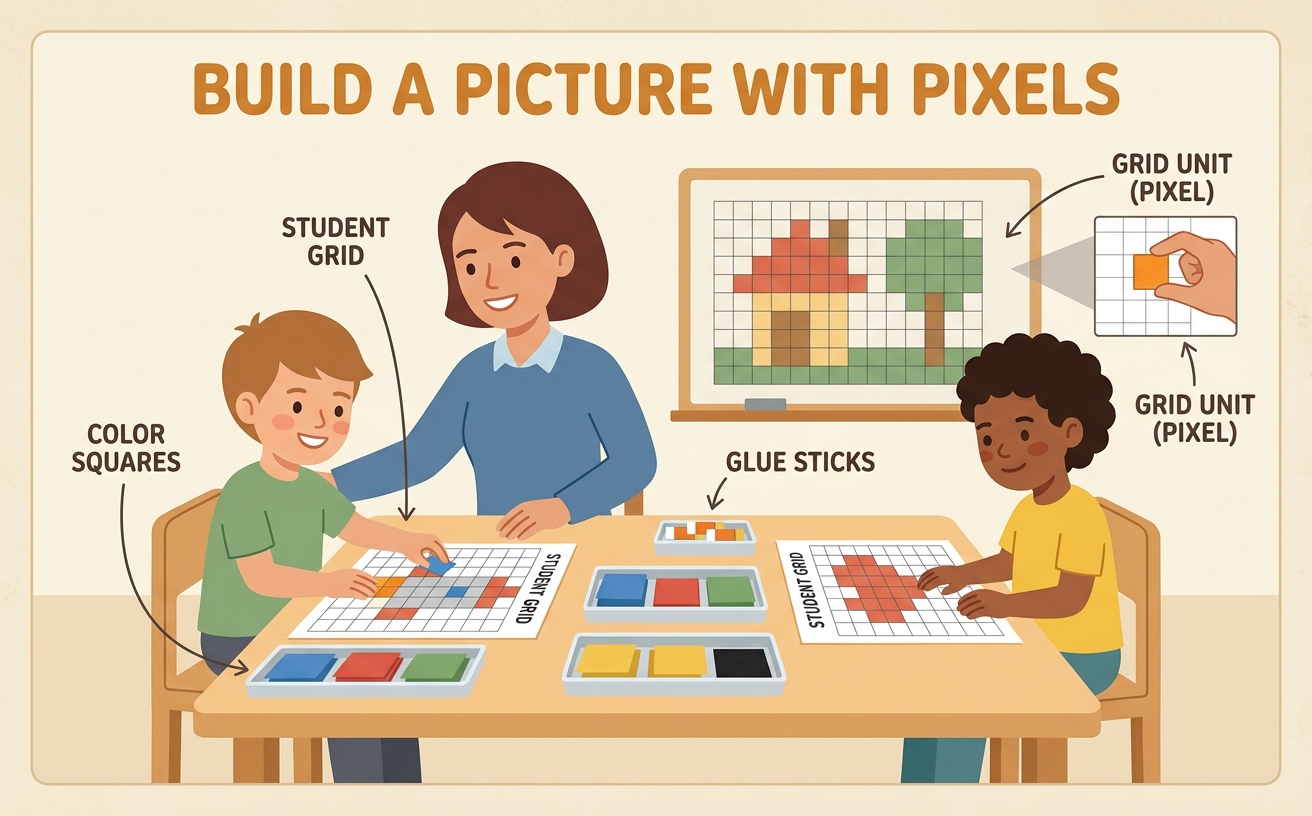
Students use colored paper squares on a grid to discover how computers combine small pixels to represent a larger picture.
Illustrations are auto-generated and may be placeholders. They can be refreshed to match the narration.
Look Closely at a Digital Picture
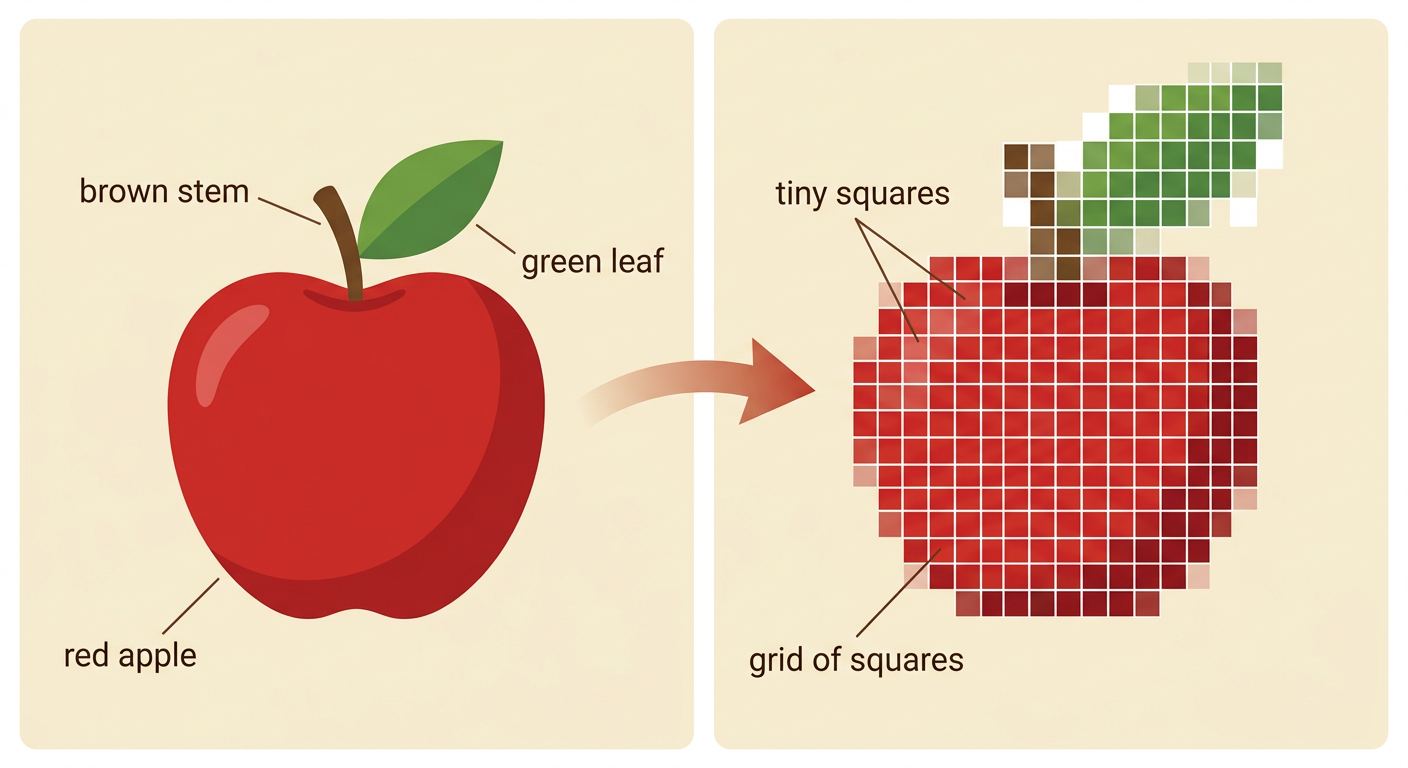
A picture on a computer or tablet may look smooth from far away. When we zoom in, we can see many tiny blocks of color. These blocks work together to make the whole picture. Think about a digital picture of a red apple. From far away, you see the round apple, a brown stem, and a green leaf. Up close, you may see little red, dark red, brown, green, and white squares. One square does not look like an apple. Many squares placed beside one another create the apple picture. Look closely and name the colors, shapes, and parts you notice. Then use words and pointing to explain how the tiny blocks form the larger picture.
Meet the Pixel
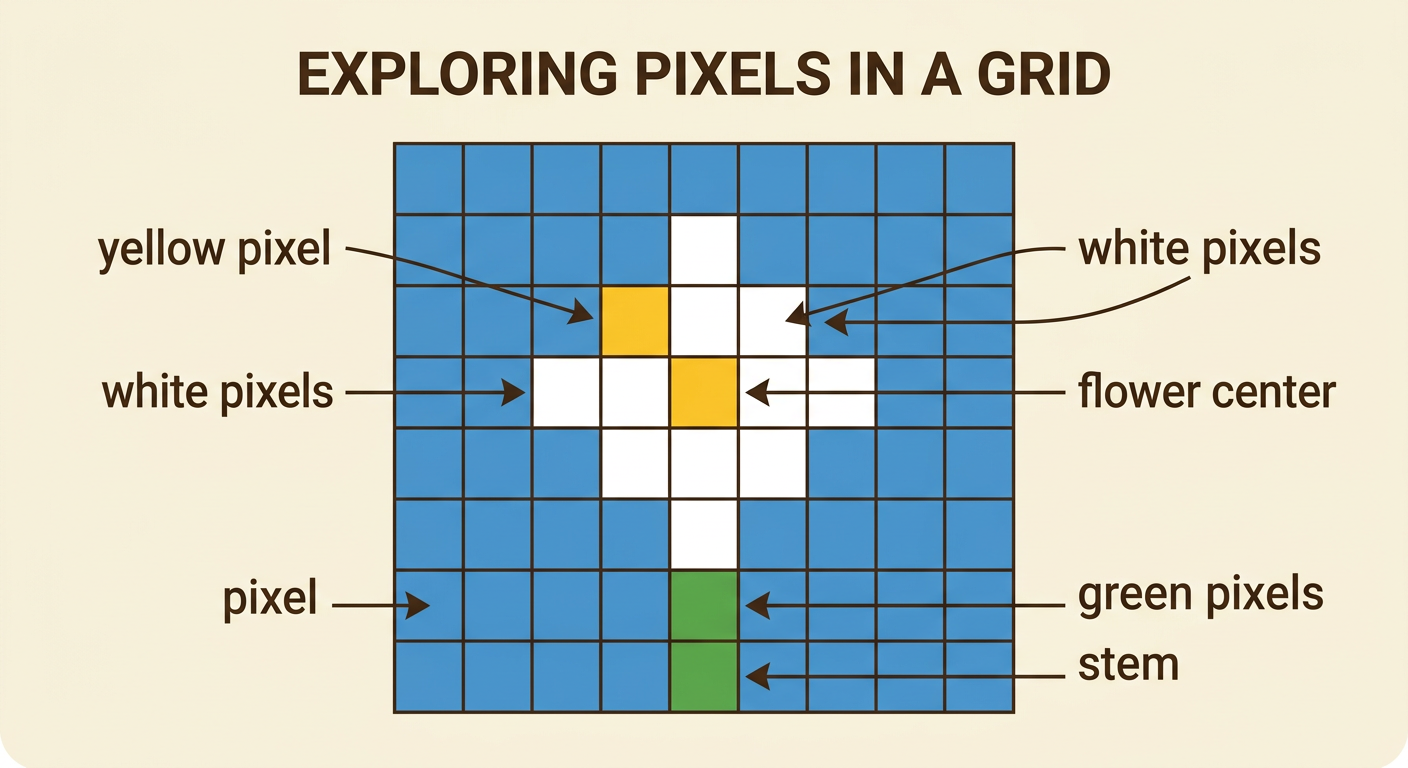
Each tiny spot of color in a digital picture is called a pixel. A pixel can show one color at a time. Computers arrange pixels in rows and columns. Together, the pixels can show people, animals, letters, buildings, and places. Imagine a small grid with one yellow square in the middle and blue squares around it. The yellow pixel may be the center of a flower, while nearby white pixels make petals and green pixels make a stem. A single pixel is only a small piece. Its color and place help it do an important job in the picture. Point to one pixel, name its color, and tell what part of the larger picture it helps make.
Explore a Picture Grid
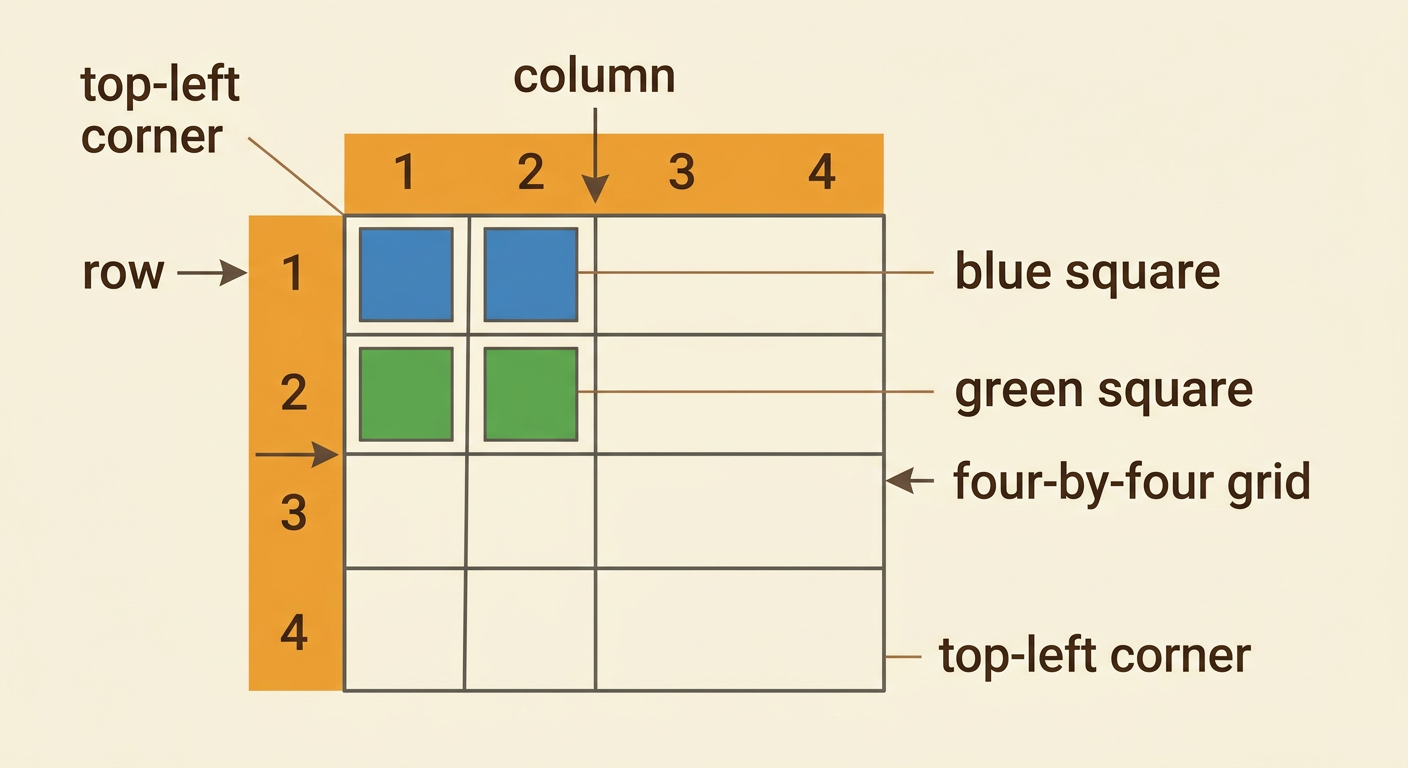
A picture grid is made of equal spaces arranged in rows and columns. A row goes across from left to right. A column goes up and down. Each space can hold one colored paper square. The grid helps us place every square carefully. For example, begin with a four-by-four grid. Put a blue square in the top-left space. Put another blue square directly to its right. Place two green squares below them. The squares now form a small design. You can describe a square by using its row and column, such as row one, column two. You can also use position words like above, below, beside, and corner. These words help a partner find the correct place.
Build a Pixel Picture
Now build a picture with colored paper squares. Choose a simple object or familiar place, such as a house, tree, playground, or school. First, plan which colors and shapes you need. To make a house, use red squares for a triangle-shaped roof, yellow squares for the walls, a brown rectangle-shaped door, and blue squares for windows. Place one paper square in each grid space. Keep the edges lined up so the pieces form a clear larger shape. Step back and check your work. Does the roof cover the walls? Can someone recognize the door and windows? If the picture is unclear, move or change some squares. Your grid is a physical model that shows how small colored parts can build a useful picture of a place.

Share and Describe the Picture
Show your finished pixel picture to a partner or the class. Begin by naming what you made. Then describe its colors, shapes, and important parts. You might say, “I made a playground. The green squares show grass. The brown squares make a path. The red and blue squares make the slide.” Point to each part as you speak so your visual display matches your words. Explain where objects are by using place words, such as next to, above, below, near, and far. Your picture can act like a simple map of a familiar place. Invite a partner to ask a question or name something they notice. Listen carefully, answer clearly, and explain how the small pixels work together to represent the whole place.
