
Build a Yes/No Habitat Decision Tree
Students use observable habitat features to create and test a digital decision tree that follows yes/no rules to classify habitat cards.
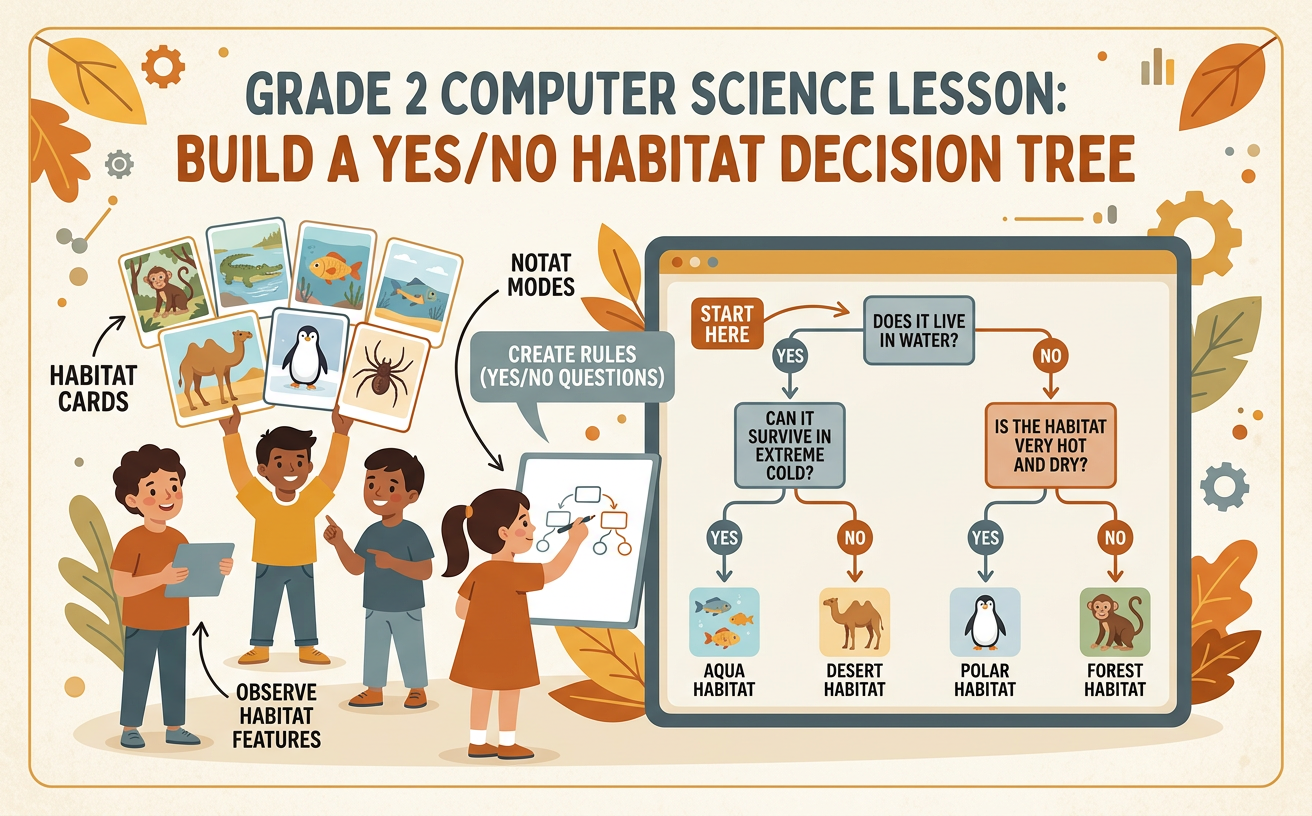
Illustrations are auto-generated and may be placeholders. They can be refreshed to match the narration.
Explore Habitat Cards
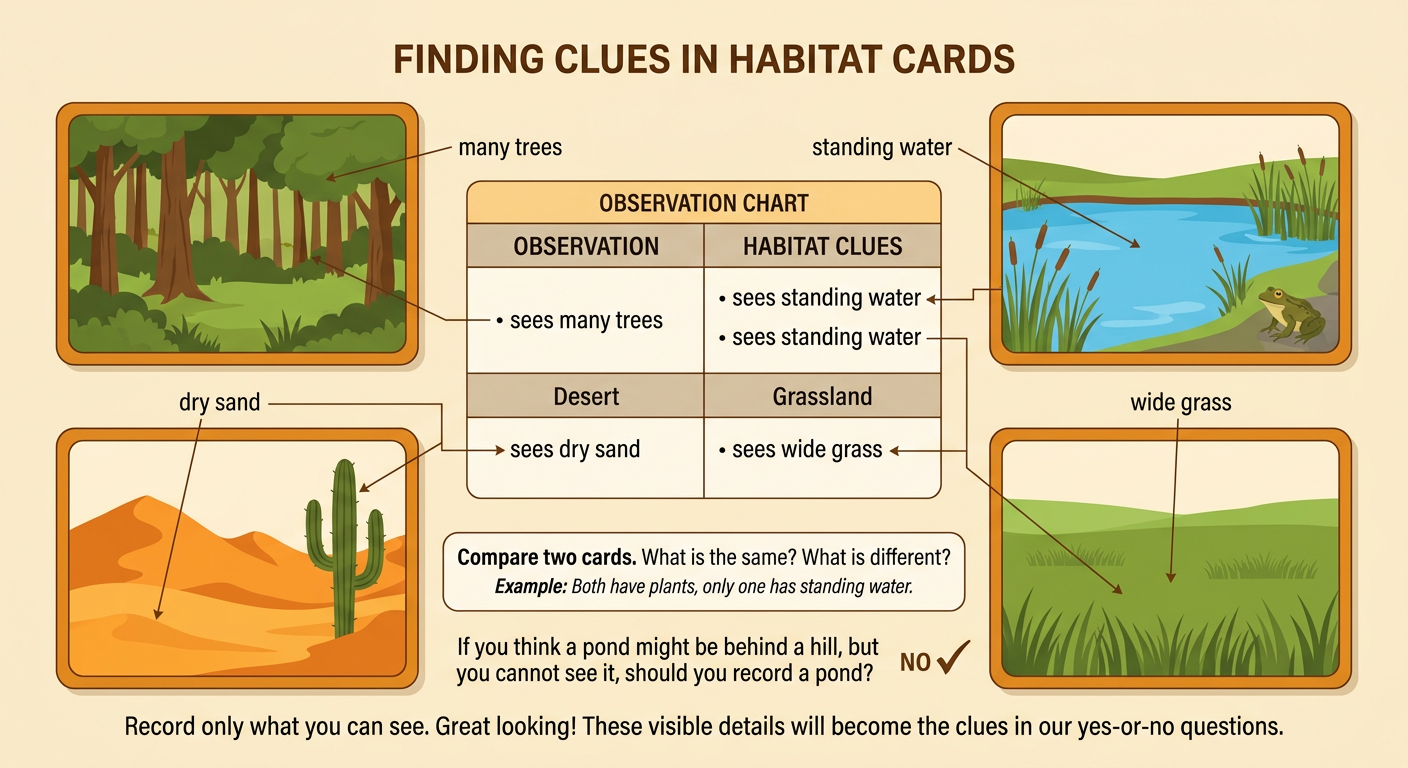
Look closely at each habitat card. A card may show a forest, pond, desert, or grassland. Gather facts only from details you can see, such as standing water, many trees, dry sand, or wide areas of grass. Also notice the plants and animals. A frog near reeds and open water may be evidence of a pond habitat. A cactus on dry, sandy ground may be evidence of a desert habitat. Compare two cards and ask, “What is the same? What is different?” Record short observations in a class chart. Do not classify a card by guessing about things outside the picture. These observations will become the clues that your digital decision tree uses.
Introduce Yes/No Decisions
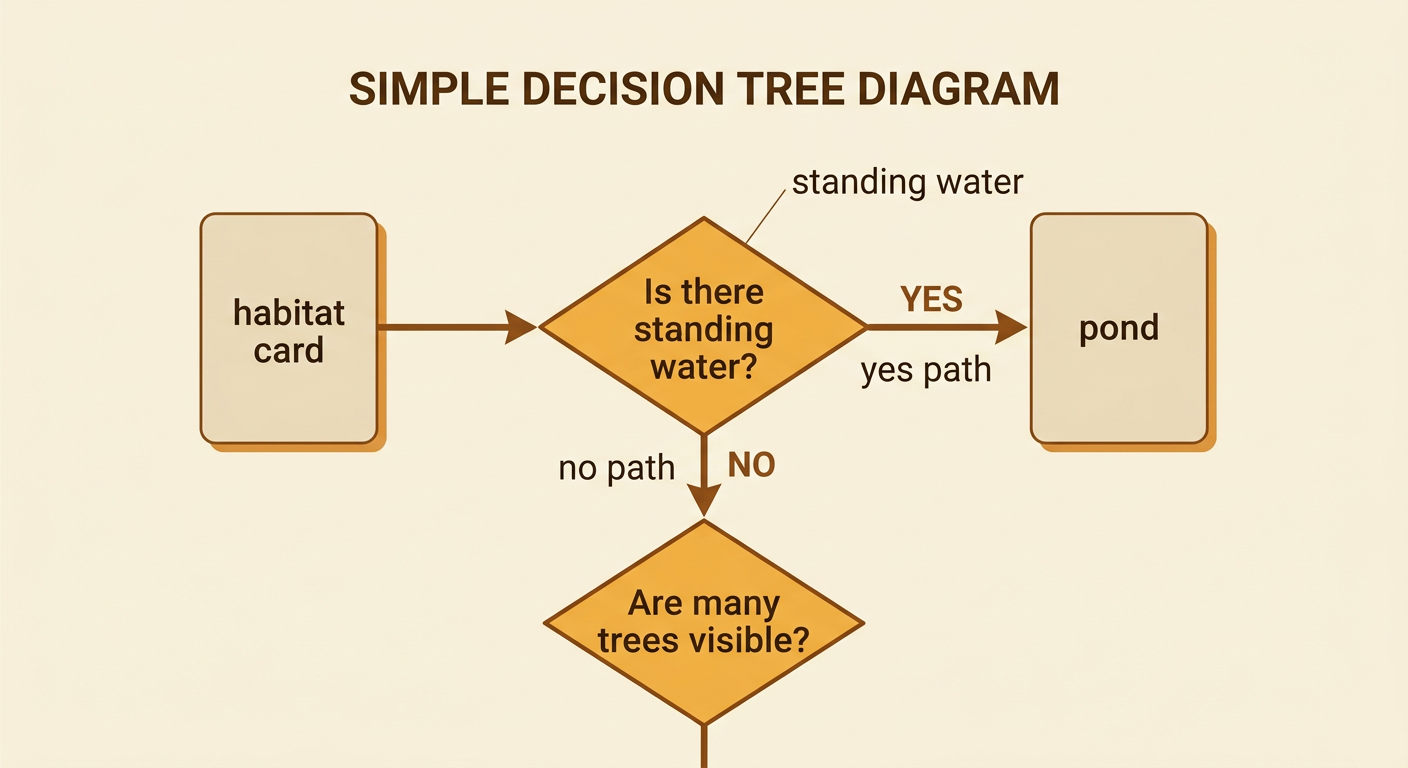
A decision tree sorts information by asking questions that can be answered yes or no. Begin with one observable feature. For example, ask, “Is there standing water?” A pond card follows the yes path. A forest, desert, or grassland card follows the no path. Each path leads to another question or to a habitat name. A useful question must be clear enough that classmates looking at the same card will usually give the same answer. “Is this habitat pretty?” is not useful because people may disagree. “Are many trees visible?” is useful because it asks about something shown on the card. Follow one path at a time, and never take both paths from the same question.
Plan the Decision Tree
Plan your tree on paper before building it digitally. Choose a first question that separates one habitat from several others. You might ask, “Is there standing water?” If yes, classify the card as pond. If no, ask, “Are many trees visible?” A yes answer leads to forest. A no answer leads to another question: “Is the ground mostly dry sand or rock?” If yes, the card is classified as desert. If no, it may be grassland when broad areas of grass are visible. Draw arrows from every question and label each arrow yes or no. Check that every habitat card can reach an ending. Use your observation chart as a source when writing the rules.

Build the Digital Tree
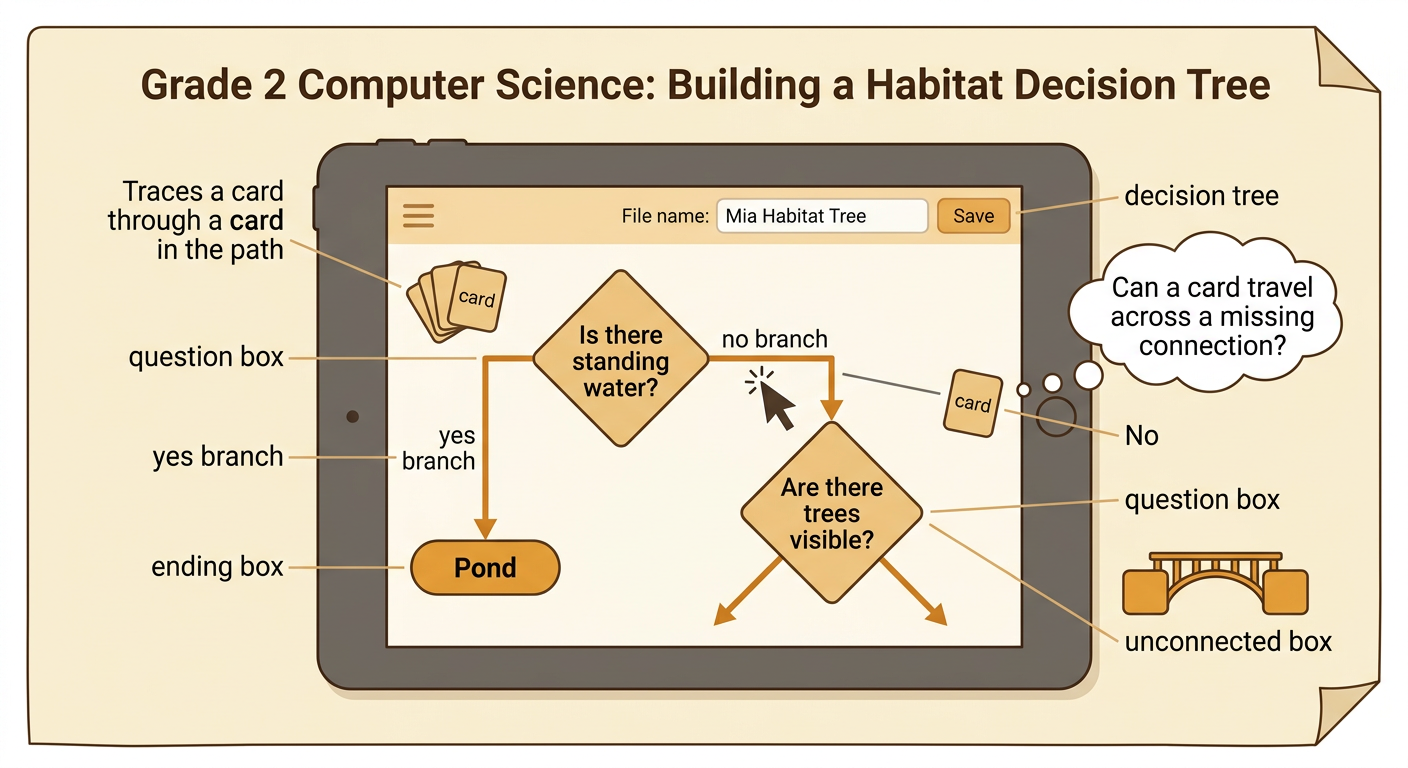
Open the class decision-tree tool and create a starting question box. Type, “Is there standing water?” Add two branches and label them yes and no. Connect the yes branch to an ending box labeled “Pond.” Connect the no branch to a second question about visible trees. Continue adding the questions and endings from your paper plan. Use question boxes only for rules that need an answer. Use ending boxes for habitat names. Make sure each question has exactly two branches and that every box is connected. Save your work with a clear file name, such as “Mia Habitat Tree.” Then trace one card through the digital tree to check that the links move in the correct directions.
Test and Revise Rules
Test the digital tree with every habitat card, including cards you did not use while planning. Start at the first question, answer from visible evidence, and follow the matching branch. Record the tree’s result and compare it with the habitat shown. Suppose a card shows a dry grassland with little grass visible. A rule saying, “Is the ground dry?” might incorrectly send it to desert because grasslands can also be dry. Revise the rule to ask, “Is the ground mostly sand or bare rock?” Then test the card again. If two classmates choose different answers, make the wording clearer or select a stronger feature. Keep a short record of what failed, what you changed, and whether the new rule worked.
