Chocolate Changes with Heat and Cooling
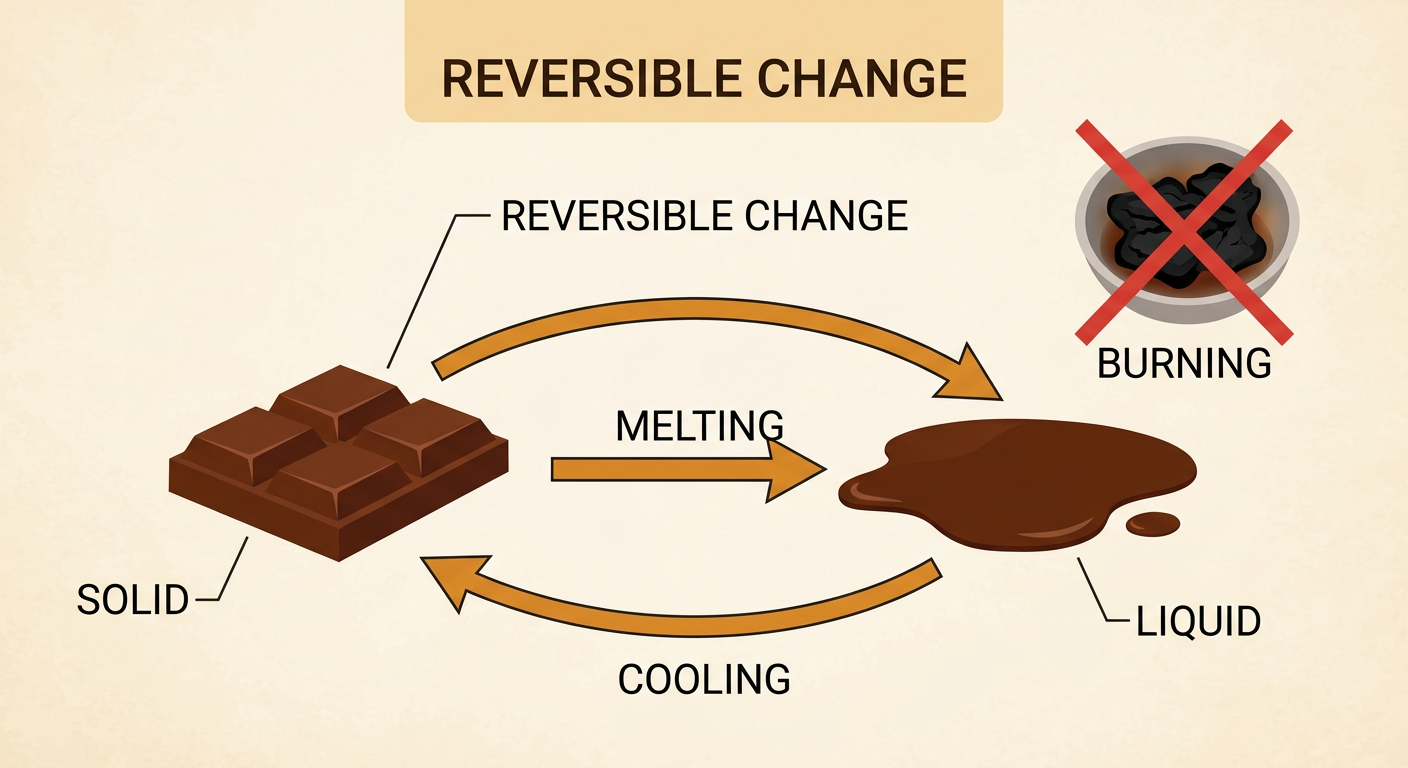
Students observe that gentle warming melts solid chocolate and cooling changes it back into a solid.

Illustrations are auto-generated and may be placeholders. They can be refreshed to match the narration.
Observe Solid Chocolate
Look closely at a small piece of chocolate before it is warmed. It is a solid. A solid keeps its own shape when it is placed on a plate. The chocolate may look smooth, shiny, brown, and firm. You can gently touch it with a clean finger or spoon. It does not flow across the plate. For example, a square of chocolate stays square when you move it from a wrapper to a bowl. Talk with a partner about what you notice. Use observation words such as hard, solid, smooth, and square. These details are evidence. We will use them later to compare the chocolate before warming, after warming, and after cooling.

Predict What Warmth Will Do
Before warming the chocolate, make a prediction. A prediction tells what you think will happen. Think about chocolate you may have held in a warm hand. It can become soft or messy because your hand gives it heat. You might predict, “The solid chocolate will melt and begin to flow when it gets warm.” Share your prediction with a partner and explain your reason. Listen while your partner speaks, and then compare your ideas. The class will use gentle warmth, not a flame. An adult should handle any warm water or warming device. Record the chocolate’s starting shape and your prediction. Soon you will observe whether the evidence supports your idea.

Watch the Chocolate Melt
Place the chocolate in a small, dry cup set over or near warm water with an adult’s help. Watch without touching the warm setup. Heat moves from the warm water to the cooler cup and chocolate. First, the chocolate may look shiny. Next, its edges soften. Then it loses its firm shape and becomes a thick liquid. This change is called melting. Melted chocolate can slowly flow or spread when the cup is tilted by an adult. For example, a square piece may become a small puddle in the bottom of the cup. The chocolate is still chocolate, but its form has changed from solid to liquid. Describe each step to a partner in the order it happened.

Cool the Melted Chocolate
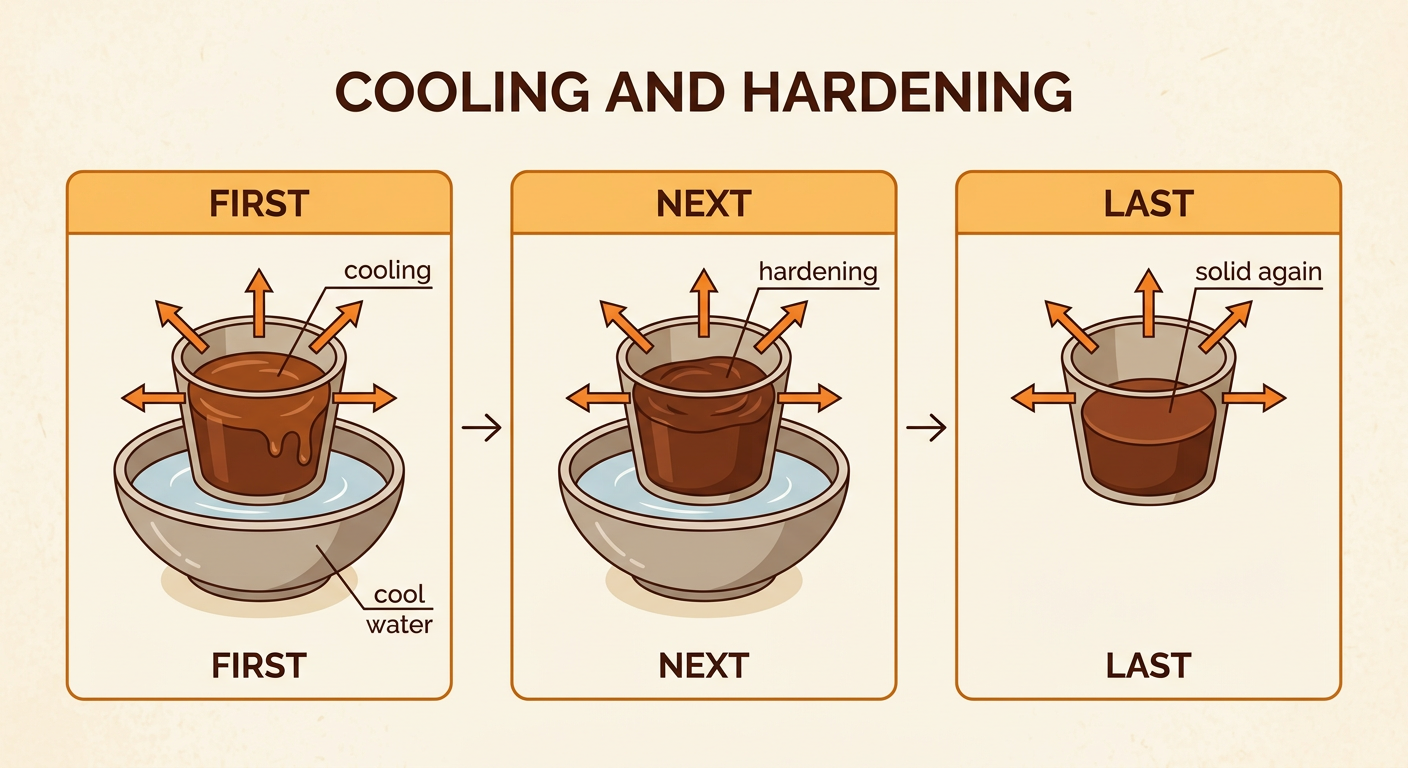
Now remove the cup from the warmth with an adult’s help and place it in a cool location. You may set it over a bowl of cool water, but no water should mix with the chocolate. Observe the chocolate every few minutes. As the chocolate loses heat, it flows less. It becomes thicker, firmer, and finally solid again. This change is called cooling and hardening. For example, the melted puddle may become a firm, round piece that can be lifted from the cup. It may not return to its first square shape because it hardened in a different container. However, it is a solid again. Tell a partner what happened first, next, and last during cooling.
Compare Before and After
Compare the chocolate at three times: before warming, after warming, and after cooling. Before warming, it was a firm solid that kept its square shape. After warming, it was a thick liquid that could flow and take the shape of the cup. After cooling, it was firm and solid again. Its final shape may be round or uneven instead of square. That difference does not mean the cooling failed. Both the first and final samples are solids because they keep their shapes. Use your observations as evidence. For example, you can say, “The chocolate flowed when warm, but it stopped flowing after it cooled.” Invite a partner to add another detail, and listen for information that matches the observations.

Explain the Reversible Change
The evidence shows that melting chocolate is a reversible change. Reversible means a change can be undone. First, the chocolate was solid. Next, gentle warming added heat and melted it into a liquid. Then cooling removed heat and made it solid again. We can argue that this change is reversible because the chocolate returned to the same state, or form, it had at the start: a solid. Its exact shape did not need to be the same. Use the sequence and evidence to explain your thinking: “Warming melted the solid chocolate. Cooling made the liquid chocolate solid again. Therefore, the change was reversible.” This is different from burning chocolate. Burned chocolate cannot be returned to unburned chocolate just by cooling, so adults must use only gentle warmth.