
Classifying Materials by Their Properties
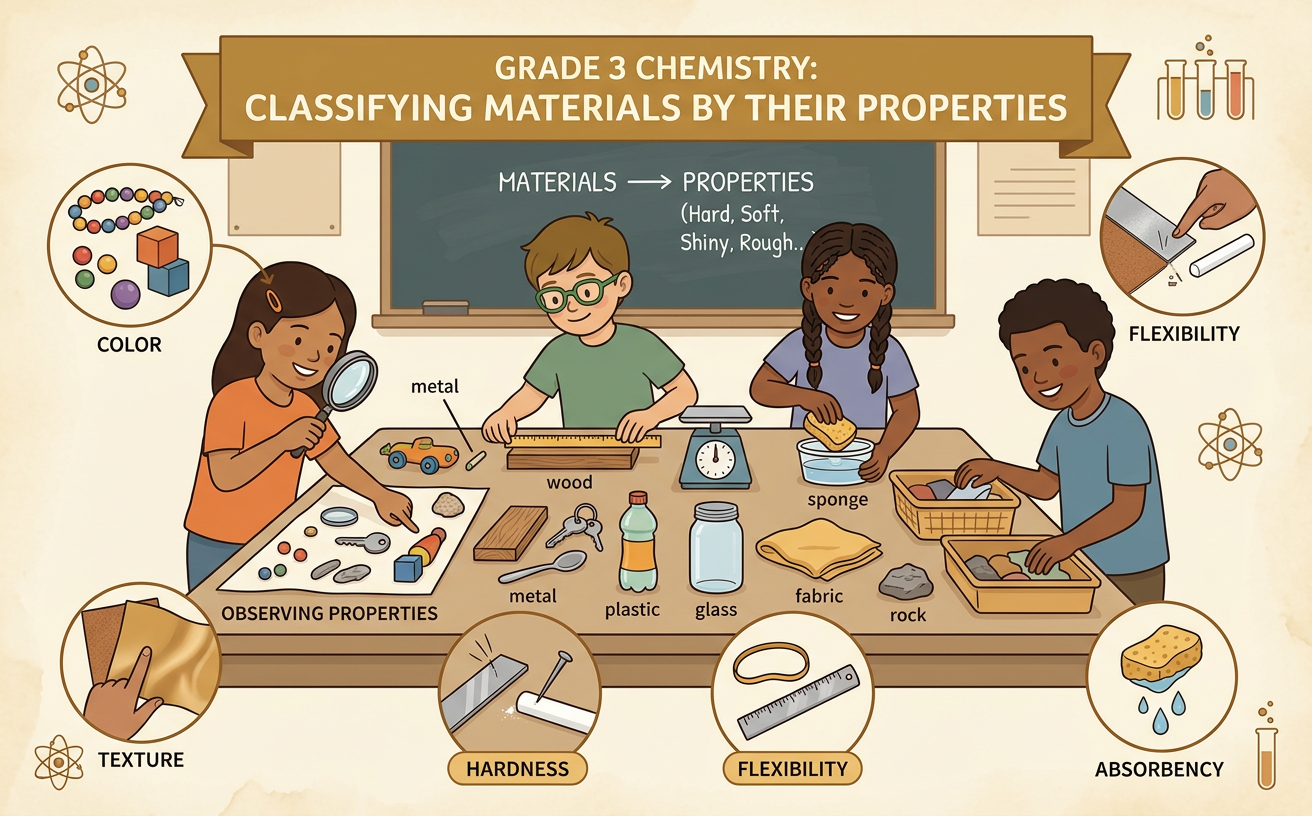
Students observe, measure, and sort common materials by properties such as color, texture, hardness, flexibility, and absorbency.
Illustrations are auto-generated and may be placeholders. They can be refreshed to match the narration.
What Is a Material Property?
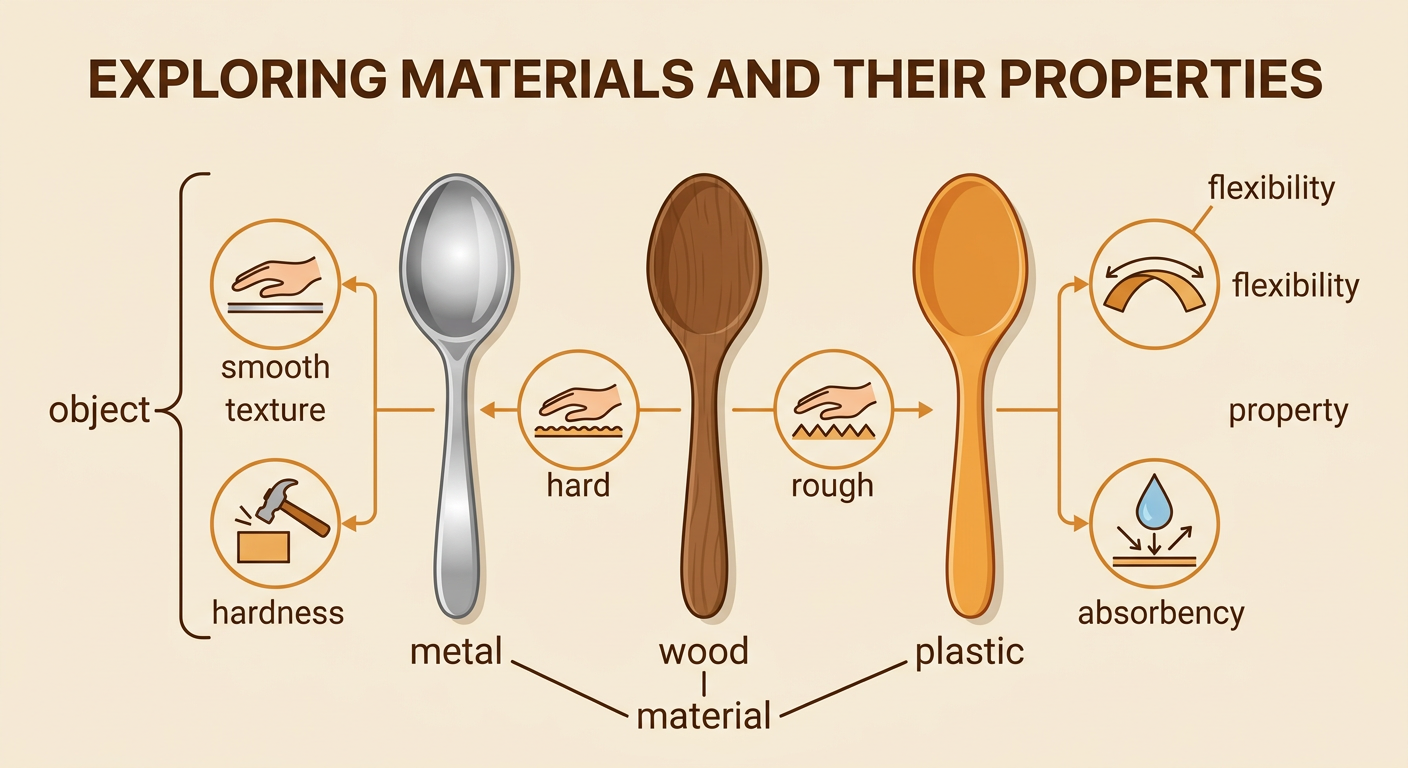
A material is the matter used to make an object. Wood, metal, plastic, glass, fabric, and rubber are materials. A property is a feature that we can observe or measure. Color, texture, hardness, flexibility, and absorbency are examples of material properties. Texture tells how a surface feels, such as smooth or rough. Hardness describes how well a material resists scratching or denting. Flexibility tells how easily it bends. Absorbency tells how well it takes in liquid. An object and its material are not the same thing. For example, a spoon is an object that may be made of metal, wood, or plastic. Those materials have different properties, even when they are used to make the same kind of object.
Observe Common Materials
Scientists begin by observing carefully. Gather safe samples such as aluminum foil, a craft stick, a cotton cloth, a rubber band, a plastic lid, and a piece of wax paper. Look at each sample under good light. Notice its color and whether it is shiny or dull. Gently touch it to decide whether its texture is smooth, rough, soft, or bumpy. Do not taste materials, and do not smell unknown substances. Use words that describe what you actually observe instead of giving an opinion. For example, write, “The craft stick is tan, dull, hard, and slightly rough,” rather than, “The craft stick is nice.” Ask questions such as, “Which samples are smooth?” or “How are the cloth and foil different?” Then use your observations to answer with evidence.

Test and Measure Properties
Some properties need to be tested or measured. Plan one fair test at a time and test every sample in the same way. To test flexibility, use equal-size strips and gently bend each one without tearing it. Measure how far each strip bends with a ruler, to the nearest quarter inch. To compare hardness, press each sample with the same craft stick and look for a dent or mark. To test absorbency, place each sample on a tray, add the same number of water drops, and wait the same amount of time. Record whether the water is absorbed or stays on the surface. For example, cotton cloth may absorb five drops, while wax paper may absorb none. Keep water away from electrical devices, and wash or dry the work area after testing.

Sort and Record the Results
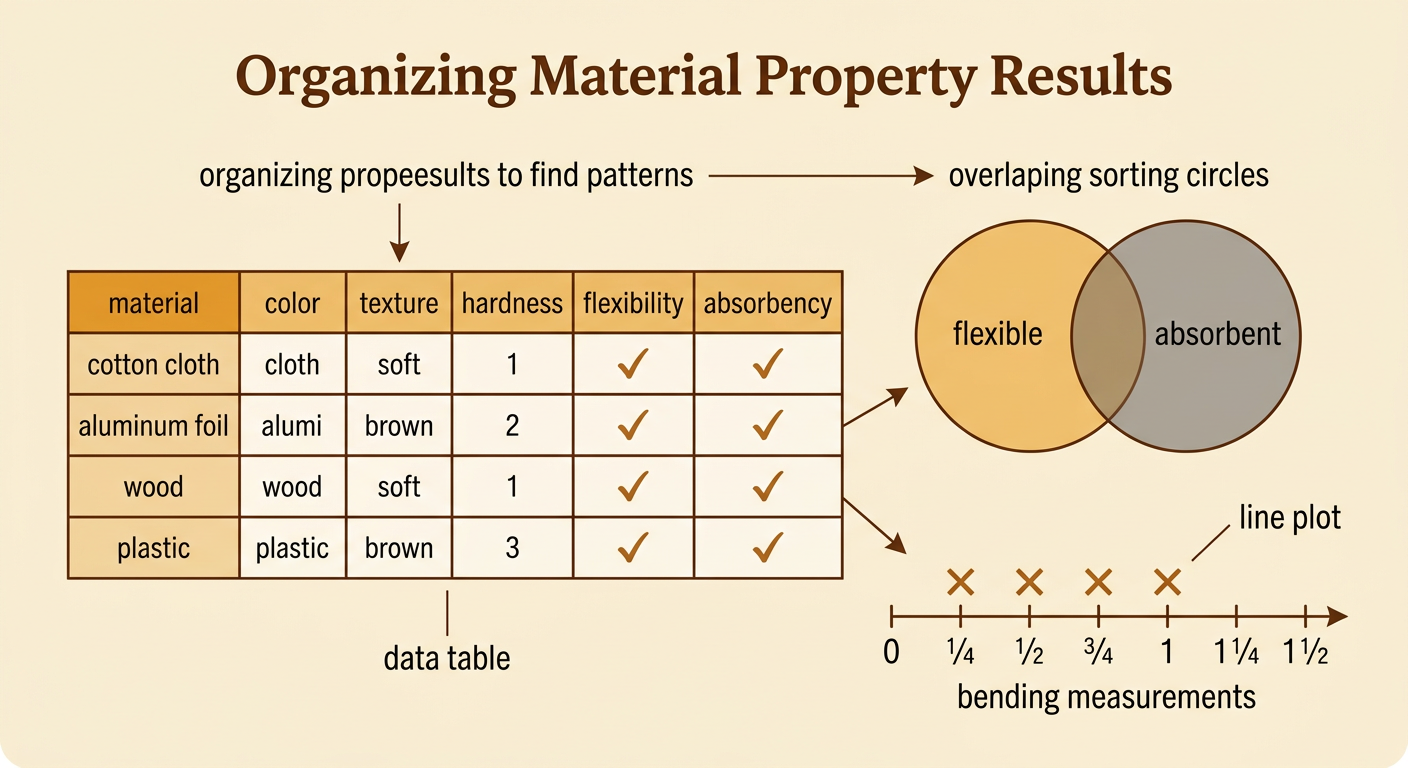
After testing, organize the results so patterns are easy to see. Make a data table with one row for each material and columns for color, texture, hardness, flexibility, and absorbency. Use words, numbers, or check marks to record evidence. You can then sort samples into groups, such as absorbent and not absorbent, or flexible and stiff. A material can belong to more than one group. Cotton cloth may be soft, flexible, and absorbent, while aluminum foil may be smooth, flexible, and not absorbent. Represent number measurements on a line plot. If four strips bent one quarter, one half, three quarters, and one inch, place an X above each matching ruler value. Use the table and line plot to answer questions, compare materials, and explain how you know where each sample belongs.
Choose the Best Material
Material properties help people choose what to use for a purpose. First, name what the object must do. Then compare the benefits and costs of possible materials. Suppose you are choosing a material for a rain cover. Cotton cloth is flexible, but it absorbs water, so it may become wet and heavy. Plastic is flexible and does not absorb much water, so it keeps rain out. However, a thick plastic sheet may cost more than thin plastic, and throwing plastic away can create waste. Wax paper also resists water, but it can tear after repeated folding. Based on the evidence, reusable, strong plastic may be the best choice if it is used many times. There is not always one perfect material. A good decision balances useful properties, price, durability, safety, and effects on people and the environment.
