
Code an Interactive Weather Safety Message
Students use event blocks, sequencing, and digital media to program an interactive message that teaches the community how to prepare for a weather hazard.
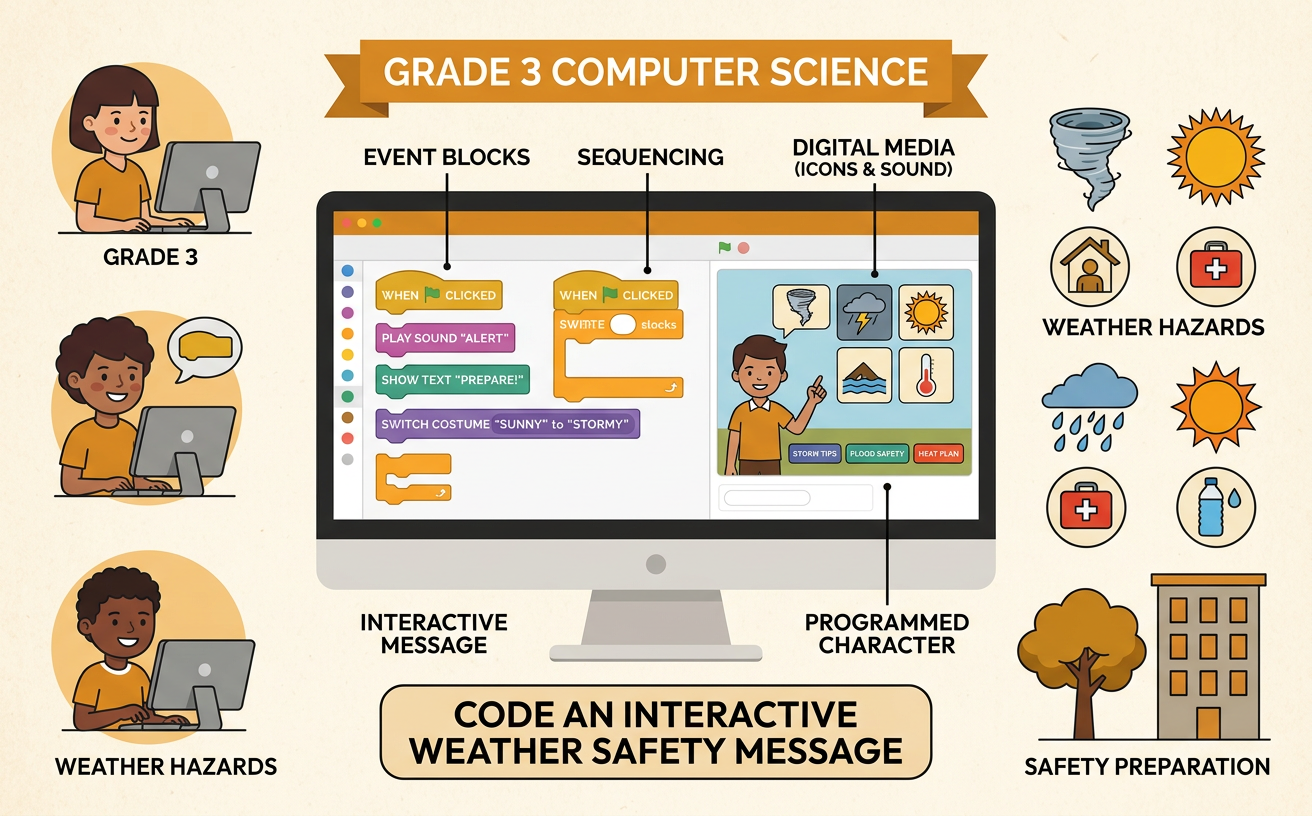
Illustrations are auto-generated and may be placeholders. They can be refreshed to match the narration.
Explore Interactive Events
An interactive project responds when a user does something. The user might click a picture, press a key, or tap a button. That action is called an event. An event block tells the computer when to begin a sequence of commands. For example, imagine a storm safety project with a picture of a flashlight. When the user clicks the flashlight, the program can show the words “Put a flashlight in your emergency kit” and play a short sound. The click is the event. Showing words and playing a sound are responses. Commands run in order, so their sequence matters. First show the message, and then play the sound. Interactive events let community members choose information and learn at their own pace. As you explore sample projects, notice what action starts each response.

Choose a Weather Hazard
A weather hazard is a dangerous event caused by weather, such as a flood, tornado, hurricane, thunderstorm, extreme heat, or winter storm. Choose one hazard that could affect a community. Then learn what makes it dangerous and how people can reduce harm. Use reliable sources, such as the National Weather Service, a local emergency office, or a trusted adult. For example, during a tornado, flying debris and strong winds can injure people. A useful design solution is a safe shelter area on the lowest floor, away from windows. You can make this claim: “A prepared shelter area can reduce the chance of injury during a tornado.” Support the claim with a reason: walls and distance from windows help protect people from wind and broken glass. Record only facts that fit your chosen hazard.

Plan the Safety Message
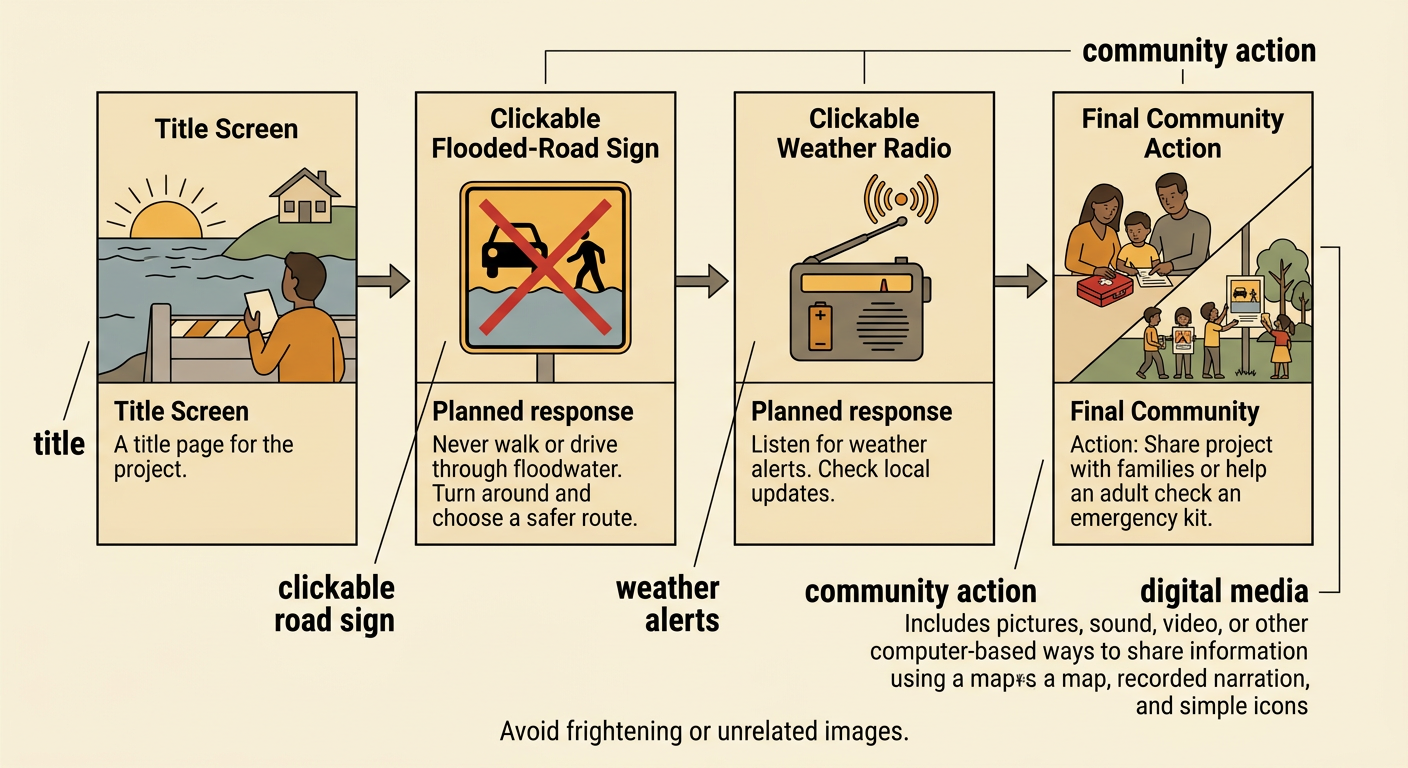
Plan your project before you code it. Decide who needs the message, what they should do, and why the action helps. Write short, clear directions that use accurate safety information. A useful plan can include a title, a hazard picture, two or three clickable objects, and a final invitation to help the community. For a flood project, a clickable road sign might say, “Never walk or drive through floodwater. Turn around and choose a safer route.” A radio image might say, “Listen for local weather alerts.” Add digital media that supports the meaning, such as a map, recorded narration, or simple icons. Do not use frightening or unrelated pictures. End with a community action, such as sharing the project with families or helping an adult check an emergency kit. Ask a teacher to review your facts and wording.
Code Clicks and Responses
Now turn your plan into code. Give each clickable object its own event block and response sequence. For example, select a weather radio sprite and add “when this sprite clicked.” Under it, place commands that show “Listen for local alerts,” play a recorded message, and change the radio’s color. Keep the commands connected in the order you want them to run. You can add another event for a supply-kit picture. When it is clicked, the program might reveal water, a flashlight, and batteries one at a time. Make every click produce a clear response so users know the program worked. Use readable text, strong color contrast, and sounds that are easy to hear. Include written words even if you add narration so more people can use the project. Save your work often as you build each interactive part.

Test, Debug, and Share
Testing means trying every part of the project to see whether it works as planned. Click each object more than once. Check that the correct message appears, commands run in order, sounds play, and text is easy to read. Also check every safety fact. A bug is a problem in the code or project. Debugging means finding and fixing that problem. For example, if clicking a flashlight shows a flood message instead of an emergency-kit message, inspect the blocks. The wrong text may be attached to the flashlight event. Replace it, run the project again, and confirm the fix. Ask a classmate to test the project without your help and explain what the message teaches. Use the feedback to improve it. With teacher approval, share the finished project with classmates, families, or a school safety group to help the community prepare.
