Create a Digital Timeline of Earth Changes
Students use a digital tool to arrange, label, and explain Earth changes that happen over different lengths of time.

Illustrations are auto-generated and may be placeholders. They can be refreshed to match the narration.
Explore Digital Timelines
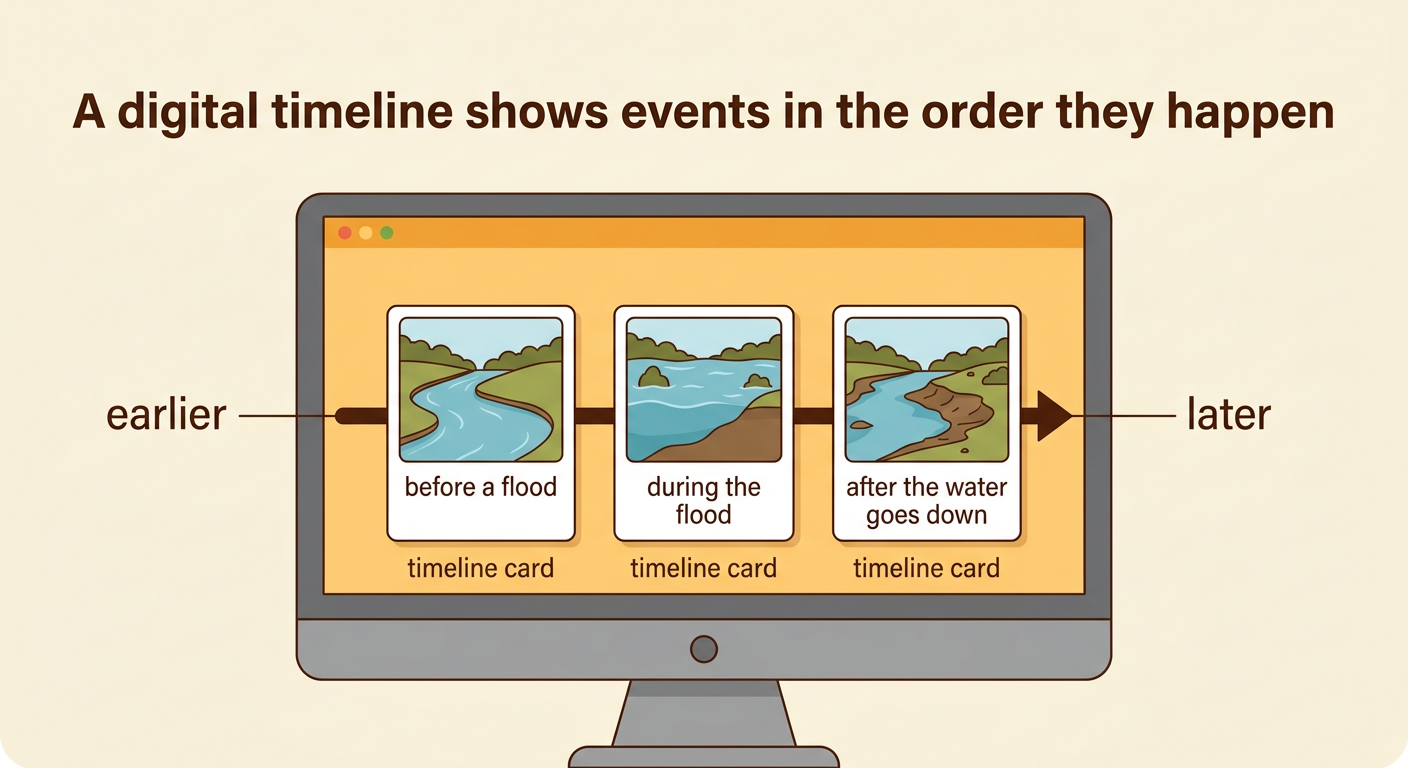
A digital timeline shows events in the order they happen. It can include pictures, dates, labels, and short explanations. With help from an adult, open a timeline tool and look at how information is arranged from left to right. Earlier events usually appear on the left, and later events appear on the right. Each event has its own timeline card or marker. For example, a timeline might show a riverbank before a flood, during the flood, and after the water goes down. The pictures help you notice how the land changed. You can move cards, type words, and add images. Before editing, practice selecting and dragging one card. Remember to use only teacher-approved pictures and websites.
Compare Quick and Slow Earth Changes
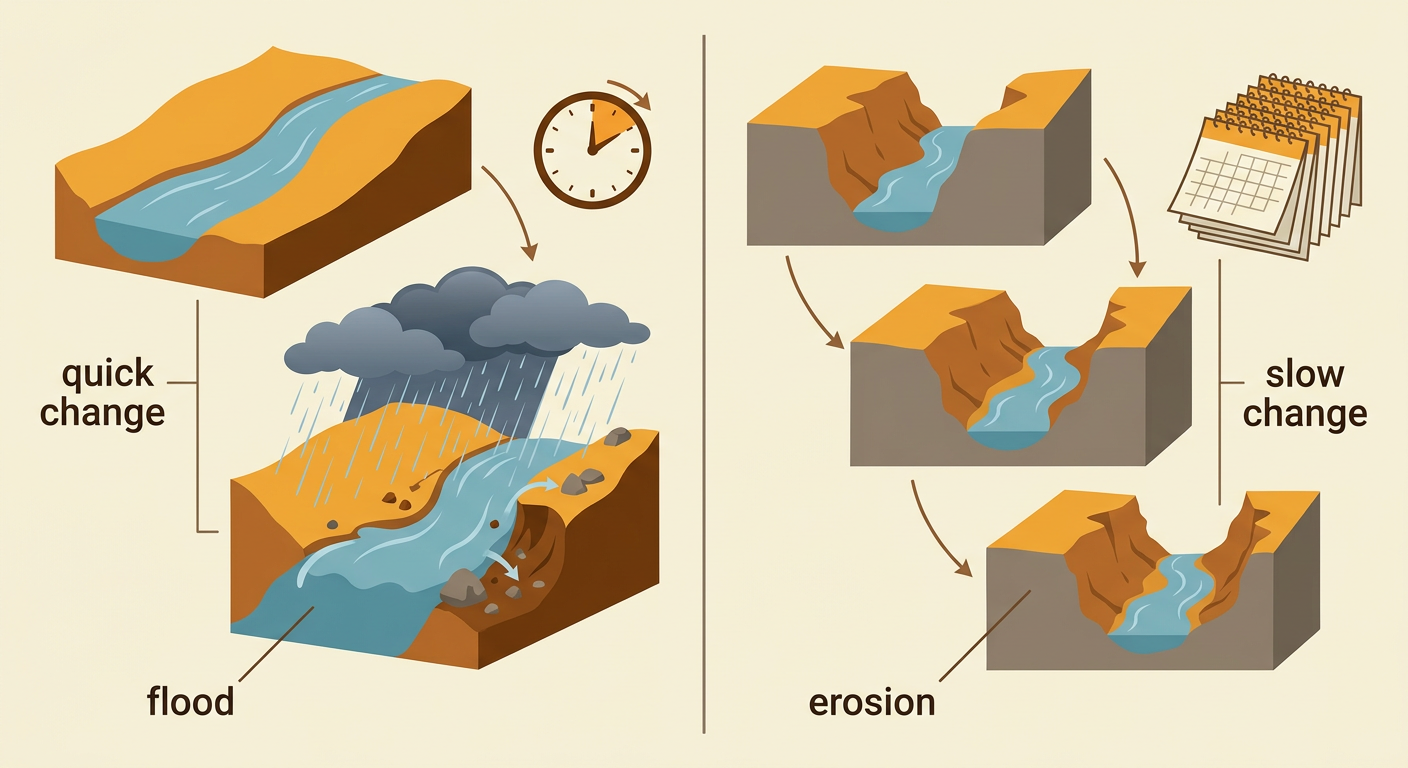
Earth’s surface can change quickly or slowly. A quick change may happen in seconds, minutes, hours, or days. An earthquake can shake and crack the ground in a short time. A flood can move soil and rocks during a storm. A slow change may continue for many years. Flowing water can slowly wear away rock and make a canyon deeper. Wind can also move sand little by little. Use several teacher-approved sources, such as a book, a photograph set, and a short science video, to learn about each event. Compare what the sources show. For example, flood photographs may show a riverbank changing in one day, while canyon photographs taken many years apart may show gradual erosion. Record whether each change is quick or slow.
Place Events in Sequence
A sequence puts events in chronological order, which means the order in which they happened. First, gather the event cards for one Earth change. Look for clues in the pictures and notes. Ask what the land looked like before the change, what happened next, and what it looked like afterward. For example, arrange four cards about a landslide. First, rain falls on a steep hill. Next, wet soil and rocks slide downhill. Then, the material stops at the bottom. Last, plants begin growing on the bare area over time. Drag each card to the correct place on the digital timeline. Read the sequence from left to right. If an event seems out of place, move it. Check that every step follows the event before it.

Add Labels and Time Clues
Labels tell readers what each timeline event shows. Time clues tell when an event happened or how long it took. Add a short title to every card. Then write one clear sentence that explains the change. Use time words such as first, next, later, after one day, or over many years. For example, a flood card might say, “After one day, rushing water carried soil away from the riverbank.” A canyon card might say, “Over many years, flowing water slowly wore away rock.” These clues help readers compare quick and slow changes. Add a date only when your source gives a trustworthy date. Check that each sentence begins with a capital letter and ends with punctuation. Choose text that is large and easy to read.

Review and Share the Timeline
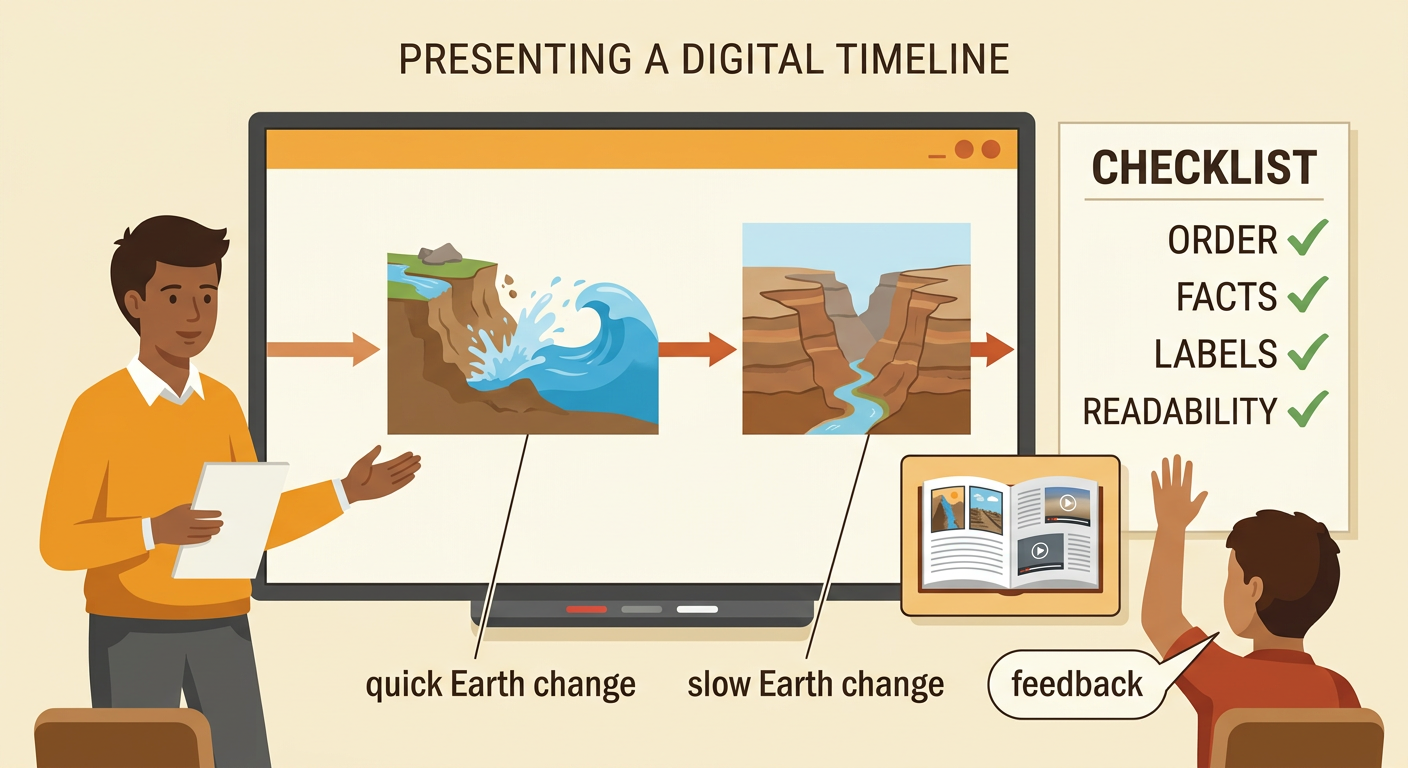
Review your timeline before sharing it. Start at the left and read every card in order. Check that the events move from earlier to later and that each picture matches its label. Make sure your timeline includes both a quick Earth change and a slow Earth change. Compare the explanations with your books, photographs, videos, or other teacher-approved sources. Fix any fact that does not match the evidence. Then check spelling, capital letters, punctuation, and text size. With adult guidance, publish or present the timeline to classmates. Explain one example, such as, “This flood changed the riverbank quickly, but erosion shaped this canyon slowly.” Invite a classmate to ask a question or suggest one improvement. Use the feedback to make your timeline clearer.