Design a Magnetic Pickup Tool
Students design and test a simple tool that uses magnets to collect steel objects, then compare each design’s effectiveness and material costs.
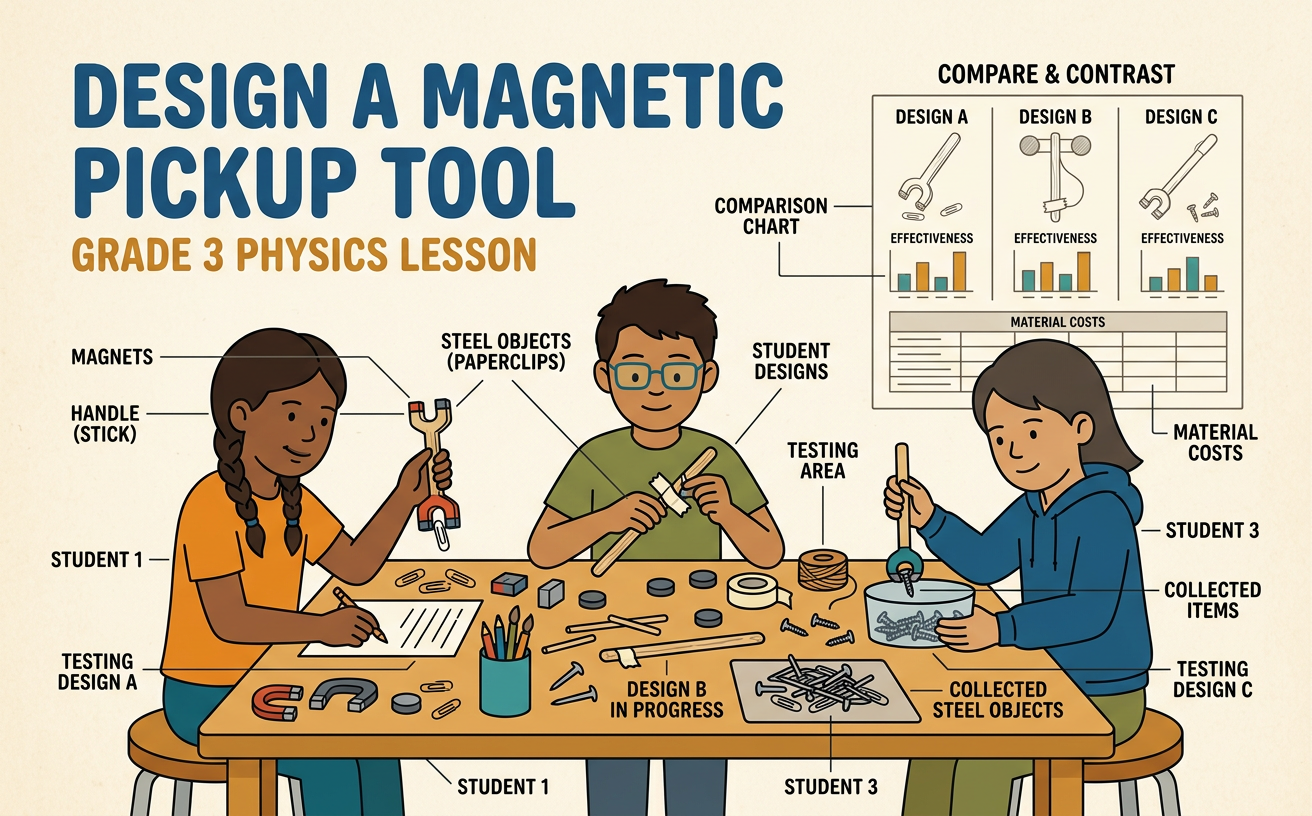
Illustrations are auto-generated and may be placeholders. They can be refreshed to match the narration.
The Magnetic Pickup Challenge
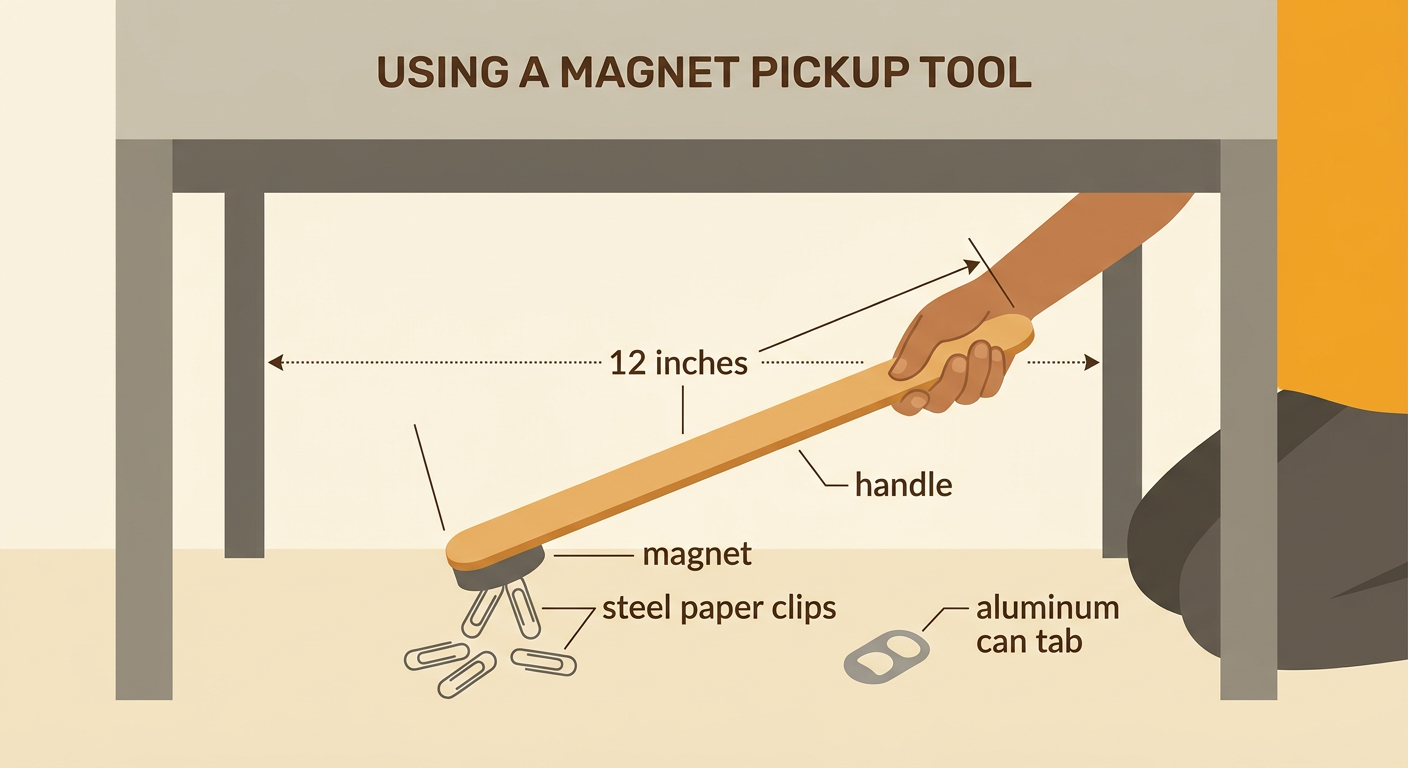
Imagine that a box of steel paper clips spills under a desk. Your challenge is to design a tool that can pick them up without using your fingers. The tool must have a handle and at least one magnet. Magnets can attract objects made from iron or steel, but they do not attract every kind of metal. For example, a magnet can lift a steel paper clip, but it usually cannot lift an aluminum can tab. A successful tool should reach at least 12 inches, collect several paper clips, and be safe and easy to use. Your class may also set limits on materials or cost. These rules are called criteria and constraints. The problem can be solved by using what you know about magnetic forces and by testing different designs.
Choosing Materials and Planning
Before building, examine the available materials and make a plan with your team. Possible materials include a bar magnet, craft sticks, string, cardboard tubes, tape, and rubber bands. Think about what each part must do. A cardboard tube can make a long, light handle, while strong tape can hold a magnet in place. Measure the planned handle with a ruler so it meets the reach requirement. Draw the tool and label its parts. Also record the price of each material. For example, a team might choose a 25-cent magnet, a 10-cent tube, and 5 cents of tape for a total cost of 40 cents. Listen to your teammates, ask questions, and explain your ideas. A shared plan helps everyone understand how the tool will be built and tested.

Building the Pickup Tool
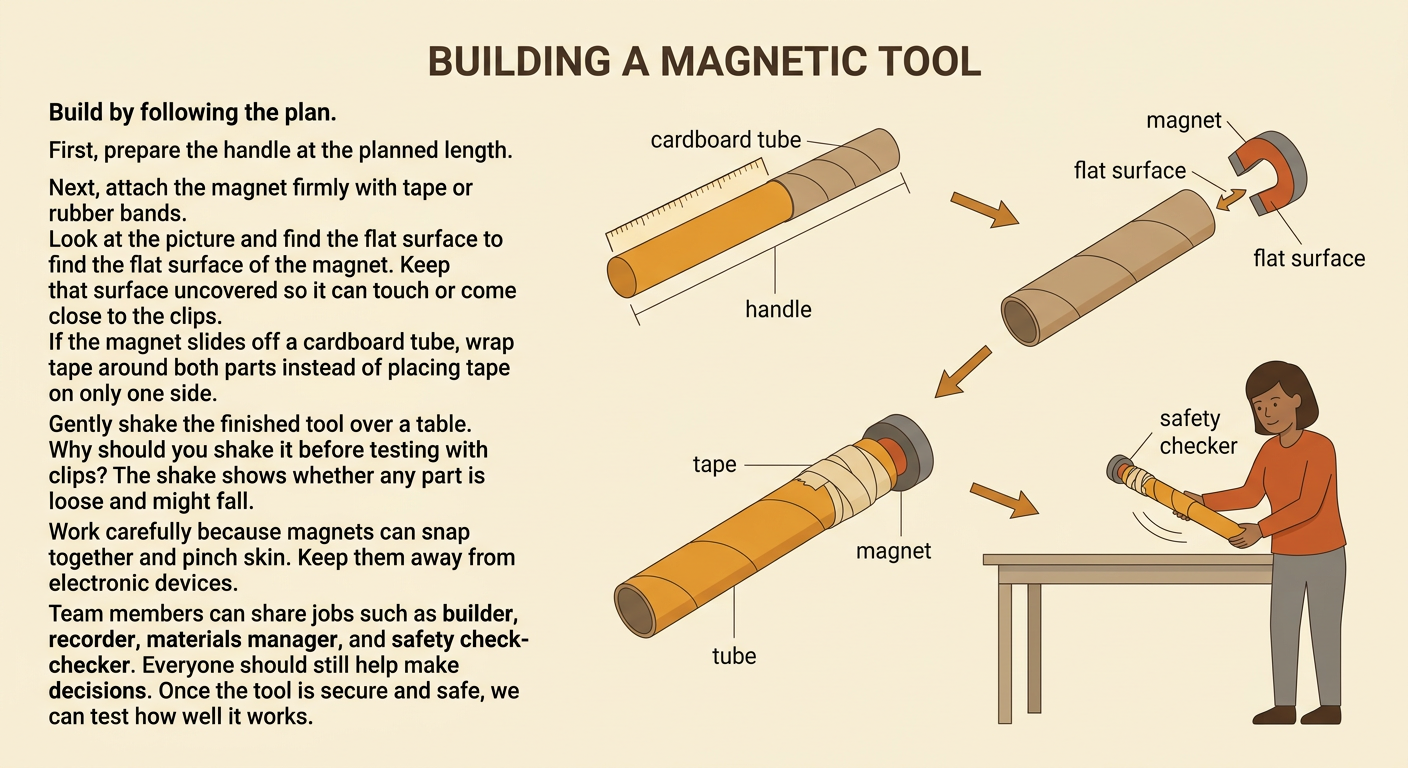
Build the tool by following your team’s plan. First, prepare the handle at the planned length. Next, place the magnet at one end and fasten it securely with tape or rubber bands. Keep the magnet’s flat surface uncovered so it can touch or come close to the steel objects. Gently shake the tool over a table to check that no part falls off. For example, if a magnet slides away from the end of a cardboard tube, wrap tape around both the magnet and tube instead of taping only one side. Work carefully because magnets can snap together and pinch skin. Keep them away from electronic devices. Team members can take different roles, such as builder, materials manager, recorder, and safety checker, while still discussing decisions together.
Testing and Measuring
Test every design in the same way so the results are fair. Place ten identical steel paper clips inside a marked test area. Hold the tool at the same starting position, lower it once, and count how many clips it collects. Repeat the test three times because one trial may be unusual. Measure the handle length with a ruler to the nearest quarter inch. You can also measure the greatest distance at which the magnet begins to move a paper clip. Record every length and result in a table. For example, a 14-inch tool might collect 6, 7, and 5 clips in three trials. Plot the measured lengths on a line plot marked in quarter-inch intervals. Do not change the tool during a set of trials. Careful measurements provide evidence for comparing designs.

Comparing Costs and Benefits
A design has benefits when it works well or is easy to use, but its materials also have costs. Compare both kinds of information before deciding which tool is best. One team might spend 70 cents on two magnets and collect an average of eight clips per trial. Another team might spend 40 cents on one magnet and collect an average of seven clips. The first tool collects one more clip, but the second tool costs 30 cents less. The class must decide whether the extra benefit is worth the extra cost. Also consider benefits that are not measured in money, such as a comfortable handle, strong construction, or easy storage. Make a comparison chart for all designs. Use evidence from the test results and cost list rather than choosing a tool only because it looks interesting.

Sharing Design Improvements
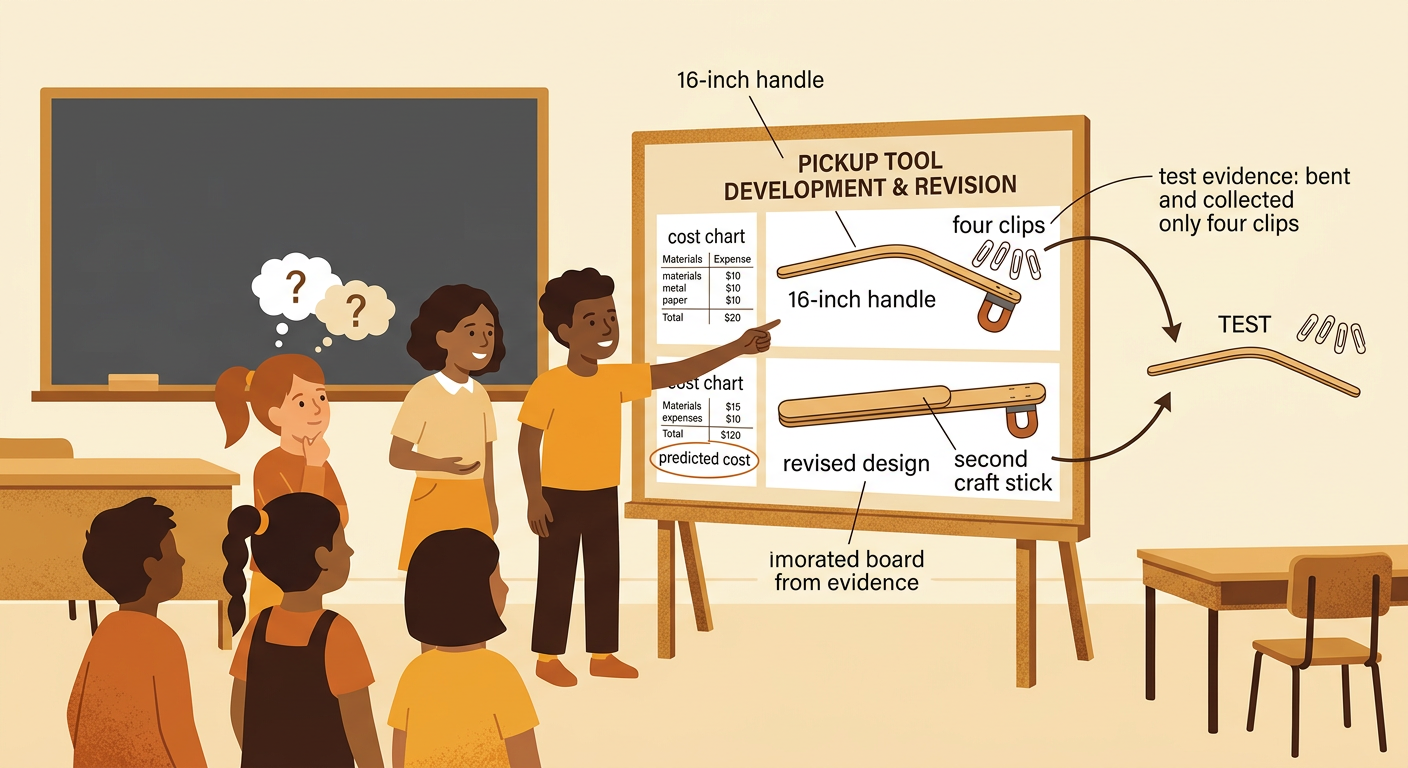
Present your tool to the class and explain how it works. Each team member should contribute by describing the plan, materials, measurements, test results, costs, or possible improvements. Speak clearly, listen without interrupting, and ask questions that help the team think more deeply. Use evidence when suggesting a change. For example, you might say, “Our 16-inch handle bent and collected only four clips, so we would strengthen it with a second craft stick.” Another team might move the magnet to the center of a wider cardboard head so it stays level. After hearing feedback, draw a revised design and predict how the change will affect performance and cost. A good improvement addresses a test result or problem. Engineers often plan, build, test, compare, and redesign many times before choosing a final solution.