Designing Sound Signals
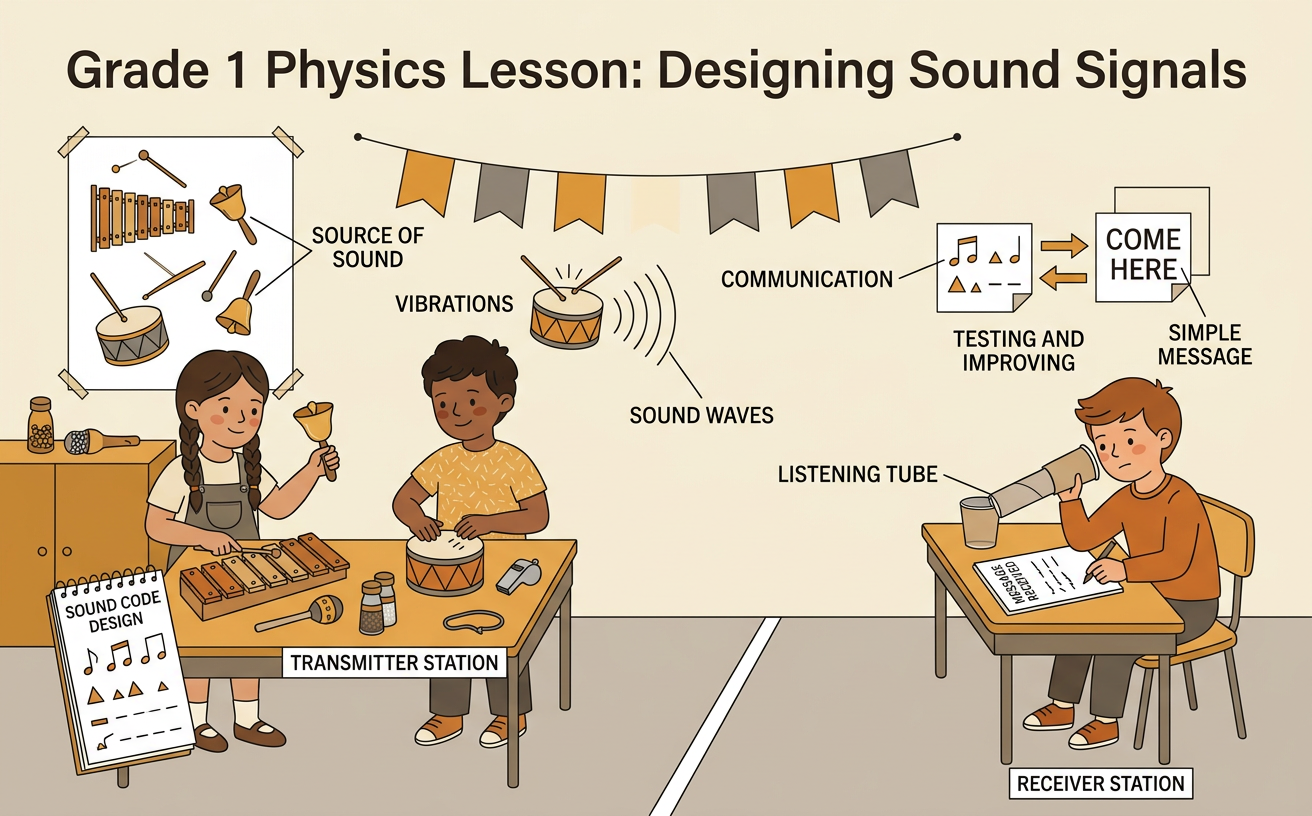
Students design, test, and improve a pattern of sounds that communicates a simple message across the classroom.
Illustrations are auto-generated and may be placeholders. They can be refreshed to match the narration.
The Communication Challenge
Imagine that a classmate is standing across the classroom. You need to tell your classmate, “Please come here,” without speaking or walking closer. A sound signal can carry the message. Your team will build a simple sound-making device and create a sound pattern. You might tap two wooden blocks, shake a container filled with dry beans, or strike a metal pan gently with a spoon. Before working, agree on discussion rules. Take turns speaking, listen carefully, and handle materials safely. Make choices together instead of letting one person decide everything. For example, your group might agree that three slow taps mean “Please come here.” The challenge is to make a signal that your classmate can hear, recognize, and understand from across the room.

Explore Sound Signals
Explore several tools and materials before choosing your signal. Tap wooden blocks, shake a sealed bean container, ring a small bell, or clap your hands. Listen for how each sound is different. A tap may be short and quiet. A bell may ring longer. Try making sounds that are loud enough to hear across the room but not so loud that they hurt anyone’s ears. You can also change the pattern. Make sounds fast or slow, and use short or long pauses. For example, compare tap-tap with tap, pause, tap. They use the same tool, but the timing makes the patterns different. Let every teammate try a material. Then talk together about which sound is easiest to hear and which pattern is easiest to remember.

Plan a Sound Code
A sound code connects a sound pattern to a meaning. Choose one simple message, such as “Please come here,” “I need help,” or “Cleanup time.” Next, choose a sound-making device and plan an easy pattern. Keep the code short so listeners can remember it. Your team could decide that one ring means “Look at me” and two rings mean “Please come here.” Draw the pattern with marks. A dot can show one sound, and a space can show a pause. Practice reading the code from left to right. Listen to every teammate’s idea, ask polite questions, and vote or agree on the final plan. Record the message, the tool, and the pattern so everyone follows the same code during the test.

Test the Message
Now test whether your sound signal works over a distance. One teammate is the sender, and another is the listener across the classroom. The sender makes the planned pattern one time. The listener stays quiet, listens attentively, and says what message the pattern means. Other teammates watch and record what happened. Was the signal loud enough? Did the listener hear the correct number of sounds? Were the pauses clear? For example, if two rings mean “Please come here,” the listener should identify that message after hearing exactly two rings. Test the signal more than once and let students switch roles. Keep the room quiet during each test so the results are fair. Use materials gently, and never make a sound close to another person’s ears.

Improve and Share
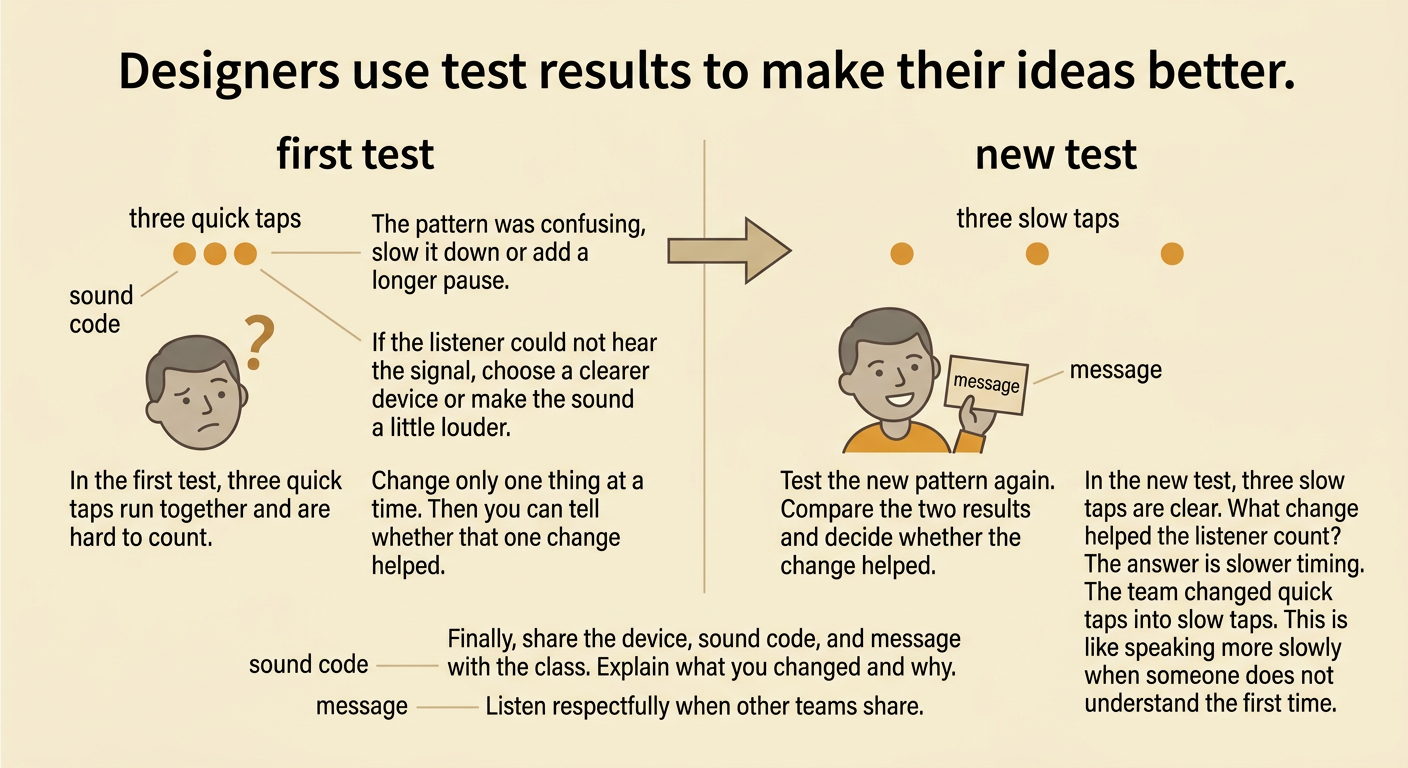
Use your test results to improve the sound signal. If the listener could not hear it, choose a clearer material or make the sound a little louder. If the listener mixed up the pattern, slow it down or add a longer pause. Change only one thing at a time, and then test again. For example, a team may change three quick taps into three slow taps so each sound is easy to count. As a group, compare the first test with the new test and decide whether the change helped. Finally, share your device, code, and message with the class. Explain what you changed and why. Listen respectfully while other teams share. A successful design sends the intended message safely, clearly, and reliably across the classroom.