Designing Sound Signals to Send Messages
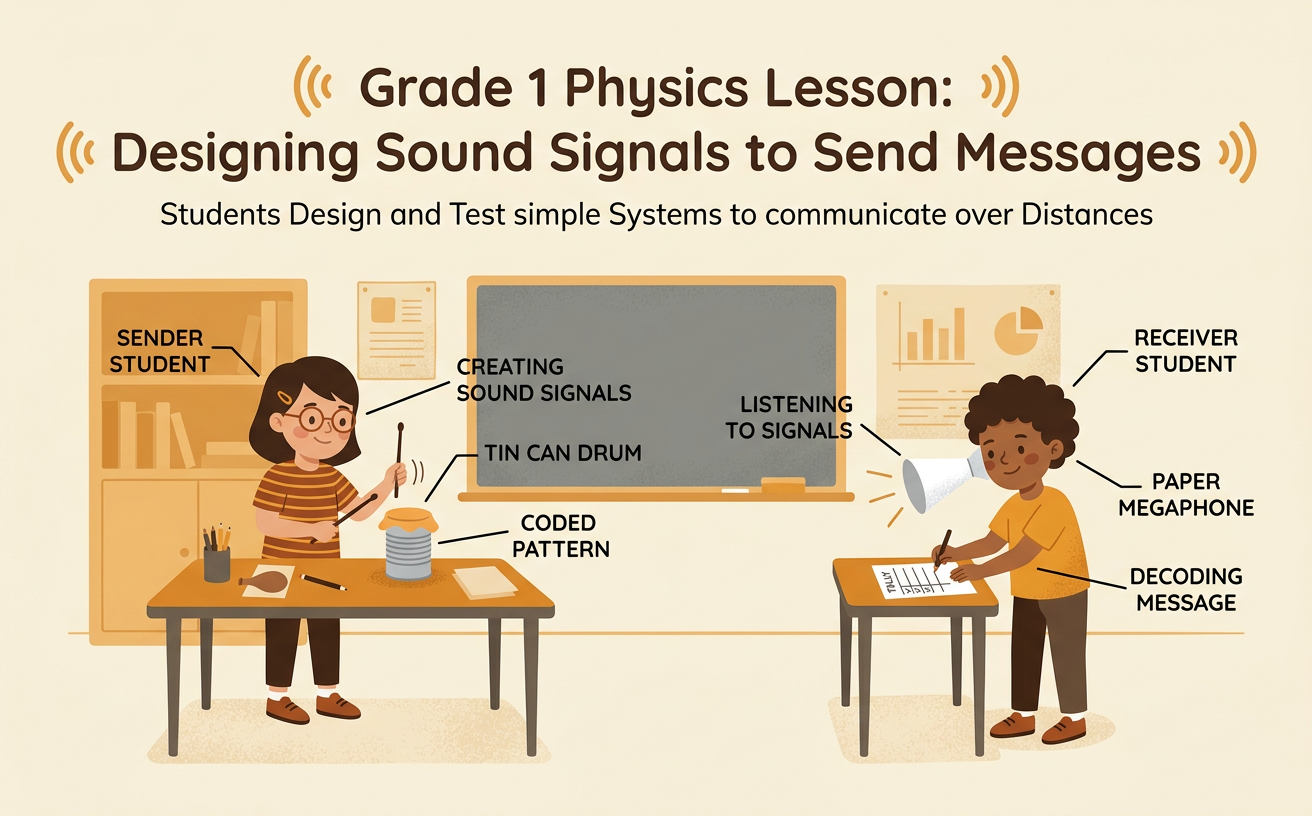
Students design and test a simple sound-signal system that communicates a message across the classroom.
Illustrations are auto-generated and may be placeholders. They can be refreshed to match the narration.
How Can Sound Carry a Message?
Sound can travel from one place to another. When you clap, tap, ring, or shake something, it makes the air vibrate. These vibrations travel through the air to a listener’s ears. A sound can carry a message even when people are far apart and cannot speak quietly to each other. For example, one clap might mean “look at me,” while two claps might mean “come here.” The sender makes the sound, and the receiver listens and decides what it means. Try standing on opposite sides of the classroom. One student claps twice while the other listens. Talk with your group about whether the sound was easy to hear. Take turns speaking, listen carefully, and follow your class rules for sharing ideas.

Create a Sound-Signal Code
A sound-signal code gives a meaning to each sound pattern. Choose messages that your group may need to send. Use patterns that are easy to tell apart. For example, one tap can mean “yes,” two taps can mean “no,” and three taps can mean “help.” Practice each pattern slowly so everyone hears the number of taps. Make sure all group members agree on the code before testing it. Let one person share an idea at a time, and listen before making a group decision. Avoid codes that sound almost the same, such as one quick tap and one slightly longer tap. A clear code helps the receiver understand the correct message. Say the code aloud together, and check that everyone can explain what each signal means.

Build or Choose a Sound Maker
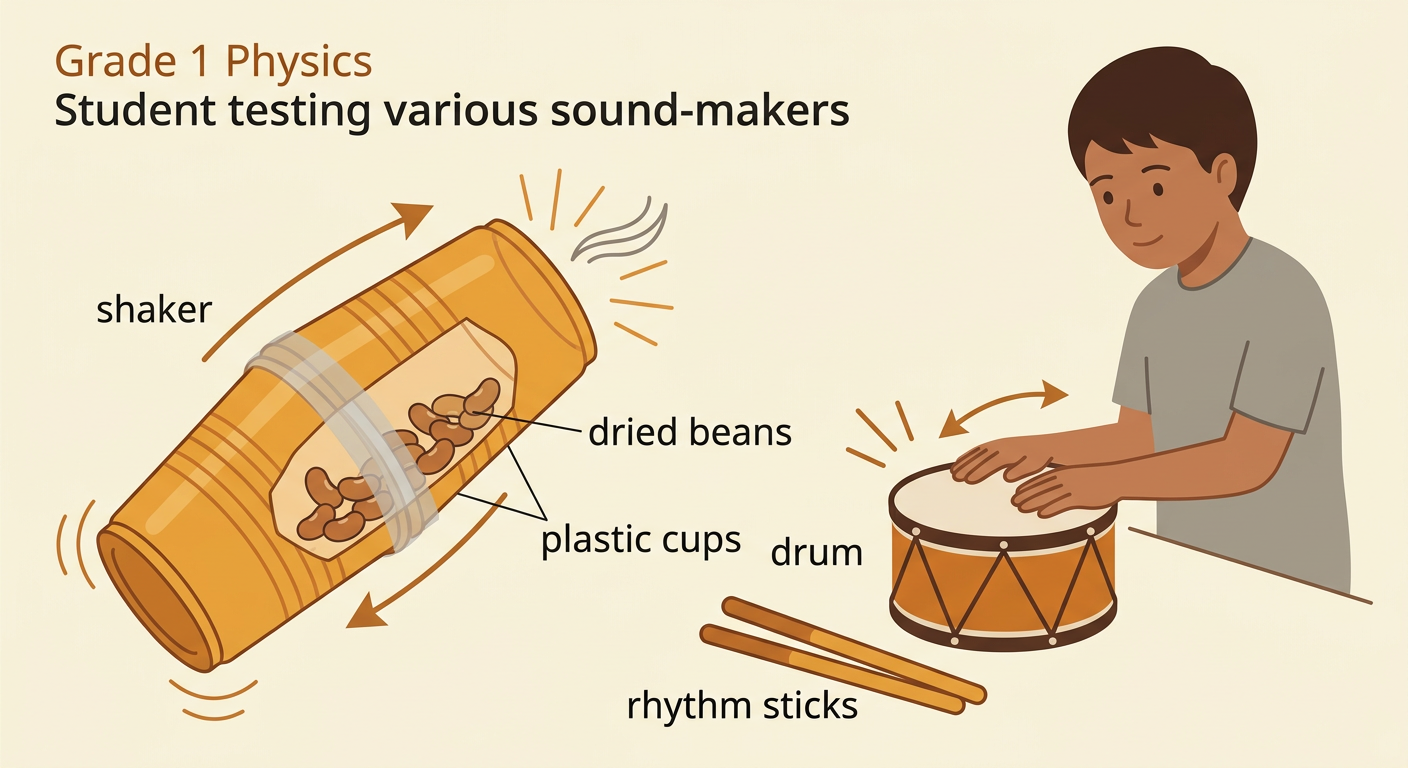
Choose or build a sound maker that can make clear signals. You might use rhythm sticks, a small drum, a bell, or a shaker. To make a shaker, place a few dried beans in a sturdy plastic cup and ask an adult to tape a second cup securely on top. Shake it gently to make sound. Test your sound maker before using it across the room. It should be loud enough to hear but not so loud that it hurts anyone’s ears. It should also make the same kind of sound each time. Compare two choices, such as a shaker and a drum. If the drum taps are easier to count, your group may choose the drum. Handle materials safely, take turns, and agree as a group about which sound maker works best.
Send and Receive Messages
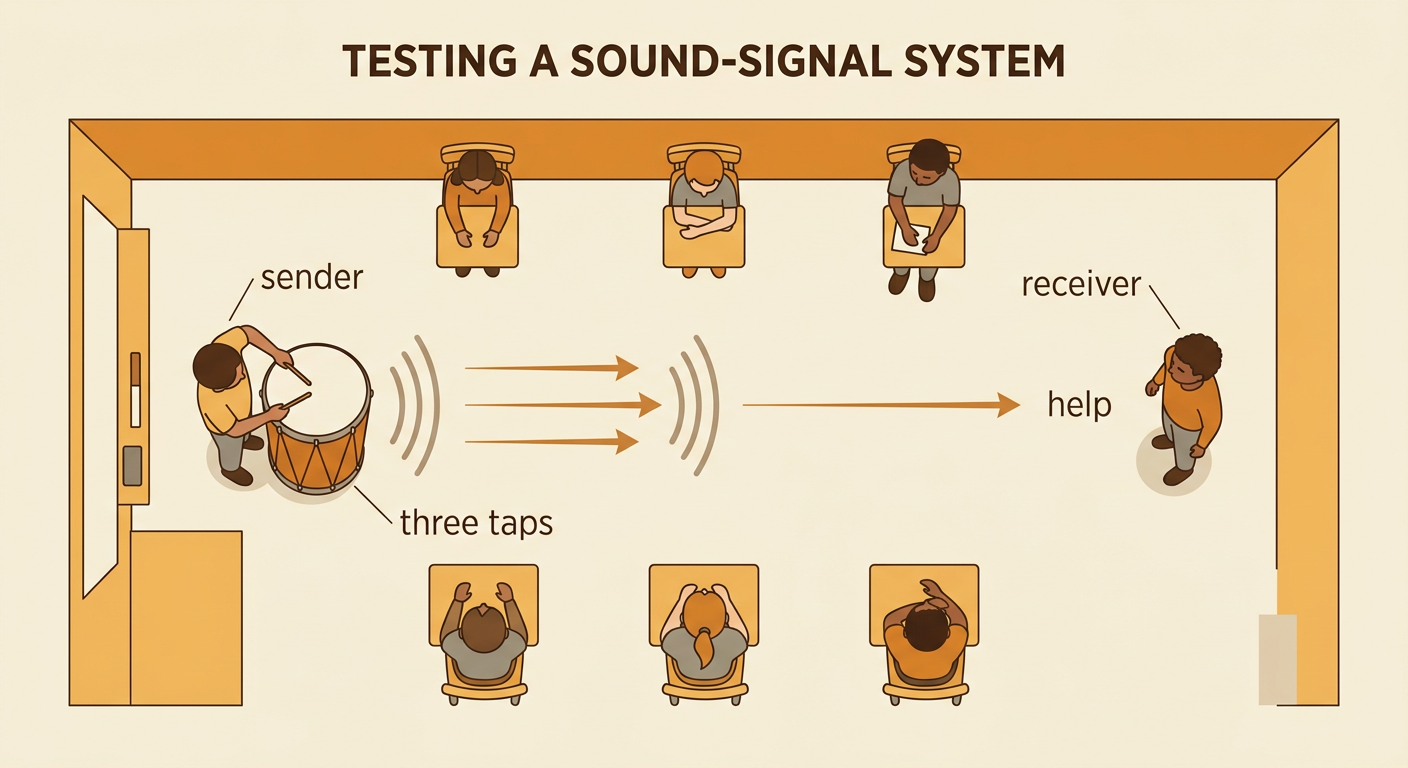
Now test your sound-signal system across the classroom. The sender secretly chooses one message from the code and makes its sound pattern. The receiver listens without looking at the code chart, then says which message was sent. For example, the sender may tap the drum three times. If three taps mean “help,” the receiver should answer “help.” Switch roles so each person gets a turn sending and receiving. Keep the same distance for each test so the results are fair. Everyone else should stay quiet while a signal is being sent. Follow the agreed-upon rules: wait for your turn, listen attentively, and speak kindly. Test each of the three messages several times. Notice whether distance, classroom noise, or tapping too quickly makes a signal harder to understand.
Record Results and Improve the Design
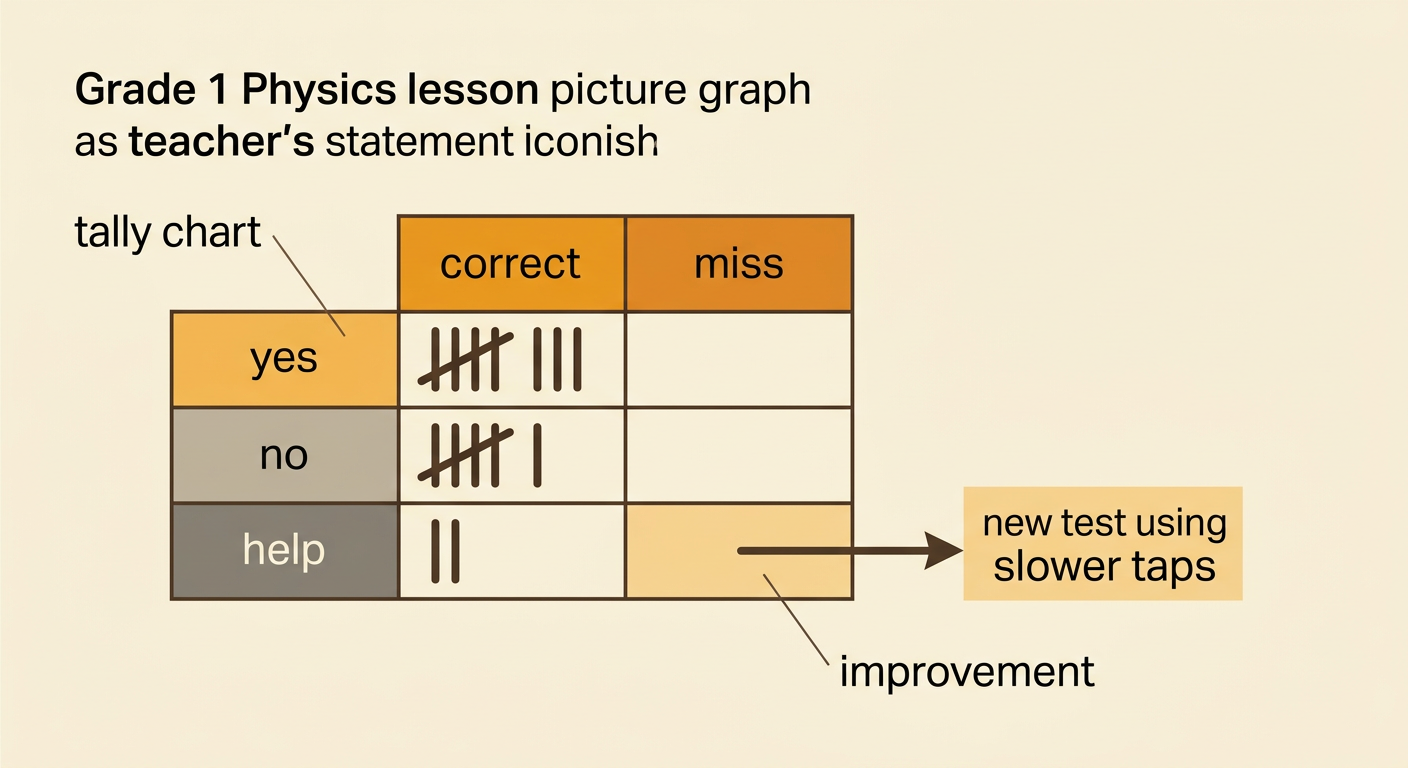
Record what happened after every test. Make a chart with three message categories, such as yes, no, and help. Add a tally when the receiver identifies a message correctly. You can also mark a miss when the message is not understood. Suppose your group sends each message five times. The receiver may get yes correct five times, no correct four times, and help correct two times. Compare the three categories. Help needs improvement because it had the fewest correct answers. Talk about one change your group can make. You might tap more slowly, use a louder sound maker, or choose a clearer pattern. Agree on one change, test the system again, and record the new results. A good design becomes more useful when people test it, study the data, and improve it together.