
Light Helps Us See
Students observe that objects are visible when light shines on them and difficult or impossible to see in darkness.

Illustrations are auto-generated and may be placeholders. They can be refreshed to match the narration.
Try to See in the Dark
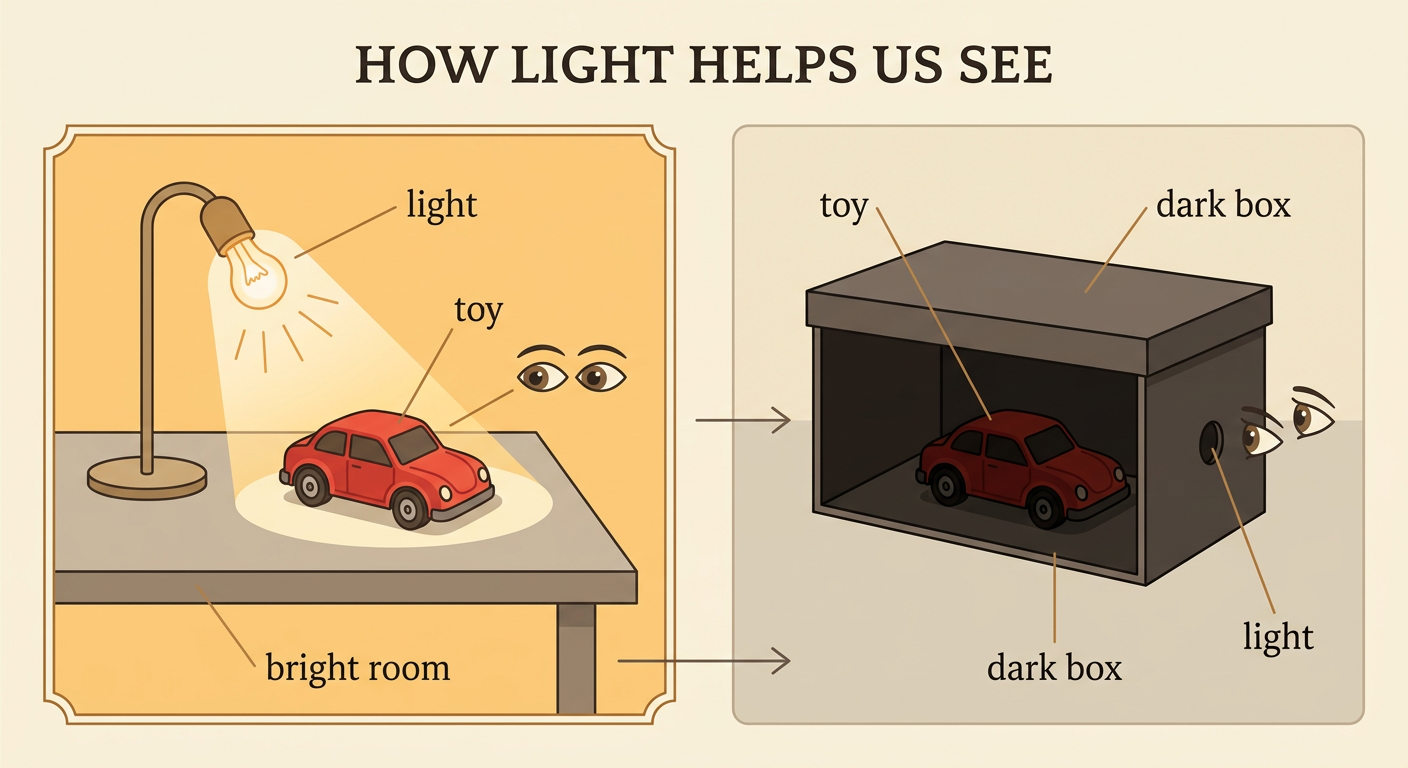
Look at a small toy in a bright room. Notice its color, shape, and parts. Now an adult can place the toy inside a box with a lid and a small viewing hole. When the lid is closed, no light reaches the toy. Look through the hole without putting your face too close. Can you see the toy clearly? It may be difficult or impossible to see. The toy is still inside the box, but there is not enough light to see it. Light must shine on an object before our eyes can see that object. For safety, explore darkness with an adult. Stay in one place, and do not walk around a dark room.
Shine Light on an Object
Place a block inside a dark viewing box. At first, look through the viewing hole while the box is dark. You may not see the block. Next, ask an adult to turn on a flashlight that shines through a different opening. Never shine a flashlight into anyone’s eyes. The light travels to the block and bounces from the block toward your eyes. Now you can see its shape and color. Try moving the flashlight so that more or less light reaches the block. What changes? The block usually looks clearer when more light shines on it. This observation is evidence that an object can be seen when it is illuminated. Illuminated means that light is shining on it.

Compare Light and Darkness
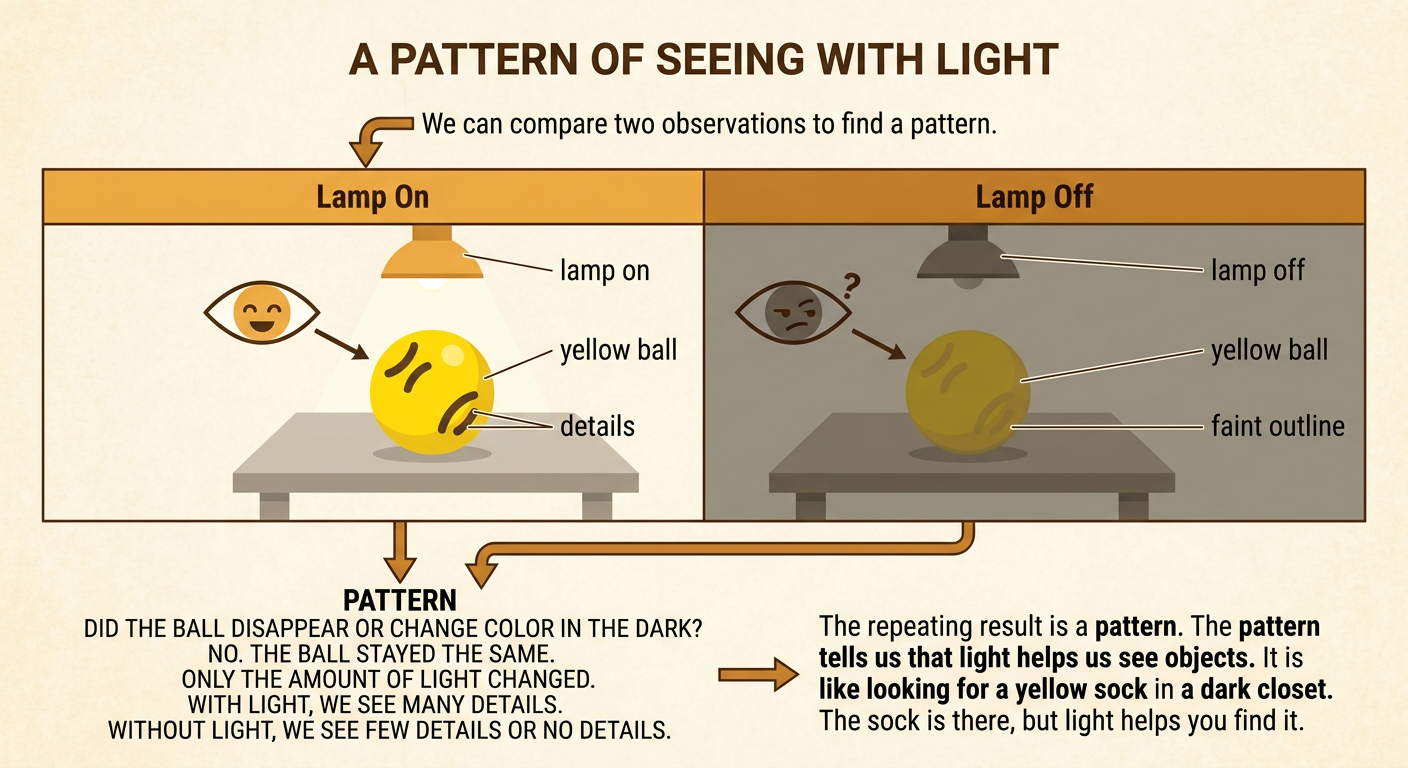
Scientists compare observations to find patterns. Make two observations of the same object, such as a yellow ball. First, observe the ball with a lamp on. You can probably see its round shape, yellow color, and dark markings. Then have an adult turn the lamp off while everyone stays safely seated. In darkness, the ball may be hard or impossible to see. Turn the lamp on again, and the ball becomes visible. The ball did not disappear or change color in the darkness. Only the amount of light changed. Compare the two observations: with light, you saw details; without light, you saw few details or none. This pattern shows that light helps us see objects.
Share Observation Evidence
Talk with a partner about what you observed. Take turns speaking and listening. You might say, “When the flashlight was off, I could not see the block. When the flashlight was on, I saw a blue block.” That statement uses observation evidence because it tells what you noticed during the test. Your partner may have noticed the block’s shape or how clearly it appeared. Ask a question such as, “What did you see when the light turned on?” Listen without interrupting. Then work together to make an evidence-based account: objects can be seen when light shines on them. Use words such as light, dark, object, see, and evidence. Different observations can help the group build one clear explanation.

Draw What Light Helps Us See
Draw a picture that shows how light helps you see a place. You might draw your classroom with sunlight coming through a window. Include objects the light helps you see, such as tables, books, a rug, and the classroom door. Add arrows from the window toward the objects to show where the light travels. You can also make a simple classroom map using shapes: rectangles for tables, a square for the rug, and a line for the window. Add a sun symbol near the window. Your drawing or map is a representation of the classroom. It shows where things are and how light enters the place. Tell a partner, “The sunlight shines on the books, so I can see them.”
