
Motion Maps: Which Way Did It Go?
Students gently push a toy from the same starting point in different directions, observe its path, and draw arrows to show where it moved.
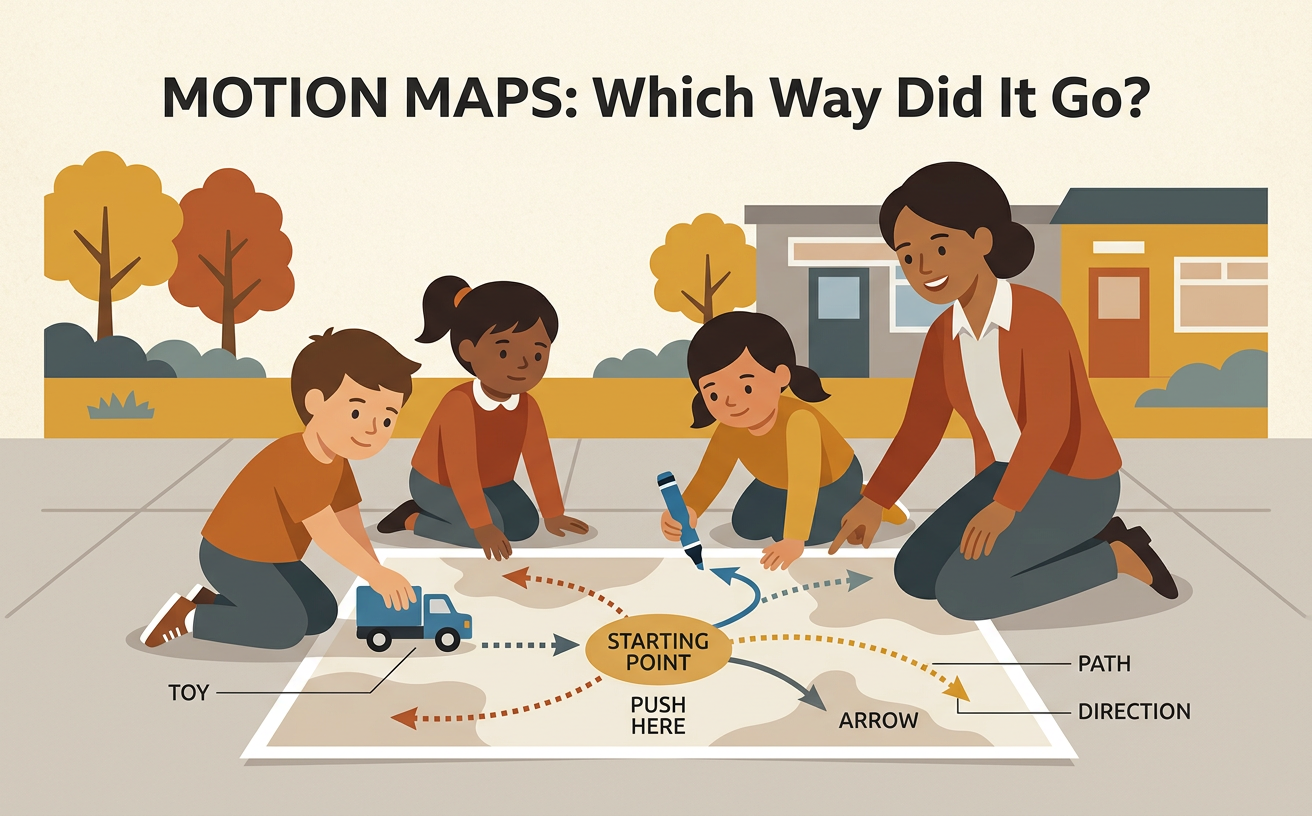
Illustrations are auto-generated and may be placeholders. They can be refreshed to match the narration.
Notice Position and Direction
Position tells where something is. Direction tells which way it may move. Place a toy car on a large sheet of paper. Put a dot beside the car to mark its starting position. Look at objects around it. The car might be in front of a block, behind a cup, or next to a book. Now point in different directions from the starting dot. You can point left, right, forward, or backward. Everyone should look from the same side of the paper so left and right stay clear. For example, if the book is on the right side of the paper, say, “The book is to the right of the toy.” Noticing position and direction will help you describe the toy’s motion clearly.

Predict the Toy’s Path
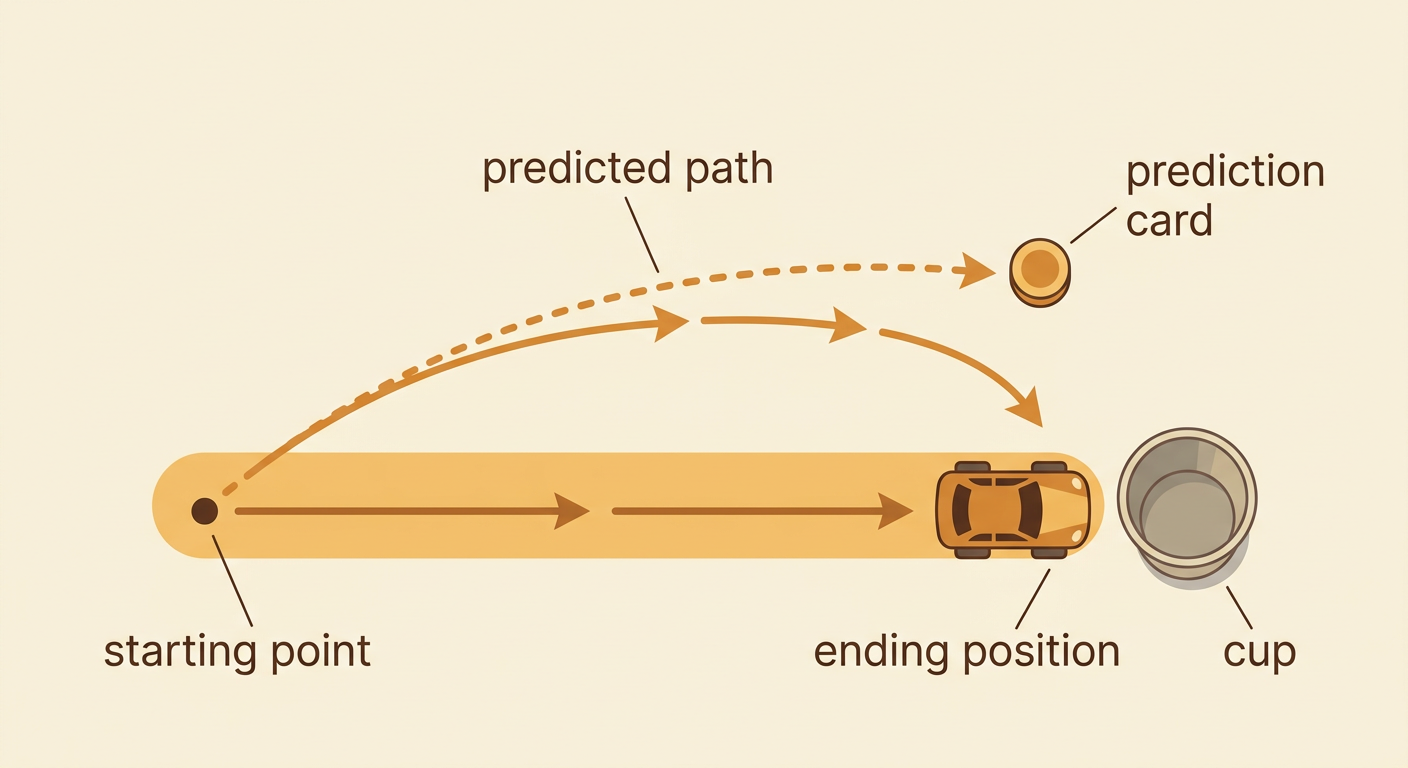
A prediction is what you think will happen. Before touching the toy, choose a direction for the push. Point that way and imagine the path the toy might take. A path is the line or route an object follows as it moves. Place a small card where you think the toy will stop. Then use your finger to trace an imaginary path from the starting dot to the card. For example, if you plan to push the toy to the left, predict that it will travel left from the starting point. Say, “I predict the toy will move left and stop near the block.” A prediction does not have to be correct. It gives you an idea to test by observing what really happens.

Push in Different Directions
Now test how the direction of a push affects the toy’s motion. Put the toy on the same starting dot for every test. Give it one gentle push to the left and watch it move. Return it to the starting dot. Next, give it one gentle push to the right. You can also test forward and backward. Try to use the same toy, surface, and gentle kind of push each time. Change only the direction as carefully as you can. Keep hands, feet, and faces out of the toy’s path. For example, a leftward push may send the toy toward the left side of the paper, while a forward push may send it toward the top. Repeating from the same start makes the paths easier to compare.

Observe Where It Goes
Watch closely during each test. Notice which way the toy begins moving, the path it follows, and where it stops. Do not grab it while it is moving. When it stops, place a small paper marker beside its ending position. Compare that marker with your prediction card. Ask yourself: Did the toy move in the direction of the push? Did it travel mostly straight, or did it turn? Where did it stop compared with the starting point? For example, after a push to the right, the toy may stop to the right of the starting dot and near a cup. Say exactly what you observed: “The toy moved right from the start and stopped beside the cup.” Careful observations help you use evidence from the investigation.
Draw a Motion Map
A motion map is a simple picture that shows where an object started and where it moved. Draw the familiar testing space from above, as if you were looking down at the paper. Make a dot for the toy’s starting point. For each test, draw an arrow from the starting dot in the direction the toy traveled. The arrowhead points toward the ending position. Mark each ending position with a small circle or picture of the toy. For example, draw one arrow left toward the block and another arrow right toward the cup. Add nearby objects so someone can understand the space. Your map does not need every tiny detail. It should clearly show the start, the paths, the directions, and the places where the toy stopped.

Share Using Position Words
Use your motion map to tell someone what happened. Speak loudly enough to be heard and include clear position and direction words. You might use left, right, forward, backward, near, far, beside, in front of, or behind. Point to the starting dot, trace an arrow with your finger, and point to the ending position as you speak. For example, say, “The toy started between the block and the cup. I pushed it forward. It moved away from me and stopped in front of the book.” Then describe a different test and compare the directions. You could say, “The right push made the toy move toward the cup, but the left push made it move toward the block.” A clear description helps listeners understand your investigation and read your map.
