Nature-Inspired Designs: Build a Helpful Tool
Students observe useful plant and animal structures, then design a simple tool that copies one of nature’s solutions to a human problem.

Illustrations are auto-generated and may be placeholders. They can be refreshed to match the narration.
Nature Solves Problems
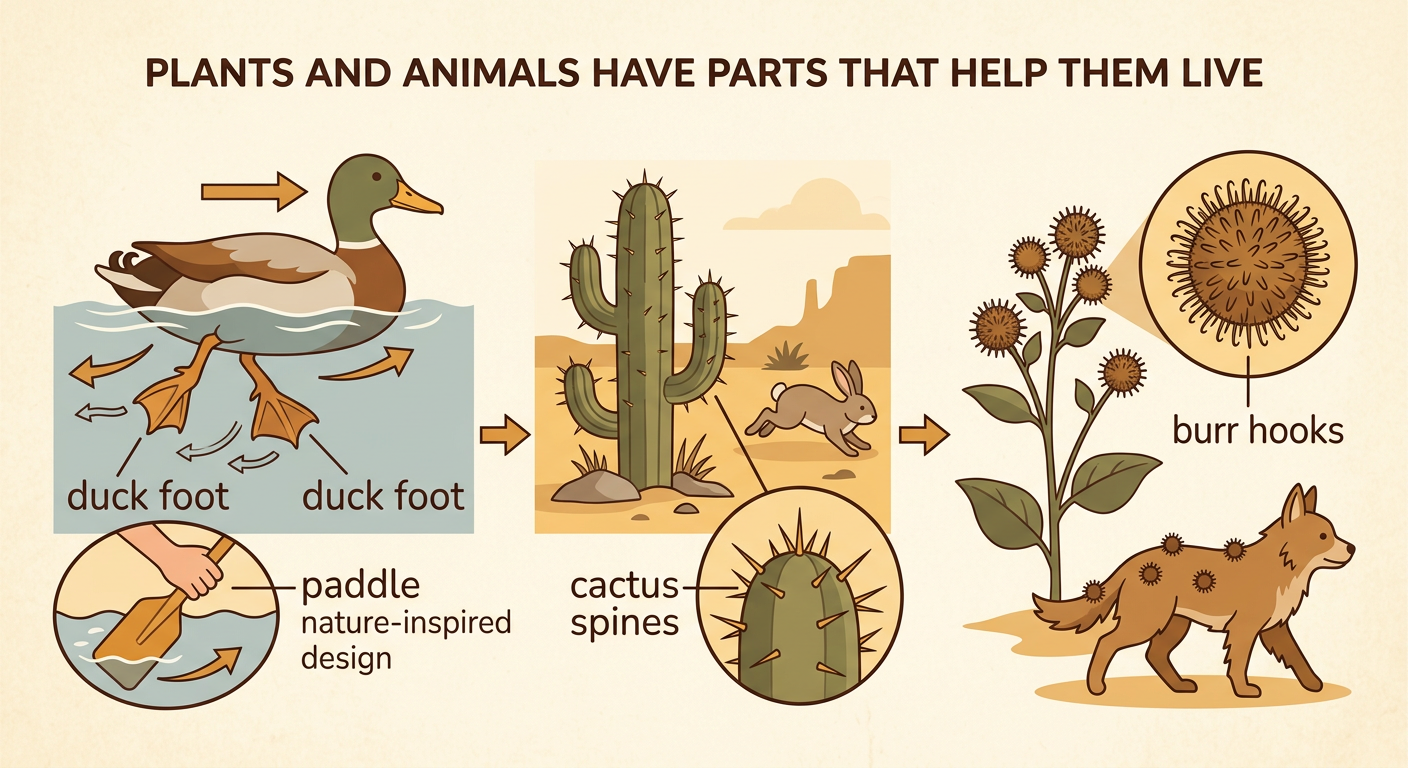
Plants and animals have outside parts that help them live. A duck’s webbed feet push against water and help the duck swim. A cactus has sharp spines that help protect it from animals. A burdock plant makes burrs with tiny hooks. The hooks catch on animal fur, so the seeds can travel to new places. People can study these useful parts and copy an idea from nature. For example, a person might copy the shape of a duck’s foot to make a paddle that moves water. This is called a nature-inspired design. The copied tool does not need to look exactly like the plant or animal. It needs to use a similar structure to solve a human problem.
Observe Nature-Inspired Objects
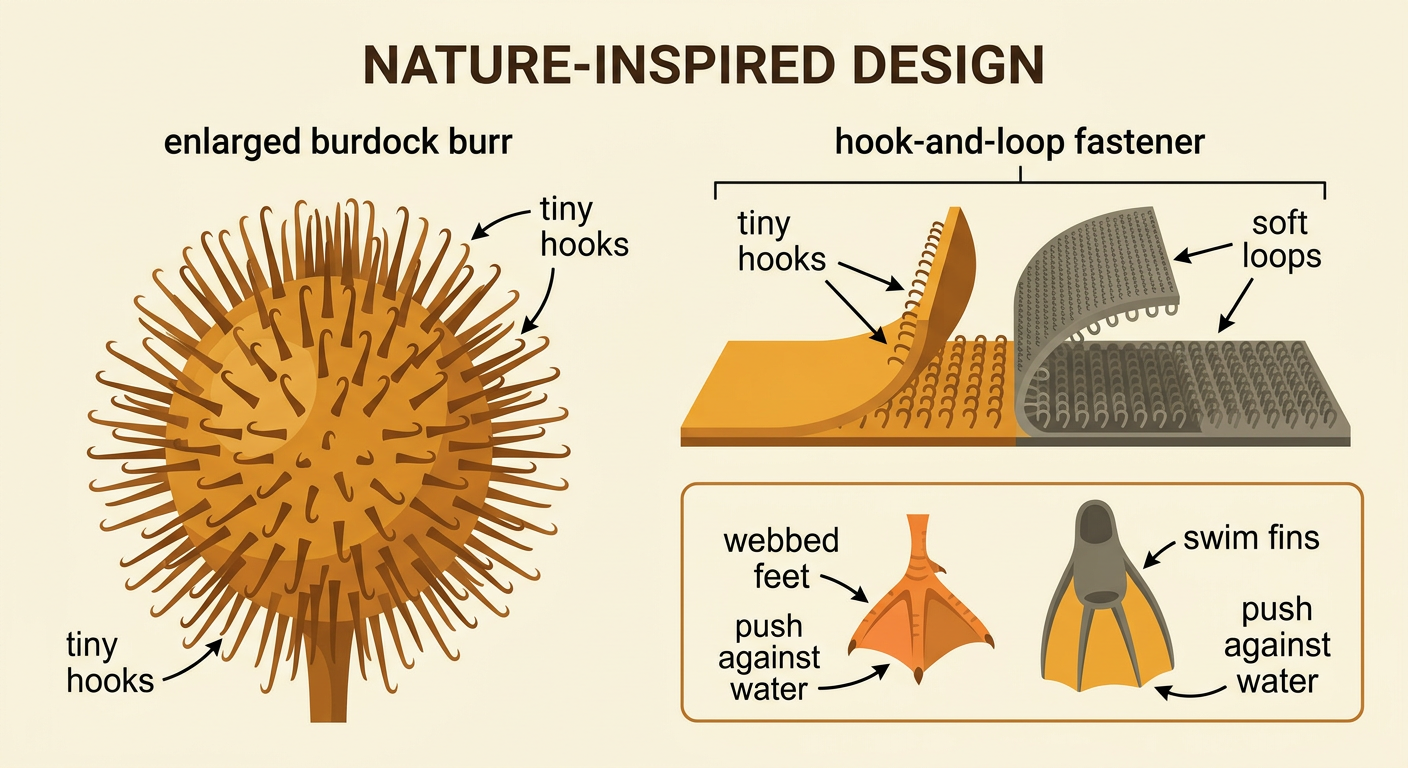
Scientists and designers look closely at nature before making a tool. They notice a part’s shape, texture, and job. Look at a burdock burr and a hook-and-loop fastener. The burr has many tiny hooks that catch on fur or cloth. One side of the fastener also has tiny hooks. Those hooks catch soft loops on the other side and hold the two pieces together. You can observe safely by looking with a hand lens or touching a classroom model. Ask: What do I notice? What job does this part do? How is the human-made object similar? Swim fins are another example. Their wide, flat shape works somewhat like a duck’s webbed feet by pushing water during swimming.
Choose a Human Problem
A good design begins with a clear human problem. Think about a place and what people need there. In a rainy place, people may need to keep a backpack dry. In a snowy place, people may need help walking without sinking deeply. In a hot, sunny place, people may need shade. Choose one small problem that a simple tool could help solve. Then think of a plant or animal part with a useful shape. For example, a large leaf catches sunlight and can block some light below it. A student could use that idea to design a wide backpack cover that shades the bag and helps rain run off. Tell a partner your problem and nature idea. Listen, take turns, and ask one helpful question.

Sketch a Helpful Tool
Now draw a plan for your helpful tool. A sketch is a quick drawing that shows your idea. Include the tool’s shape, the materials you might use, and the part copied from nature. Add labels and arrows so another person can understand the plan. For example, imagine a grabber for picking up light paper scraps. Its ends could copy the curved shape of a bird’s claws. Draw two curved cardboard tips connected to craft sticks. Show where a hand holds the tool and where the tips close around the paper. Use safe classroom materials, and ask an adult before building. Check your plan by asking: Does it solve my problem? Which plant or animal part inspired it? How does that shape help the tool work?

Share and Explain the Design
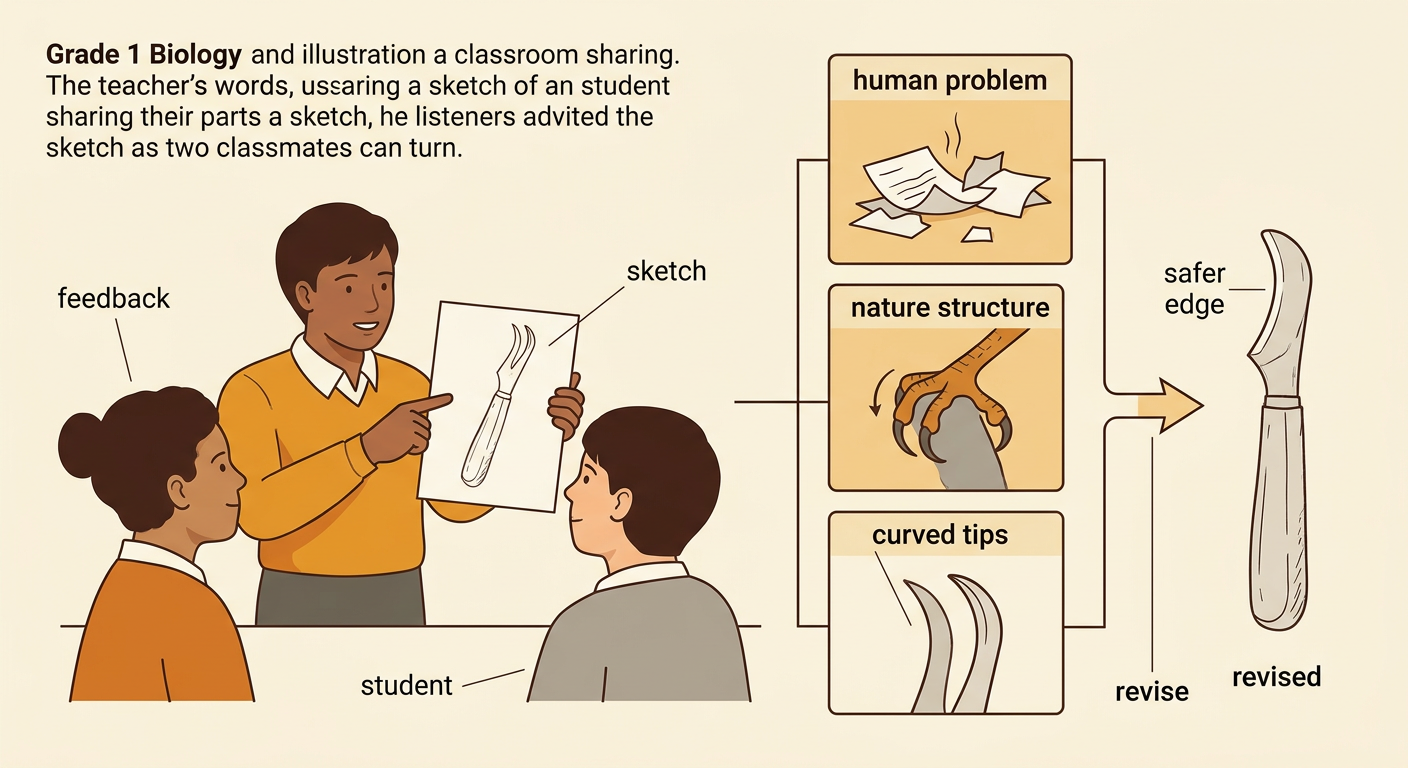
Share your sketch with a partner or the class. Speak clearly and show each important part. First, name the human problem. Next, name the plant or animal structure that gave you the idea. Then explain how your tool uses a similar shape or action. You might say, “Paper scraps are hard to pick up. Bird claws curve around objects. My grabber has curved tips that close around paper.” Listeners should look at the sketch, wait for their turn, and ask questions such as, “What material will you use?” or “How will you test it?” Use feedback to improve the plan. You may make the handle stronger, change the size, or add a safer edge. Designers often revise ideas after they talk, test, and learn.