
Patterns in the Sky: Sun, Moon, and Stars
Students examine sky images, arrange observations by time, and describe predictable patterns involving the sun, moon, and stars.

Illustrations are auto-generated and may be placeholders. They can be refreshed to match the narration.
Notice the Sky Safely
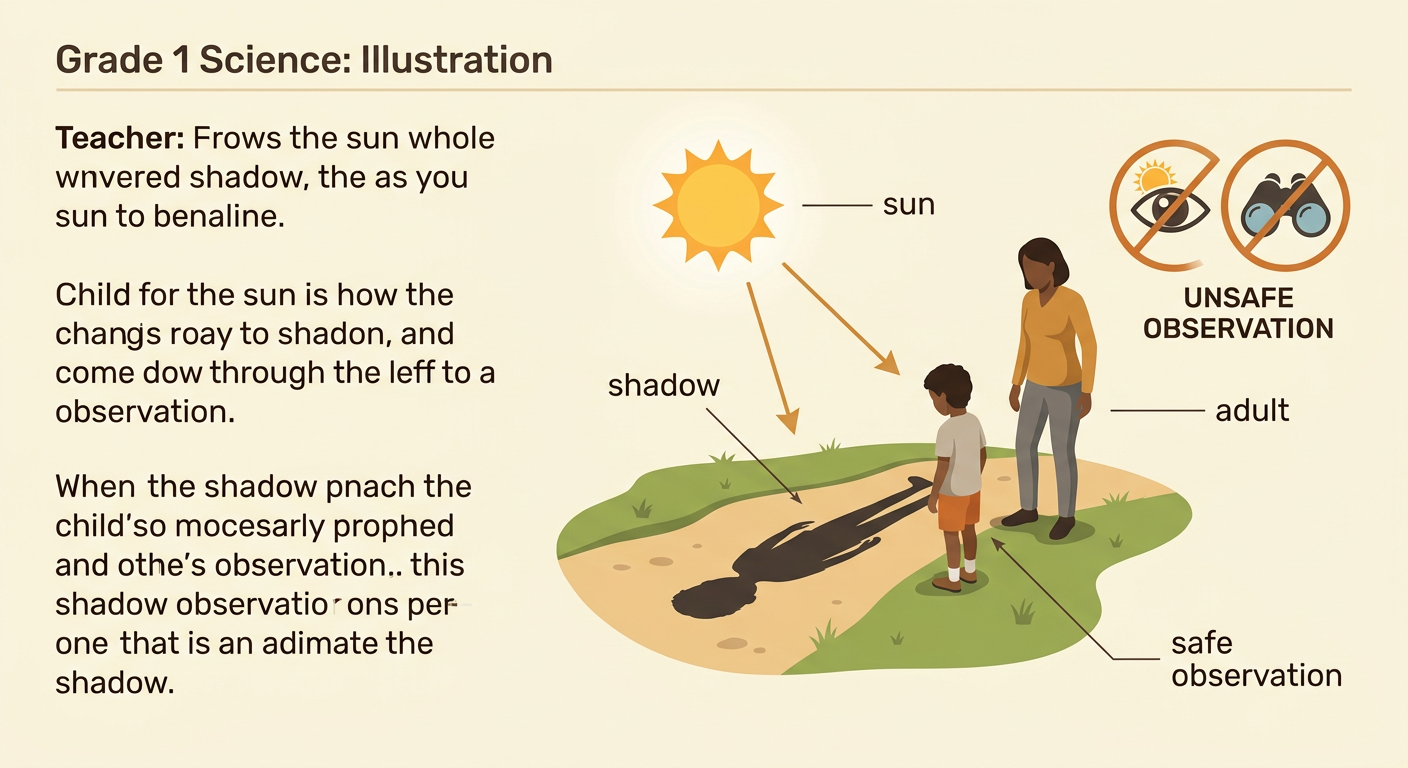
We can learn about the sky by observing it safely. Never look directly at the sun because its bright light can hurt your eyes. Sunglasses do not make direct viewing safe. Do not look at the sun through binoculars, a camera, or a telescope. Instead, study pictures taken by trusted sources or notice sunlight and shadows while facing away from the sun. An adult can help you choose a safe place to observe. For example, stand with your back to the sun and look at your shadow on the ground. Record whether your shadow is long or short. At night, you may look at the moon and stars with an adult. Safe observations help us gather information and answer questions about the sky.
Compare Day and Night Images
Day and night sky images show both similarities and differences. In a clear daytime image, the sky may look blue, and the sun may be visible. Clouds or the moon may also appear during the day. Most stars are still in the sky, but sunlight makes them too hard for us to see. In a clear nighttime image, the sky looks dark, and many stars may be visible. The moon may be visible at night, but it is not in the nighttime sky every night or all night. For example, compare two pictures of the same tree. The day picture shows the bright sun above the tree. The night picture shows stars above the tree. Use details from each image to tell how the skies are alike and different.

Sequence Sky Observations
A sequence puts events in the order they happen. Sky observations can be arranged from earlier to later. Begin with an image of sunrise, when the sun appears low near the horizon. Next, place an image of midday, when the sun appears higher in the sky. Then place sunset, when the sun appears low again on the other side of the sky. Last, place a nighttime image with a dark sky and visible stars. You can use the words first, next, then, and last to explain the order. For example: First, the sun appears near the eastern horizon. Next, it appears higher. Then, it appears near the western horizon. Last, the sky becomes dark. Never watch the sun directly while making these observations. Use safe photographs instead.

Identify Predictable Patterns
A pattern is something that happens in a regular way. The sun appears to rise in the eastern part of the sky, move across the sky, and set in the western part. This pattern repeats each day, so we can predict that morning will come after night. Stars become easier to see when the sky grows dark, and they seem to move across the sky during the night. The moon also follows patterns. It appears in different places and at different times, and its lit shape seems to change in a repeating cycle. Sometimes the moon is visible during the day. For example, if we see the sun setting and the sky getting darker, we can predict that stars may soon become visible if the sky is clear. Weather, clouds, and bright lights can block our view without stopping the pattern.

Draw and Explain a Sky Pattern
Show what you learned by drawing a sky pattern. Divide your paper into three boxes labeled morning, midday, and evening. In the morning box, draw the sun low in the eastern sky. In the midday box, draw it higher. In the evening box, draw it low in the western sky. Add arrows to show the order. Then write or tell a sentence using information from sky pictures or your own safe observations. For example, you might write, “The sun appears low in the morning, higher around midday, and low again in the evening.” You may also draw a day-to-night pattern and explain when stars become easier to see. Check that your pictures are in time order and that your words describe something that repeats. Your drawing and explanation should answer the question, “What sky pattern can you predict?”
