
Property Detectives: Describing and Classifying Materials
Students observe classroom samples, describe their color, texture, hardness, and flexibility, and classify them by shared properties.
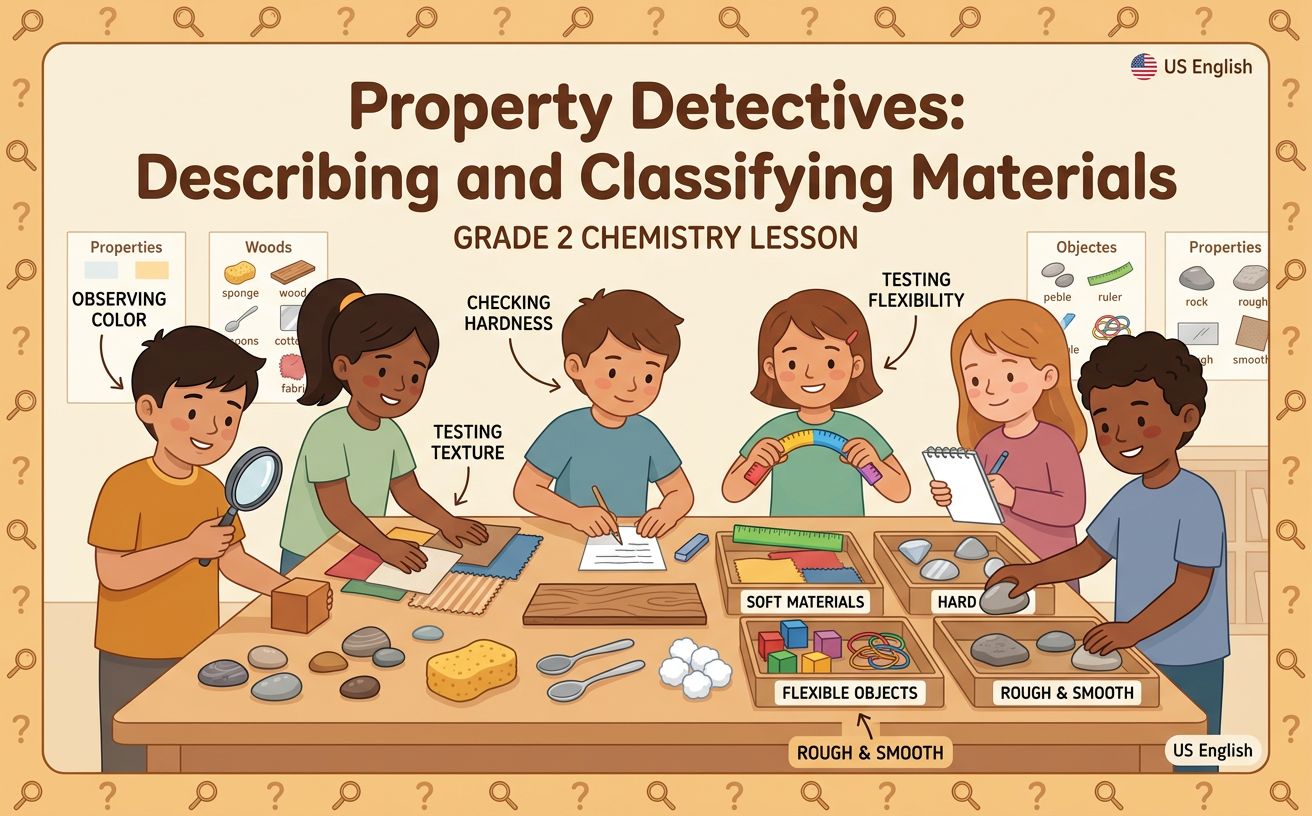
Illustrations are auto-generated and may be placeholders. They can be refreshed to match the narration.
Meet the Mystery Materials
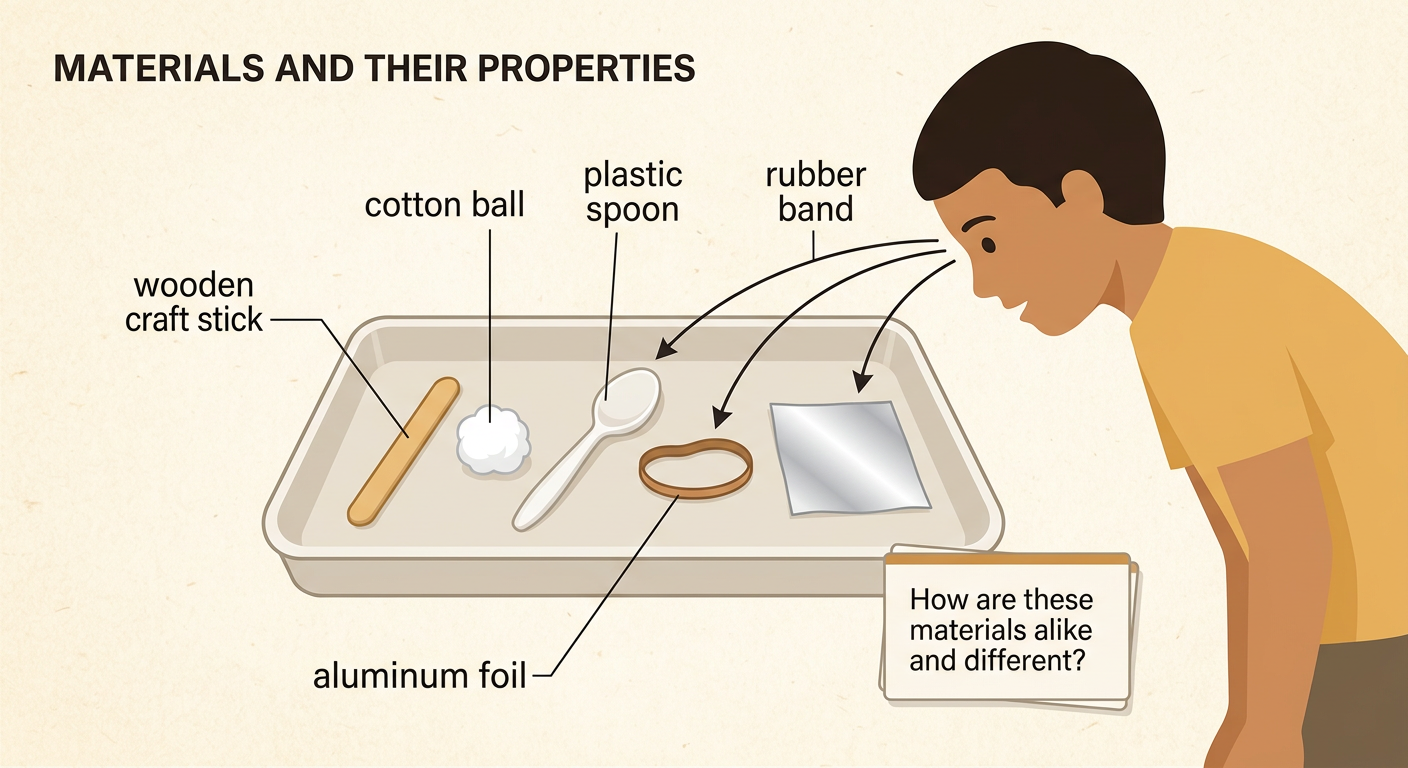
A material is what an object is made from. Scientists study materials by asking questions and gathering useful information. Look at safe classroom samples such as a wooden craft stick, a cotton ball, a plastic spoon, a rubber band, and a piece of aluminum foil. Do not taste or smell unknown materials. Ask, “How are these materials alike and different?” Your own careful observations are a helpful source of information. A label that tells what an object is made from can also help. A story about a magic spoon would not help answer a question about the real spoon’s properties. For example, you can observe that a cotton ball and craft stick have different colors and surfaces. These first clues begin your investigation.
Observe Material Properties
A property is something you can observe about a material. Look for color and texture first. Texture tells how a surface feels, such as smooth, rough, soft, or bumpy. Test hardness by gently pressing a material with one finger. A hard material does not dent easily, while a soft material may change shape. Test flexibility by gently bending the sample only when your teacher says it is safe. A flexible material bends without breaking. For example, a rubber band is usually smooth, soft, and flexible. A wooden craft stick is hard and not very flexible. Use the same gentle test for every sample so your comparisons are fair. Observe only the sample in front of you, and report what you notice instead of guessing.

Record Describing Words
Scientists record observations so they can remember and share evidence. Make a table with one row for each sample and columns for color, texture, hardness, and flexibility. Use clear describing words based on what you observed. You might record a cotton ball as white, soft, fuzzy, and flexible. You might record a plastic spoon as white, smooth, hard, and slightly flexible. If you are unsure, test the sample again or compare it with another sample. You may also draw a small picture beside each material’s name. Record what happened, not what you expected to happen. Your completed table becomes a helpful source for answering the question, “Which materials share properties?” It also helps classmates check whether they made similar observations.

Sort by Shared Properties
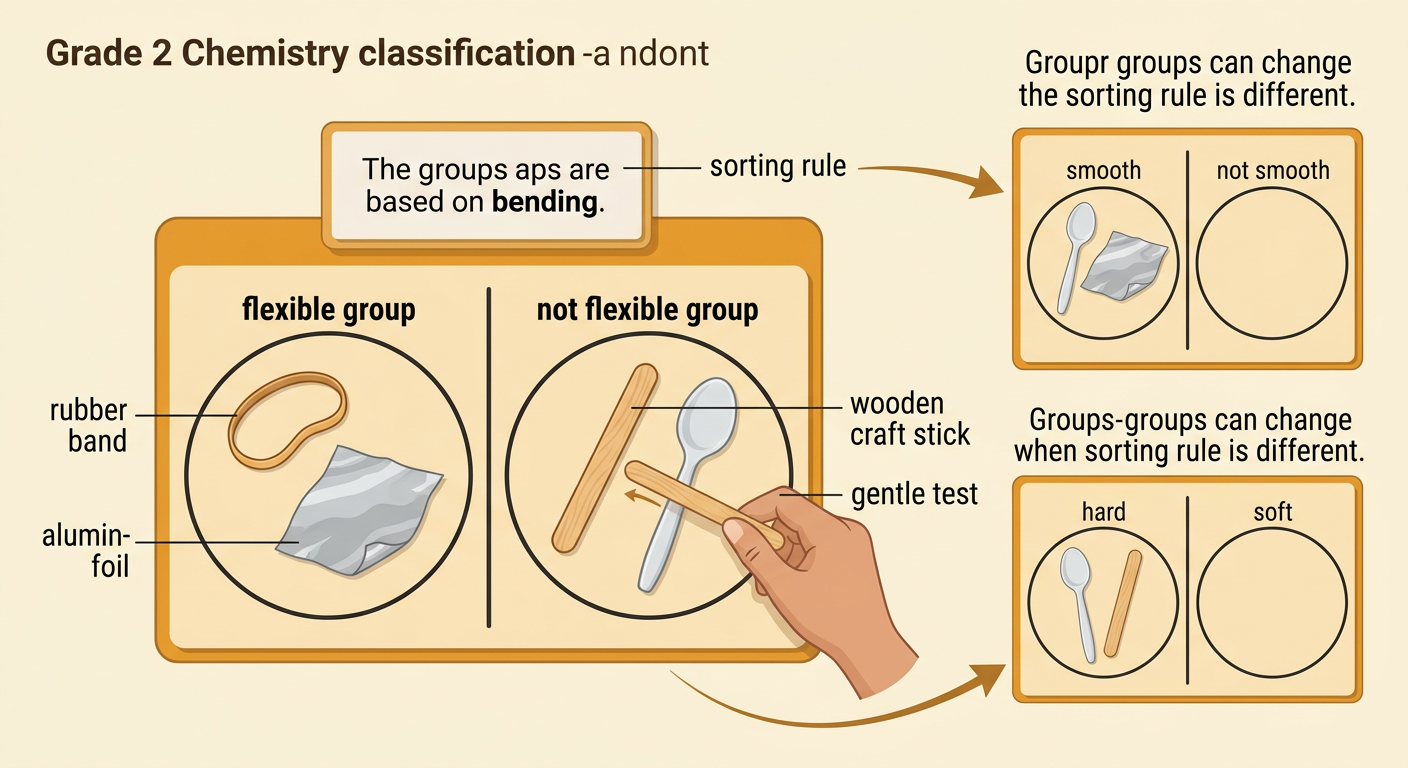
To classify means to place things into groups using a rule. Choose one observable property for your sorting rule. For example, make a flexible group and a not flexible group. A rubber band and aluminum foil can go in the flexible group because they bend. A wooden craft stick can go in the not flexible group because it does not bend easily during a gentle test. Then try a different rule, such as smooth and not smooth, or hard and soft. The groups may change when the rule changes. A plastic spoon might be grouped with foil because both feel smooth, but it might be grouped with wood because both are hard. Tell classmates your sorting rule so they can understand and check your groups.
Graph and Discuss the Groups
A graph helps you compare how many materials are in each group. Count the samples after sorting, and make one graph mark for each sample. For example, suppose four materials are flexible and three are not flexible. Draw four picture symbols above Flexible and three above Not Flexible, or color that many squares in a bar graph. Label both categories and include a number scale if you use bars. Then compare the groups. You can say, “The flexible group has one more material than the not flexible group.” Ask classmates whether the graph matches the sorted samples and observation table. Use evidence when explaining your answer. If the count is wrong, check each sample and fix the graph. Your graph, table, and direct observations are useful sources for discussing what you discovered.
