
Pushes and Pulls Make Things Move
Students investigate how the strength and direction of a push or pull change an object's motion.
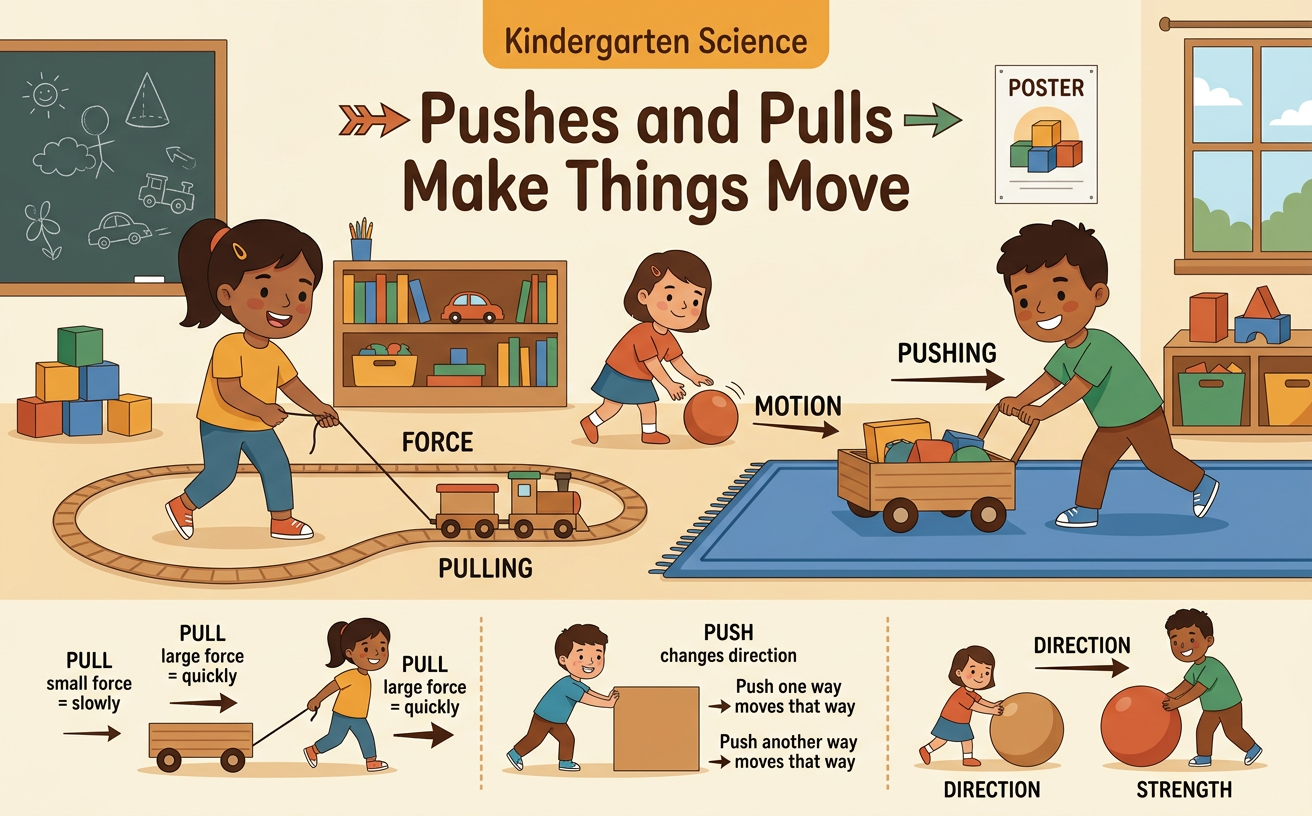
Illustrations are auto-generated and may be placeholders. They can be refreshed to match the narration.
Notice Objects in Motion
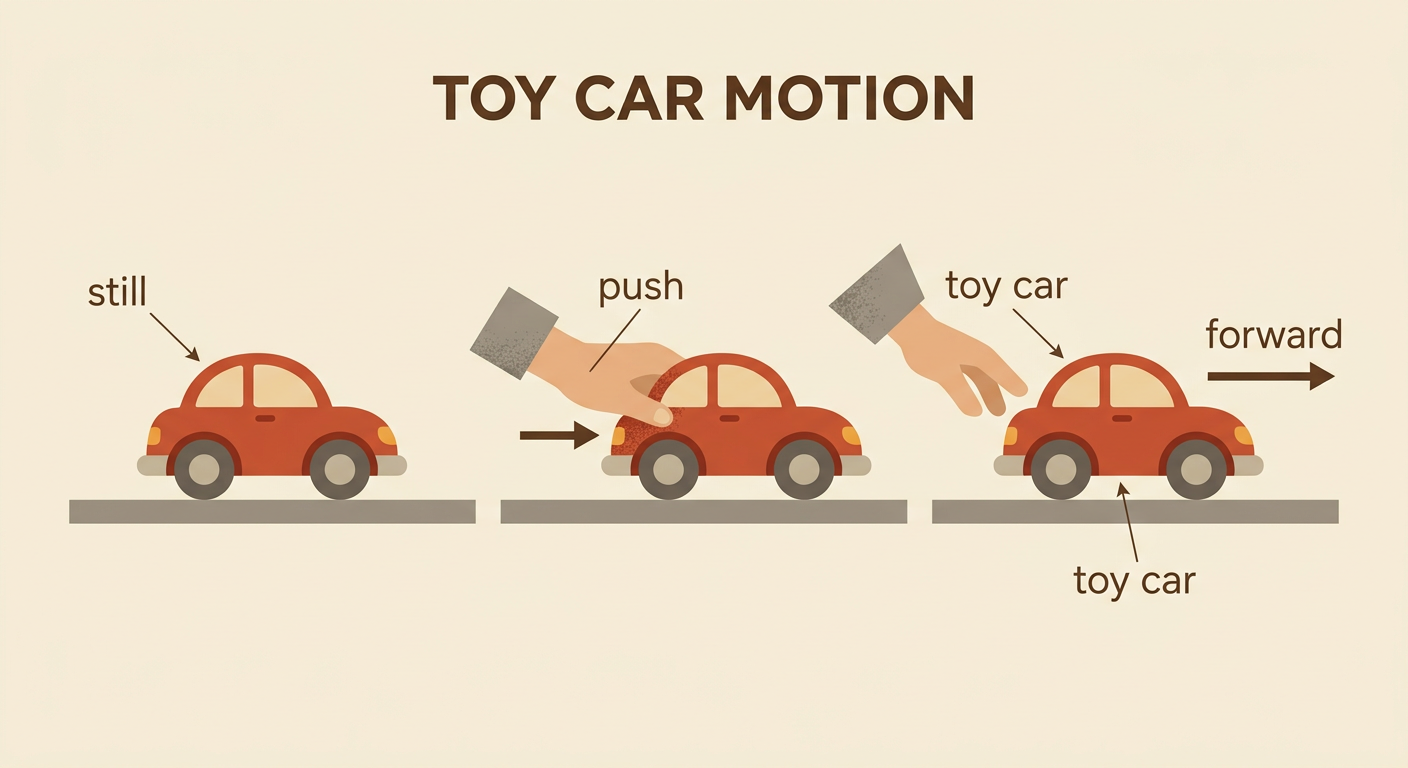
Look around. Some objects are still, and some objects are moving. A push or a pull can start, stop, speed up, slow down, or change the direction of an object. Imagine a toy car resting on the floor. When you push the car forward, it rolls away from your hand. You can describe the car before and after the push. First, the car was still. Next, a hand pushed it. Last, the car moved forward. Notice the car’s measurable attributes, too. Is it long or short? Is it heavy or light compared with another car? During an investigation, use the same car and surface so you can focus on how the push or pull changes its motion.
Explore Gentle and Strong Pushes
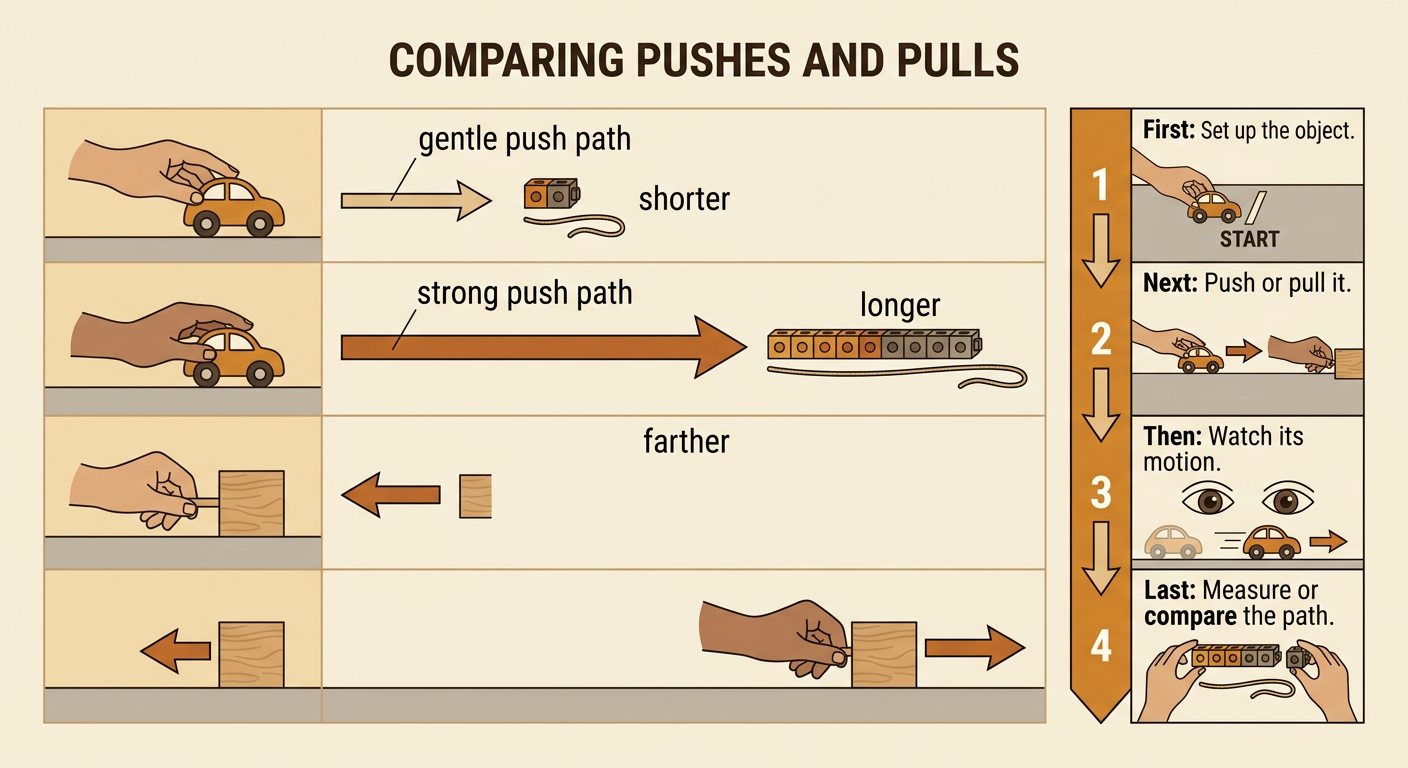
Test how push strength changes motion. Place a toy car at a starting line on a smooth, level floor. Give it a gentle push. Mark where it stops, and compare the distance with a row of linking cubes or a piece of string. Return the same car to the same starting line. Now give it a stronger push in the same direction. Mark where it stops again. A gentle push may make the car move a short distance. A stronger push may make the same car move a longer distance. Take turns with a partner. One person pushes while the other watches and records. Keep the car, floor, and push direction the same so the comparison is fair. Never push the car toward another person.

Explore Pulling in Different Directions
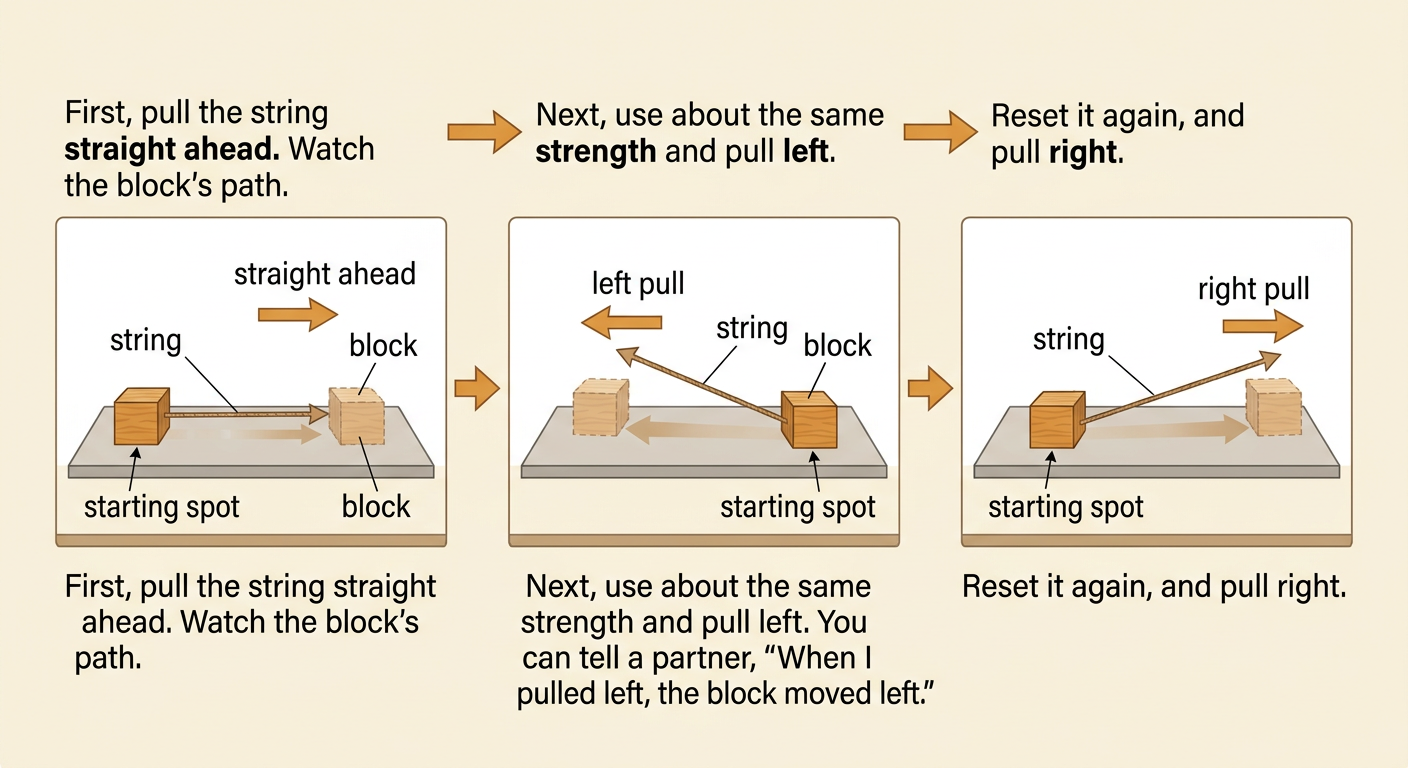
A pull moves an object toward the pulling force. Tie a string securely to a small toy or classroom block. Place the object on a clear, level surface. Pull the string straight ahead and watch the path. Reset the object at the same starting spot. Then pull the string gently to the left. Reset it once more and pull gently to the right. The object changes direction when the direction of the pull changes. Use about the same pulling strength each time so you can compare direction. Tell a partner what you notice: “When I pulled left, the block moved left.” Work safely by keeping the string low and away from faces, necks, and walking feet. An adult should help attach the string.
Compare What Happened
Look at all your results. Compare how far and which way the object moved. You might say, “The strong push made the car go farther than the gentle push.” You might also say, “The left pull made the block move left.” Use marks, linking cubes, or string lengths to compare distance. Words such as shorter, longer, closer, and farther describe measurable attributes of each path. Talk with your group and listen when others speak. Ask a question if a result is different. Was the starting spot the same? Was the surface the same? Did the object bump into anything? Put each test in order: first set up the object, next push or pull it, then watch its motion, and last measure or compare the path.
Draw and Share Results
Make a drawing that shows what happened in one test. Draw the object at the starting spot and where it stopped. Add an arrow to show the direction it moved. A short arrow can show a shorter path, and a long arrow can show a longer path. Label the force as a gentle push, strong push, or pull. Then draw the events in order: first the object was ready, next you pushed or pulled, and last the object moved and stopped. Share your drawing with classmates. Speak clearly and describe your evidence: “I used a strong push. The car moved forward and traveled farther.” Listen to each speaker and take turns asking questions. Your drawing and words should match what you observed during the investigation.
