Send a Signal: Communicating with Light or Sound
Students design and test a simple device that uses light or sound to send a message across the classroom.

Illustrations are auto-generated and may be placeholders. They can be refreshed to match the narration.
Explore Ways to Send Messages
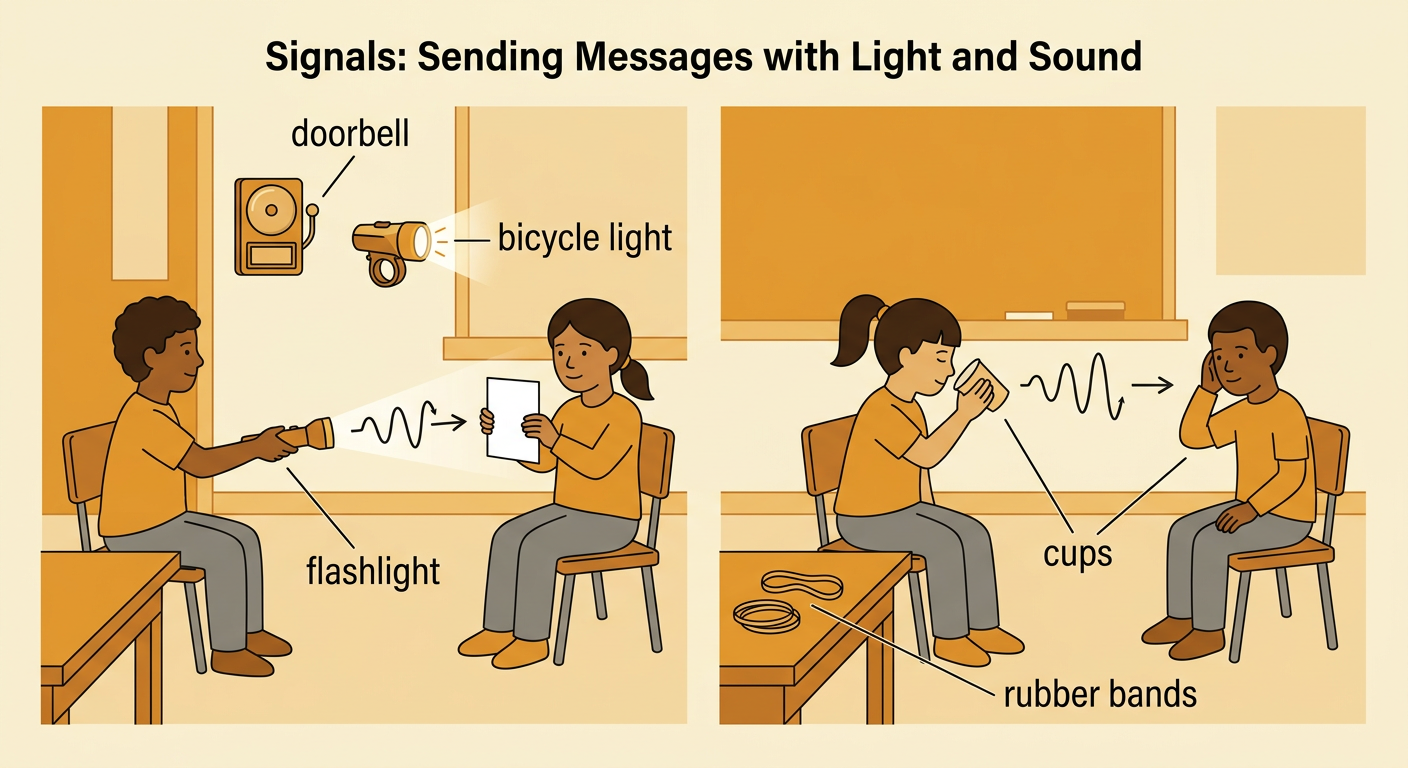
People can send messages with light or sound. A light can flash where someone far away can see it. A sound can travel to someone who cannot see the sender. Think about signals you already know. A doorbell sound tells someone that a visitor has arrived. A flashing bicycle light helps others notice the rider. With a partner, explore safe classroom materials such as a flashlight, paper, cups, and rubber bands. Ask what message each material could help send. For example, one flashlight flash could mean “ready,” and two flashes could mean “help.” Take turns sharing ideas and listening carefully. Choose signals that are easy to notice and understand. Never shine a light into anyone’s eyes or make sounds that could hurt someone’s ears.
Choose a Light or Sound Signal
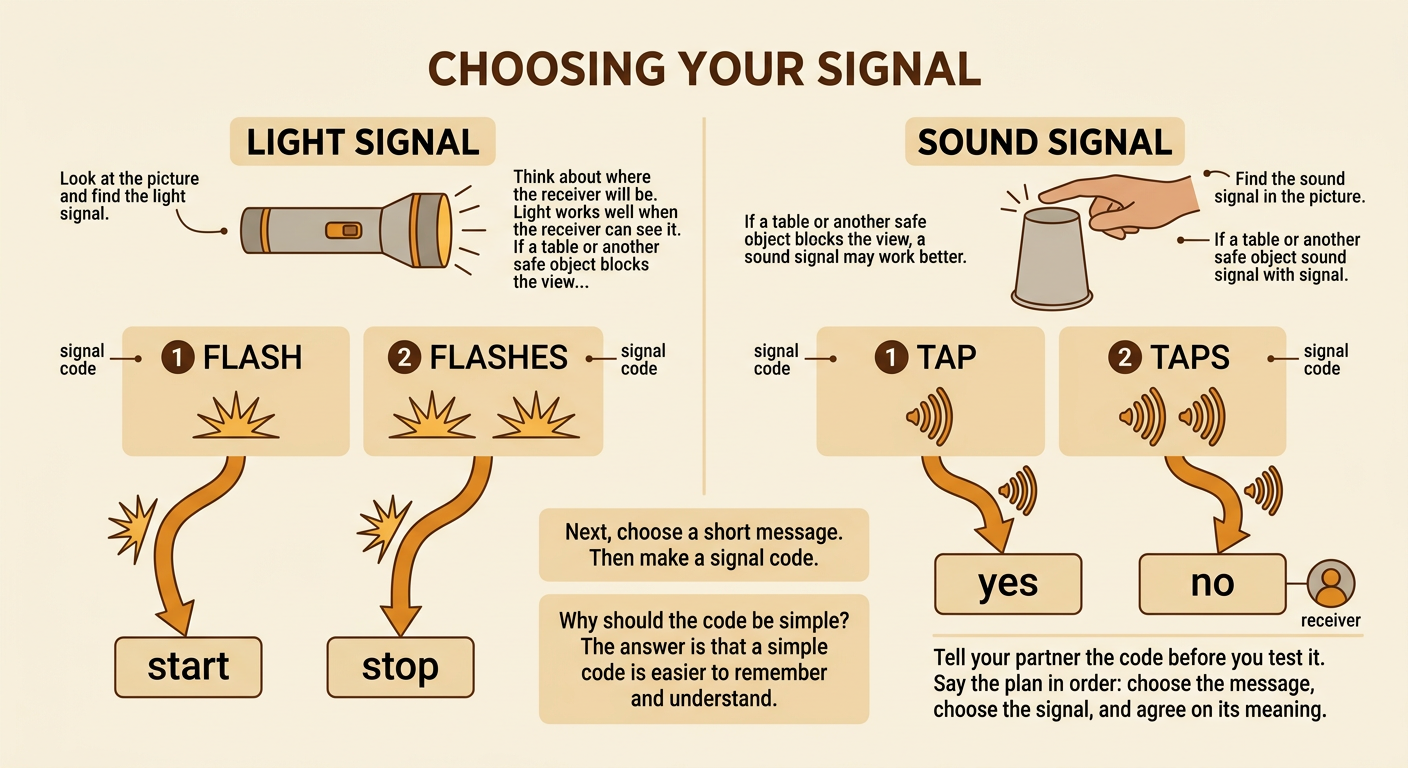
Decide whether your device will use light or sound. Think about where you will send the message. Light works well when the receiver can see the signal. Sound can work when a table, person, or other safe object blocks the view. Next, choose a short message and make a signal code. Keep the code simple so it is easy to remember. For example, a team might choose a flashlight and decide that one flash means “start” and two flashes mean “stop.” Another team might tap a container once for “yes” and twice for “no.” Tell your partner the code before testing it. Say the steps in order: first choose the message, next choose the signal, and then agree on what the signal means.
Build the Signaling Device
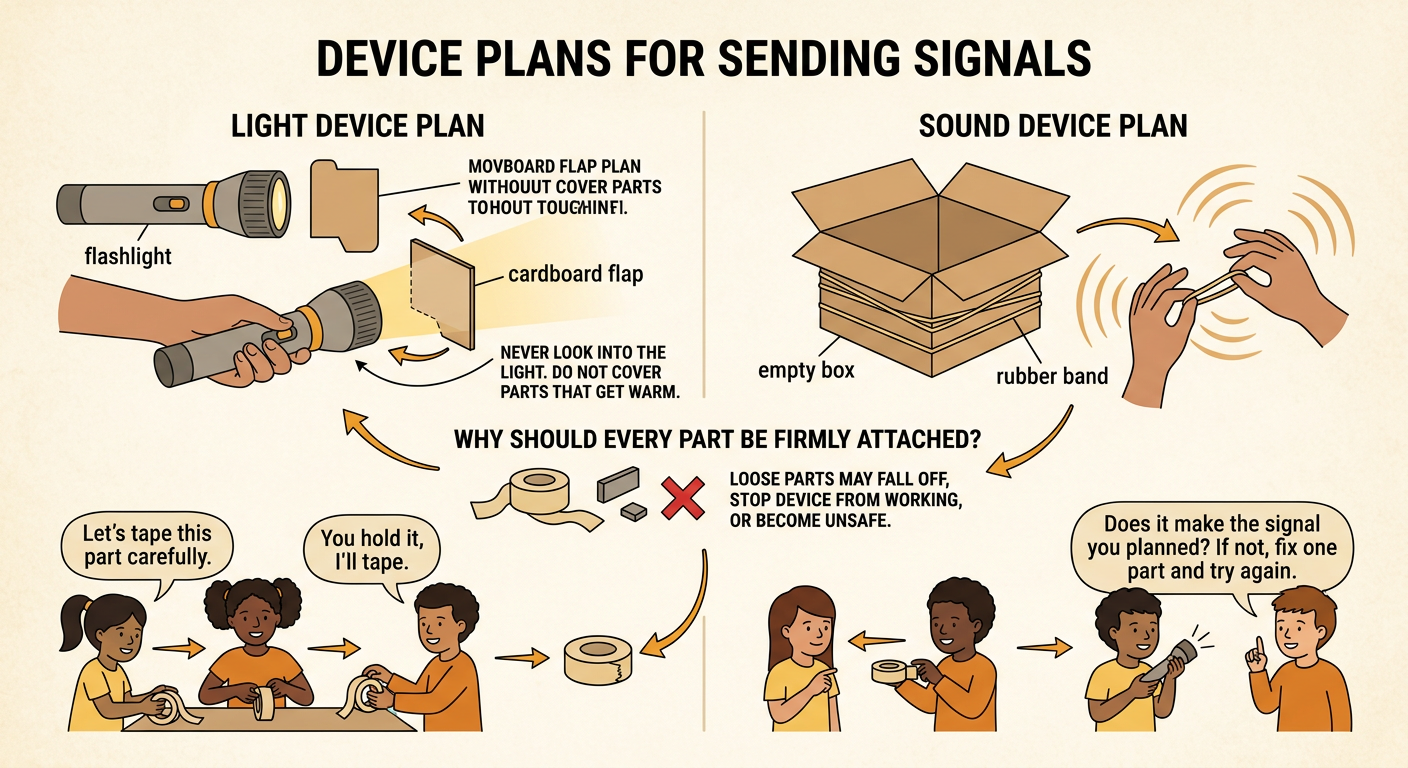
Use classroom tools and materials to build your signaling device. Your teacher may provide a flashlight, cardboard, paper cups, craft sticks, rubber bands, tape, or string. Make a plan before you build. Draw the parts and explain what each part will do. For a light device, you could tape a cardboard flap beside a flashlight. Move the flap to cover and uncover the light, creating short flashes. Do not cover any part that becomes warm, and never look directly into the light. For a sound device, you could stretch a rubber band around an empty box and gently pluck it. The box helps make the sound easier to hear. Work with your group, take turns with materials, and check that every part is firmly attached and safe to use.
Test Across a Distance
Now test whether your device can send a message across the classroom. Place the sender and receiver at two marked spots. Begin a short distance apart. The sender uses the agreed signal, and the receiver says what message was received. Record whether the answer was correct. Then move farther apart and test again. For example, the sender might flash the light twice to mean “stop.” If the receiver says “stop,” the signal worked at that distance. Try the same test three times so the result is fair. Change only the distance, not the signal code. Speak quietly with your team about what you notice. Ask: Was the signal easy to see or hear? At what distance did it become hard to understand? Follow all classroom safety rules during every test.

Explain and Improve the Design
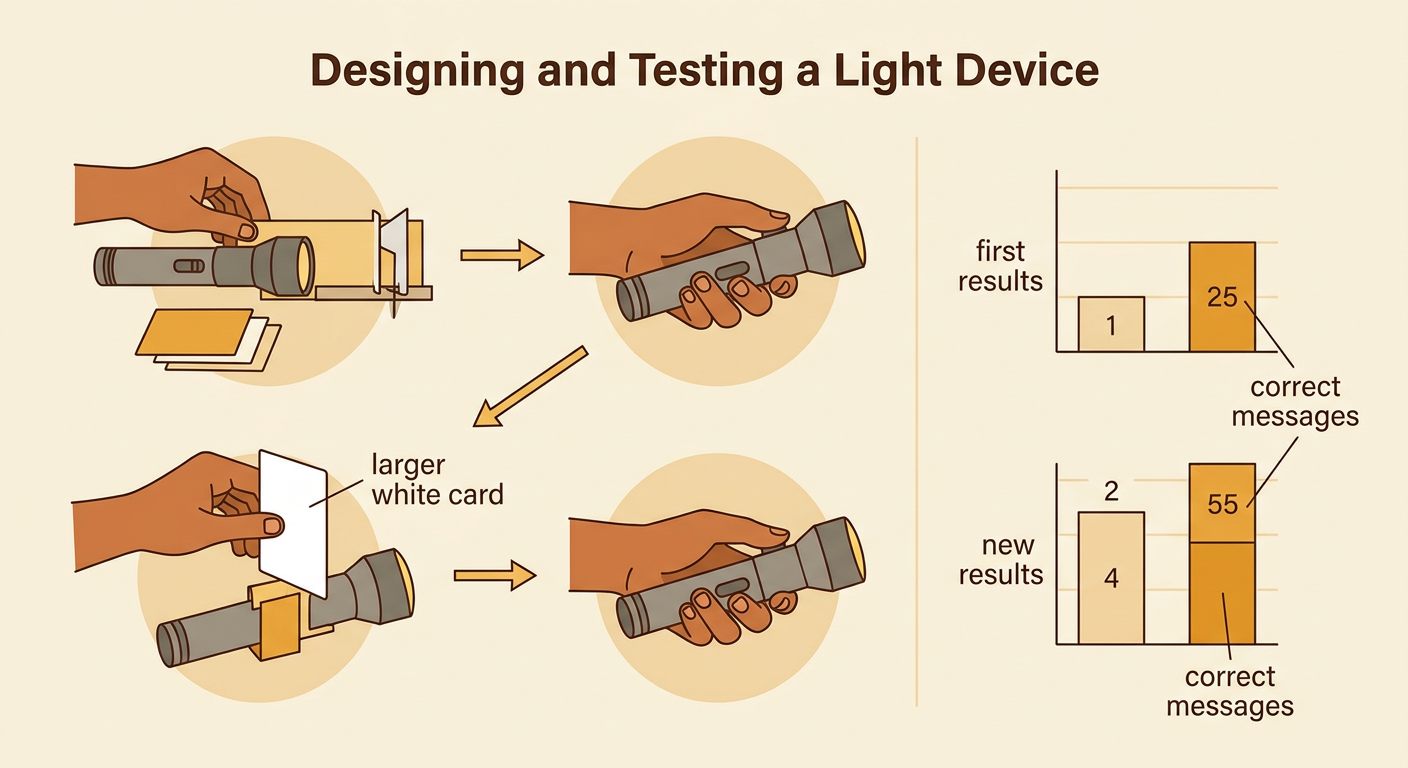
Use your test results to explain how well the device worked. Tell what happened in the correct order. You might say, “First, we built a cardboard flap for a flashlight. Next, we tested two flashes from three places. Then, we found that the flashes were hard to see from the farthest place.” Include useful facts, such as the distance and the number of correct messages. Ask your teammates for ideas, and listen without interrupting. Choose one change that could make the signal clearer. For example, you might use a larger white card to reflect the flashlight beam or choose a box that makes a tapping sound easier to hear. Build the change and test again in the same way. Compare the new results with the first results to decide whether the improvement helped.