
Separating a Mixture by Physical Properties
Students investigate how particle size, magnetism, and solubility can be used to separate the components of a mixture without creating new substances.
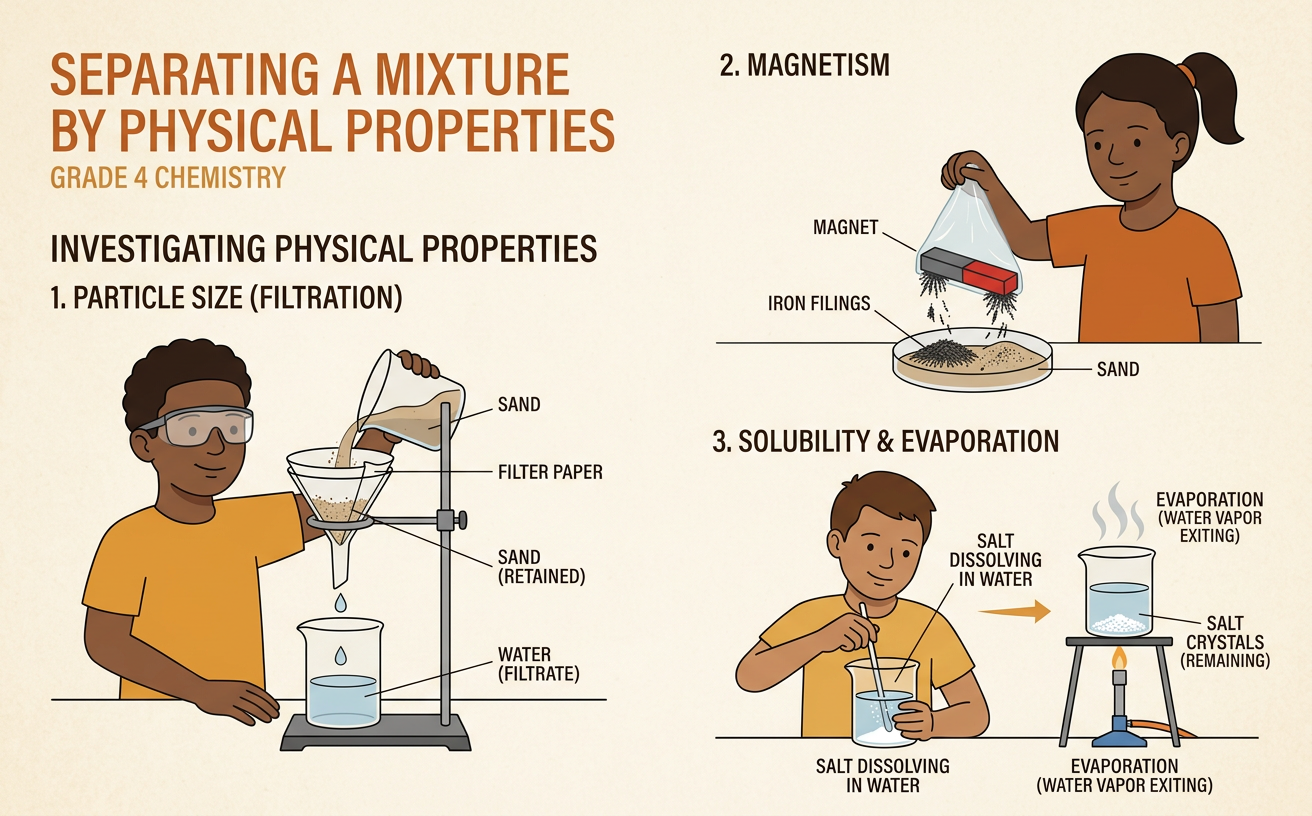
Illustrations are auto-generated and may be placeholders. They can be refreshed to match the narration.
What Is a Mixture?
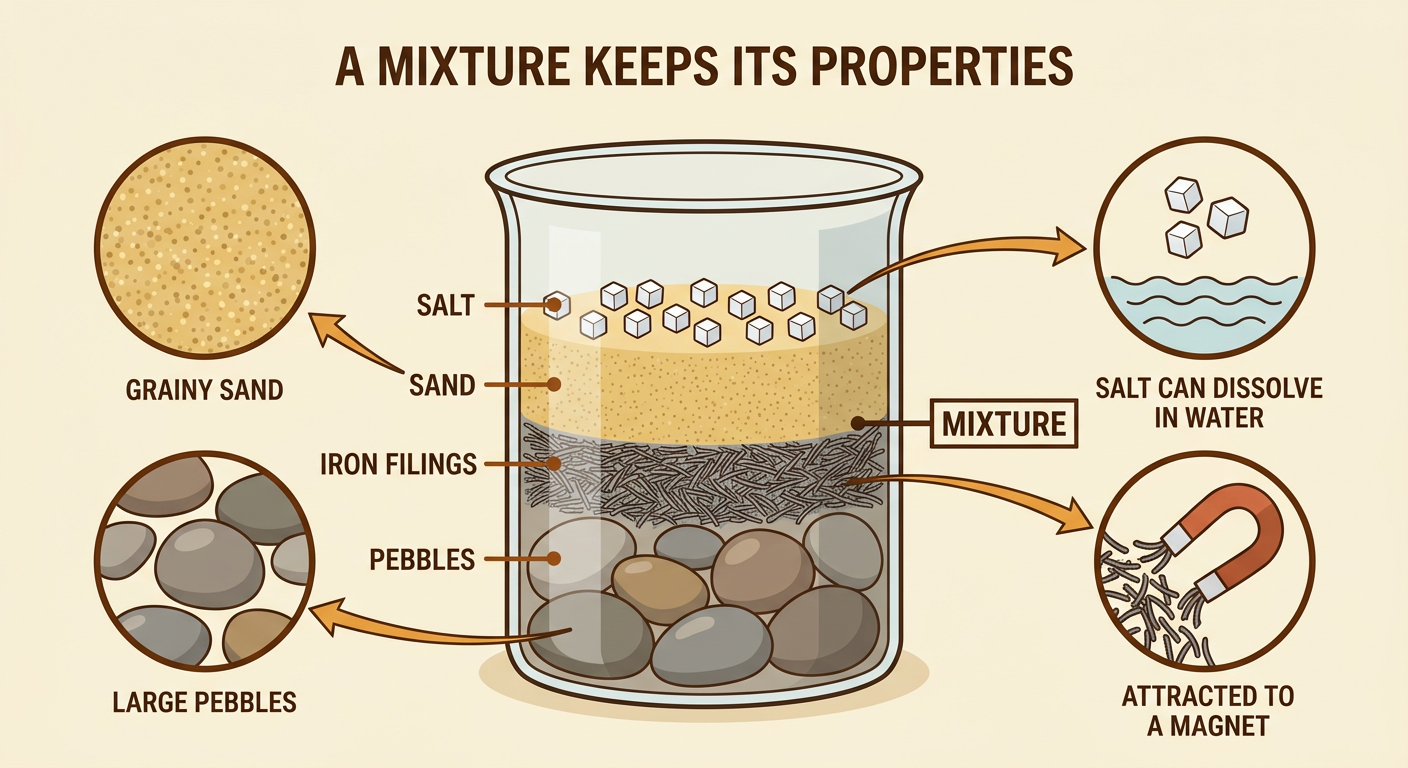
A mixture forms when two or more substances are placed together but do not become a new substance. Each part keeps its own physical properties. For example, a cup containing small pebbles, iron filings, sand, and salt is a mixture. You can still see the pebbles and sand. The iron is still attracted to a magnet, and the salt can still dissolve in water. These properties give clues for separating the materials. Separation changes where the materials are, but it does not change what they are made of. Trail mix is another familiar mixture. You can pick out raisins or cereal because each ingredient remains different. Scientists study the properties of each part before choosing a safe and effective separation method.
Observe the Material Properties
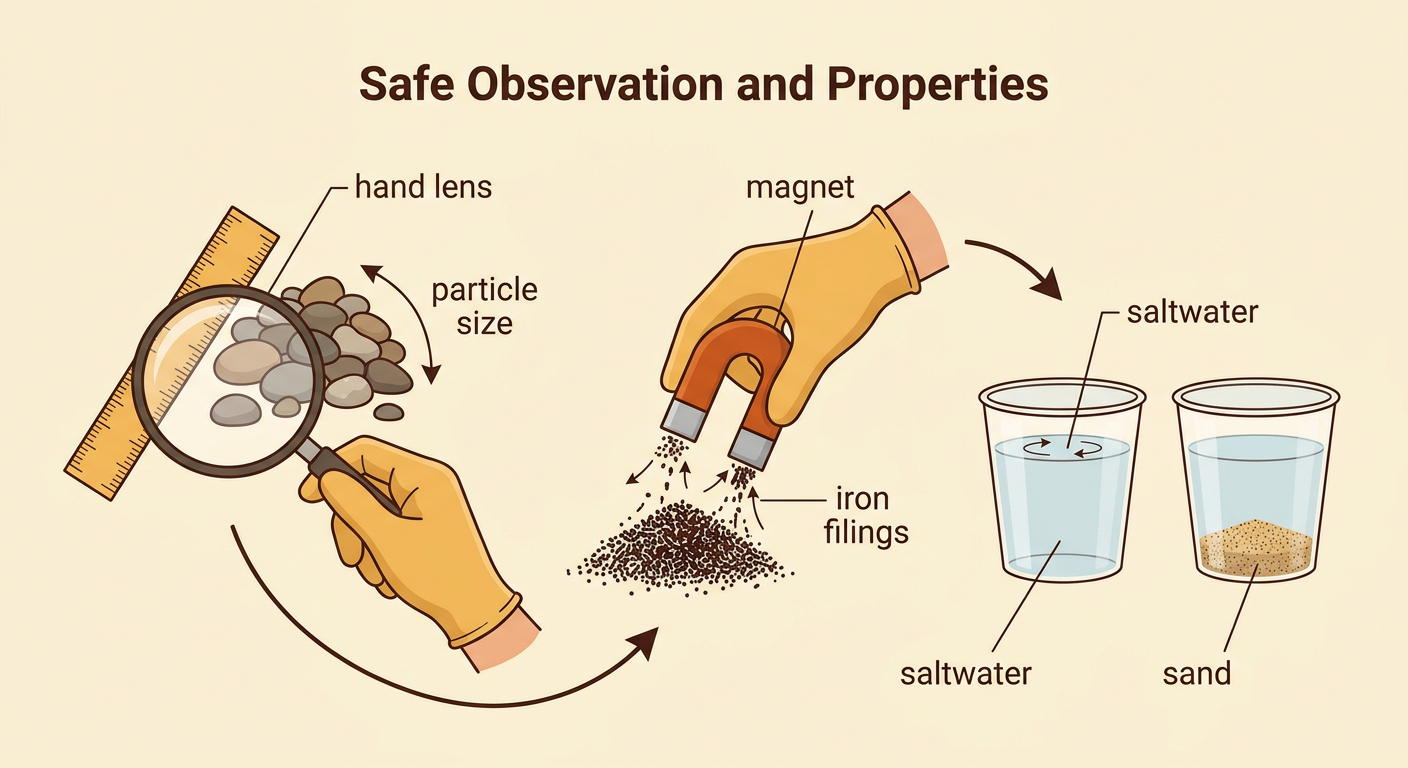
Begin by observing each material without tasting or touching it with bare hands. Use a hand lens to compare color, shape, and particle size. Measure larger pieces with a ruler and record lengths in millimeters or centimeters. Next, move a magnet near each sample. Iron filings move toward the magnet, but sand, salt, and pebbles do not. To test solubility, place equal small amounts of sand and salt in separate clear cups with the same amount of water. Stir each cup for the same length of time. The salt dissolves and seems to disappear into the water, while the sand settles. These observations are evidence that particle size, magnetism, and solubility can help separate the mixture.
Plan a Separation Method
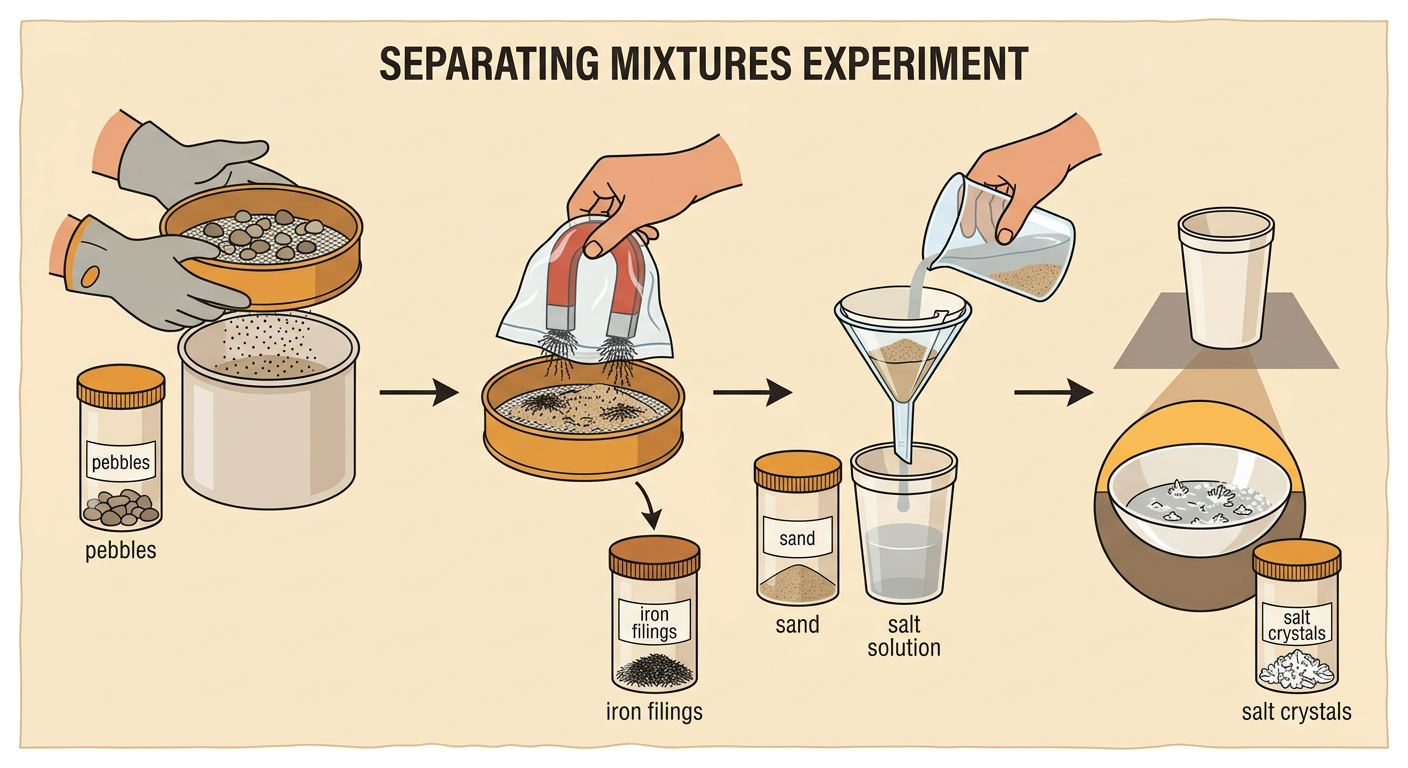
A good plan puts separation steps in a useful order. For a mixture of pebbles, iron filings, sand, and salt, first use a sieve because the large pebbles cannot pass through its small openings. Next, move a magnet sealed inside a plastic bag over the remaining dry mixture to collect the iron. Then add a measured amount of water, such as 100 milliliters, to dissolve the salt. Filter the mixture so the sand stays on the filter paper while the saltwater passes through. Finally, let the water evaporate in a safe place so salt crystals remain. Write the materials, measurements, steps, and safety rules before starting. People have long used similar ideas in gold panning and salt making, showing how separation methods influenced work and trade.

Separate the Mixture
Follow the planned steps carefully and keep each separated material in a labeled container. Pour the dry mixture through a sieve and collect the pebbles. Pass a magnet inside a sealed plastic bag above the remaining material. Lift the iron filings away, then turn the bag inside out over their container. Add 100 milliliters of water to the sand and salt and stir until the salt dissolves. Pour the liquid through filter paper in a funnel. The sand remains on the paper, while the salt solution enters a cup. Set the cup where the water can evaporate safely, following teacher directions. Salt crystals will remain. No new substances form during these steps. Instead, differences in particle size, magnetism, and solubility allow the original materials to be separated.
Record and Explain the Results
Record what happened after every step in a data table. Include the tool, property tested, measurement, observation, and material separated. For example, write that the sieve openings were smaller than the pebbles, so the pebbles stayed above the sieve. Explain that the magnet attracted the iron but not the sand or salt. Note that 100 milliliters of water dissolved the salt, while the sand remained solid and was trapped by the filter. After evaporation, describe the salt crystals left behind. Compare the recovered materials with the starting mixture and explain any material loss, such as grains stuck to a container. Use evidence rather than guesses. You can also connect the investigation to history: gold miners used moving water to separate dense gold from lighter sediment, and coastal communities evaporated seawater to produce salt.
