
Sunlight Warms Earth’s Surfaces
Students observe and compare materials placed in sunlight and shade to discover that sunlight warms Earth’s surfaces.
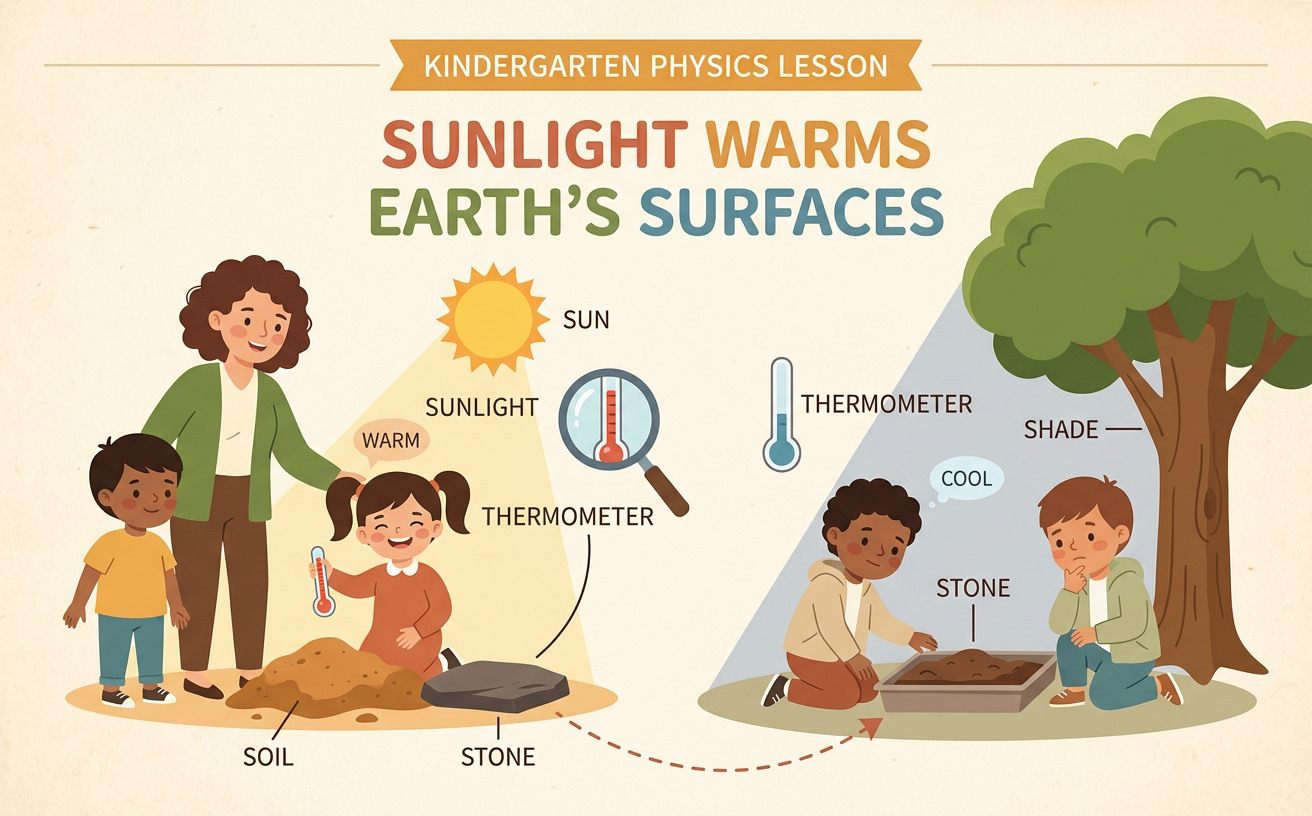
Illustrations are auto-generated and may be placeholders. They can be refreshed to match the narration.
Notice Sunlight and Shade
Sunlight reaches many parts of Earth’s surface. It can shine on soil, sand, grass, sidewalks, and playground equipment. A shadow forms where an object blocks the sunlight. That area is called shade. Look outside without looking directly at the Sun. Find one sunny spot and one shady spot. For example, part of a sidewalk may be bright in the sunlight while another part is shaded by a tree. Notice what is the same and what is different about the two spots. Both spots are part of the same sidewalk, but only one receives direct sunlight. Scientists carefully observe places like these to learn what sunlight does to Earth’s surfaces.

Predict Which Surface Will Feel Warmer
A prediction is what you think will happen based on what you already know. Before testing surfaces, predict which one will feel warmer: a surface in sunlight or the same kind of surface in shade. Use matching materials so the comparison is fair. For example, place two identical trays of soil outside. Put one tray in sunlight and the other under a shade cover. Point to the tray you predict will become warmer. Tell a reason for your choice. You might say, “I predict the soil in sunlight will be warmer because sunlight shines on it.” Different predictions are welcome. The class will make observations to find out what happens.

Observe Surfaces Safely
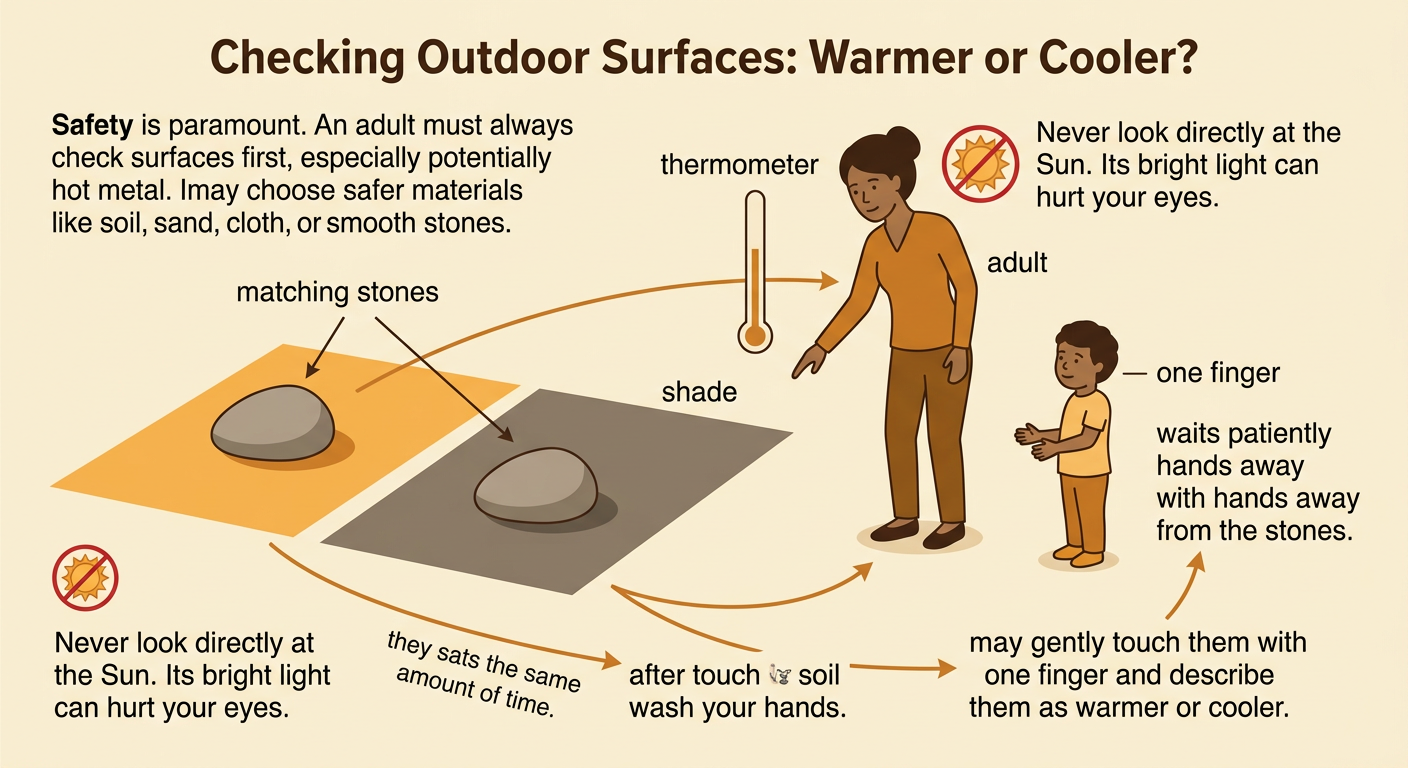
Scientists follow safety rules while observing sunlight and warm surfaces. Never look directly at the Sun because its bright light can hurt your eyes. Wait for an adult to check each surface before you touch it. Some surfaces, especially metal, can become too hot to touch. Your teacher may choose safe materials such as soil, sand, cloth, or smooth stones. The teacher can also use a classroom thermometer to compare temperatures. For example, two matching stones can be placed in sunlight and shade for the same amount of time. After the teacher checks them, students may gently touch the safe stones with one finger and describe each as warmer or cooler. Wash your hands after touching soil or sand.
Compare Warm and Cool
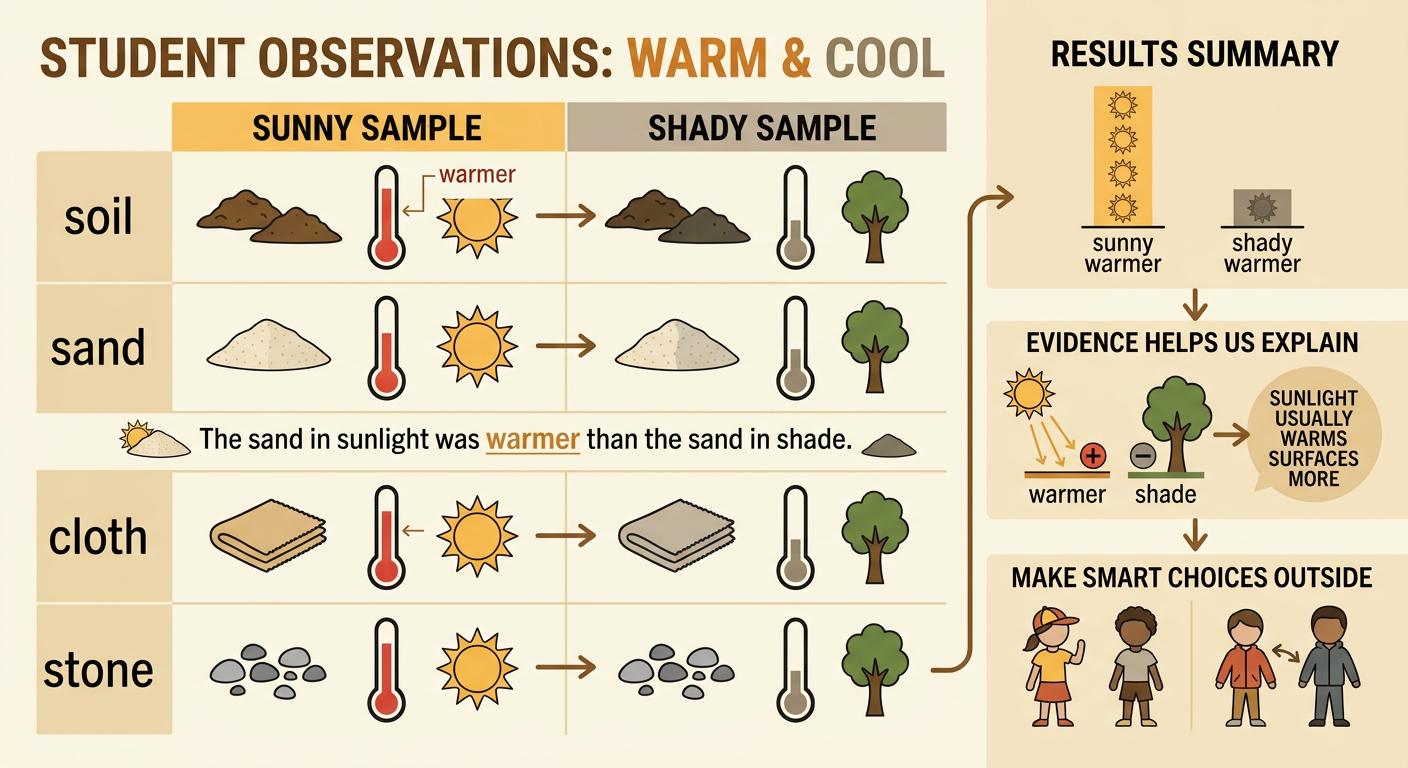
Now compare two matching surfaces that stayed outside for the same amount of time. One surface was in sunlight, and the other was in shade. The warmer surface has a higher temperature than the cooler surface. Use comparison words to describe what you observe. You can say, “The sunny soil is warmer than the shady soil,” or “The shady stone is cooler than the sunny stone.” If your teacher uses thermometers, look at the numbers together. The larger temperature number shows the warmer surface. Sunlight usually makes a surface warmer because the surface takes in energy from the sunlight. Shade blocks direct sunlight, so a shaded surface usually does not warm as much.

Record the Class Findings
Scientists record observations so they can remember and share what happened. Make a class chart with one row for each material, such as soil, sand, cloth, or stone. For each pair, record whether the sunny sample or the shady sample felt warmer after an adult checked it. Students can draw pictures, add words, or help write a shared sentence. For example, draw a Sun beside the warmer sand and a tree beside the cooler sand. Then complete a sentence together: “The sand in sunlight was warmer than the sand in shade.” Count how many sunny samples were warmer and how many shady samples were warmer. Use the class evidence to describe the effect of sunlight on surfaces.
Connect Sunlight to Daily Choices
Sunlight warming surfaces can affect choices people make each day. On a sunny afternoon, a playground slide, sidewalk, or car seat may become warm. People can choose shade, wear shoes, use a hat, or wait for an adult to check a surface. A family might sit under a tree because the shaded ground is cooler than the sunny ground. In a cold place or during a cool season, people may choose a sunny bench because it feels warmer. Weather, trees, buildings, and shade help shape how people use outdoor places. Think about your school playground. Where would you play on a hot, sunny day? Explain your choice using evidence from the class investigation about sunny and shady surfaces.
