
Using Light to Send Messages
Students create and test a simple flashlight signal system for communicating a message across a distance.

Illustrations are auto-generated and may be placeholders. They can be refreshed to match the narration.
Explore Light Signals
Light can carry a message from one place to another. A flashlight sends a beam of light that another person can see. Work with a partner. One person holds the flashlight, and the other person watches from several steps away. Turn the light on and off to make a signal. For example, one quick flash can mean “hello.” Notice that the signal is easier to see when the flashlight points toward a nearby wall or the ground. Use the flashlight safely. Never shine it into anyone’s eyes. Take turns being the sender and the receiver. Listen when your partner shares an idea, and follow the group rules for using the materials. Talk about what helps you notice each flash.

Create a Signal Code
A signal code gives each pattern of flashes a meaning. As a group, choose two or three messages that you want to send. Keep the code simple so everyone can remember it. For example, one short flash can mean “yes,” two short flashes can mean “no,” and one long flash can mean “help.” Decide how long a short flash and a long flash should last. Practice counting slowly to keep the timing the same. Write or draw the code on a card. Everyone should have a chance to suggest a meaning. Listen without interrupting, then agree on the final code together. The flashlight and code card are tools that help your group communicate clearly over a distance.

Practice Sending Messages
Now practice using your signal code. One partner is the sender, and one partner is the receiver. The sender secretly chooses a message from the code card. Then the sender uses the flashlight to show the matching flash pattern. The receiver watches carefully and says what the message means. For example, if two short flashes mean “no,” the receiver should answer “no” after seeing that pattern. Check the code card to see whether the answer is correct. If the message was hard to understand, try again more slowly. Switch roles so both partners send and receive. Keep the flashlight still, aim it in the safe direction, and leave a clear pause between messages. Take turns fairly and speak kindly about mistakes.

Test Across a Distance
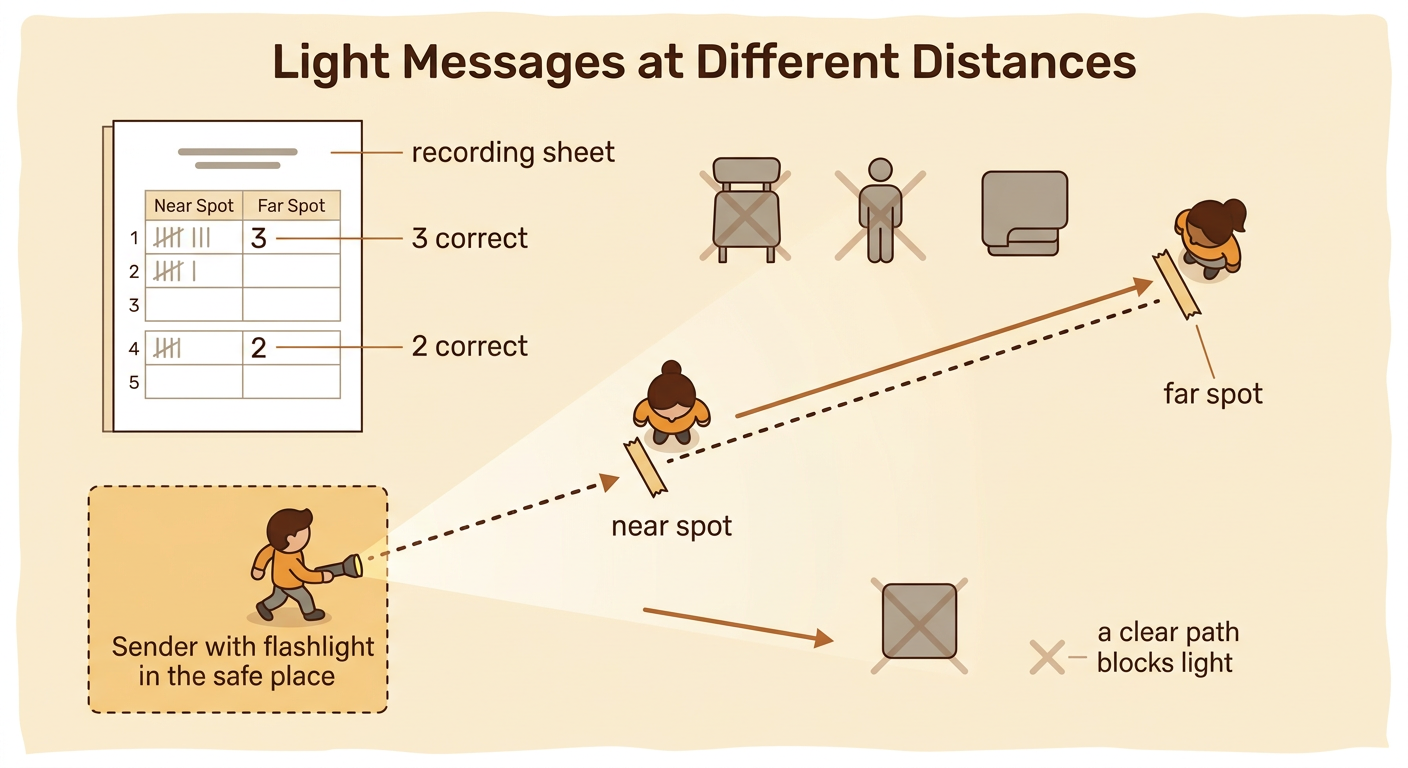
Test how well your light-message system works at different distances. Mark a near spot and a far spot with tape on the floor. The sender stays in one place while the receiver begins at the near spot. Send three messages and count how many the receiver understands correctly. Then move the receiver to the far spot and repeat the same test. For example, the receiver might understand three messages nearby but only two messages farther away. Record each result with numbers, tally marks, or pictures. Make sure there is a clear path between the flashlight and the place where the signal appears. Do not run while carrying the flashlight. Use the tape measure, floor markers, flashlight, and recording sheet carefully and only for their jobs.
Discuss and Improve the Design
Meet with your group to discuss the test results. Each person should share one thing that worked and one thing that could improve. Follow the agreed-upon rule that only one person speaks at a time. Use evidence from the test instead of guessing. For example, if long flashes were easier to see from far away, the group might make every flash a little longer. You could also point the flashlight more steadily, make the pause clearer, or simplify the code. Choose one change together and explain why it may help. Then test the improved system again under the same conditions. Compare the new results with the first results. A good design does not have to work perfectly at first. Engineers test, discuss, change, and retest their designs.
