
Which Materials Let Light Pass Through?
Students test clear, cloudy, and solid materials to observe which ones allow light to pass through and which ones block it.
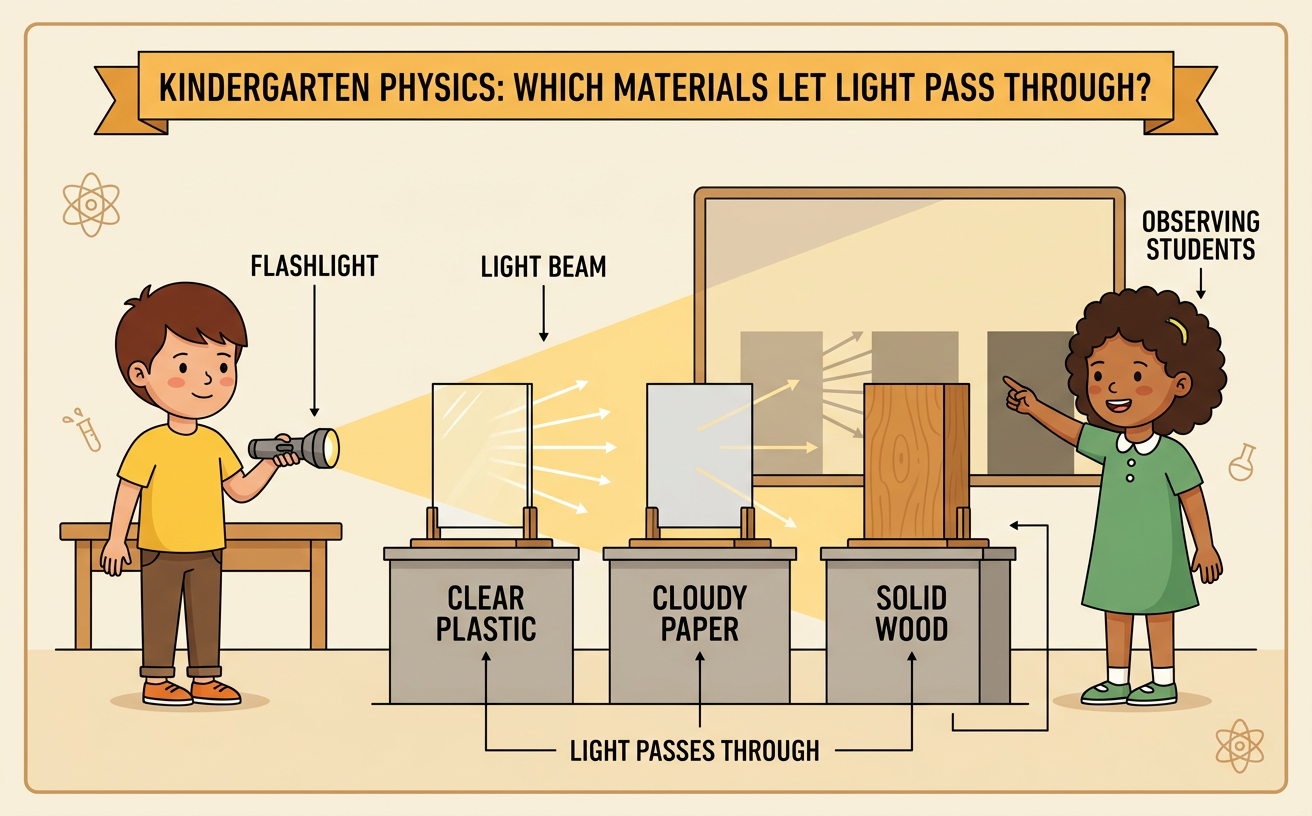
Illustrations are auto-generated and may be placeholders. They can be refreshed to match the narration.
Ask a Question About Light
Light helps us see objects. But what happens when something is placed in the path of light? Our investigation question is: Which materials let light pass through? This question is important because different materials can change or block light. Knowing this can help us understand why a clear window lets us see outside while a solid wall does not. We will shine a flashlight toward a white card and place one material between them. Then we will look for light on the card. We can also ask smaller questions. Will a clear plastic sheet let light pass through? Will wax paper let some light through? Will cardboard block the light? These questions guide our investigation and tell us what to observe.

Predict What Light Can Pass Through
Before testing, make a prediction. A prediction is what you think will happen based on what you already know. Look closely at each material without shining the flashlight. A clear material, such as a transparent plastic sheet, may let most light pass through. A cloudy material, such as wax paper, may let some light pass through but scatter it. A solid material, such as cardboard, may block the light. Tell a partner what you predict and why. You might say, “I predict the clear plastic will let most light through because I can see through it.” Listen while your partner shares another idea. Predictions do not have to be correct. Testing helps everyone find evidence and learn what actually happens.

Test Safe Classroom Materials
Work with a teacher and classmates to test safe materials. Use a flashlight, a white card, and samples such as clear plastic, wax paper, fabric, and cardboard. Dim the room lights if an adult says it is safe. Point the flashlight at the card, never at anyone’s eyes. Place one material between the flashlight and the card. Keep the flashlight, material, and card in the same positions for every test. Observe the card. Is the light bright, dim, or not visible? For example, clear plastic may make a bright spot on the card, while cardboard may make a dark shadow. Record what you see. Test each material the same way so the comparison is fair. Take turns holding materials, observing, and recording results.

Sort Materials by Light Transmission
After testing, sort the materials by how much light passed through them. Put materials that allowed most light through in one group. Clear plastic might belong here. Put materials that allowed some light through in a second group. Wax paper or thin fabric might belong here because the light looks dim or spread out. Put materials that allowed little or no light through in a third group. Cardboard or a wooden block might belong here. Use your observations, not just how a material looks, to choose each group. Two materials that look similar can give different results. Compare your groups with a partner’s groups. If you disagree, look at your records or test the material again. Evidence helps the class decide where each material belongs.

Share Evidence and Conclusions
A conclusion answers the investigation question using evidence from the tests. Share your conclusion with the class. You can say, “Clear plastic let most light pass through because we saw a bright spot on the card. Wax paper let some light through because the spot was dim. Cardboard blocked the light because we saw a dark shadow.” Explain what you observed rather than saying only what you guessed. Listen carefully when classmates speak. Ask a helpful question, such as, “What did you see on the card?” Classmates may have different results if they tested different materials or used materials with different thicknesses. Together, the class can conclude that some materials let most light pass through, some let only part of the light through, and others block most or all of the light.
